We’re back with more floor refinishing details as promised. First a reminder about why we refinished 600 square feet of our home’s 50-year-old yellowed wood flooring (to match the new prefinished mocha hardwood that we installed in the kitchen, den, laundry nook and half bathroom):
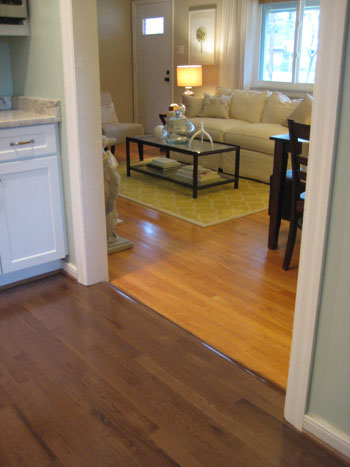
Here’s the yummy after. So much better, right?
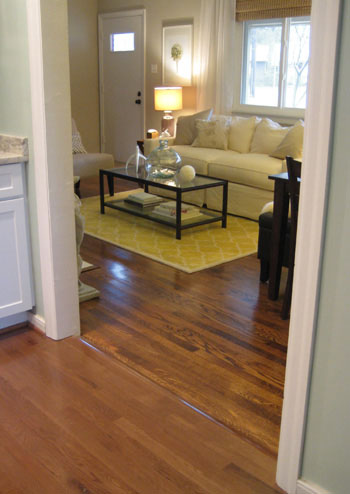
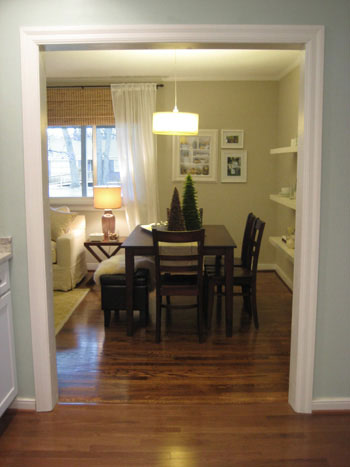
When it comes to matching prefinished oak with refinished oak it doesn’t get much closer than that. In fact our wonderful floor guy mixed three batches of stain to come up with the perfect color. The main difference between factory prefinished oak flooring and refinished-on-site oak flooring is that the knots and veins in the wood are a bit more distinct in the sanded and stained refinished floors. But we’re absolutely thrilled with the match-job, it really looks a million times more cohesive and consistent from the moment you step in the door.

But how did those delicious mocha floors come about? Here’s the play by play.
First we asked practically everyone in town for a recommendation– we really wanted a pre-screened floor refinisher since it was sure to be a serious challenge because we wanted to closely match our new flooring. More than one friend recommended the same person so we felt good going with our floor guy (although we did get another estimate just to be sure we were getting the best deal in town).
Then we negotiated a killer deal (saving $300 and coming in at just $900 for 600 square feet by asking our refinisher to sand and restain the existing shoe molding instead of replacing it with costly new wood molding).
Then it was time to completely clear each room– the living room, our three bedrooms and each and every closet within those spaces. We also removed the window treatments in each area, although we did keep the art work on the walls (knowing we’d have to dust it all) since we didn’t have a safe place to store all those fragile glass frames because we already had all of our furniture crammed into the kitchen and the den. We knew that we’d have to clean the sanding dust from the closet shelving and above each door frame and windowsill anyway, so dusting off the pictures in each room seemed doable while we were at it.
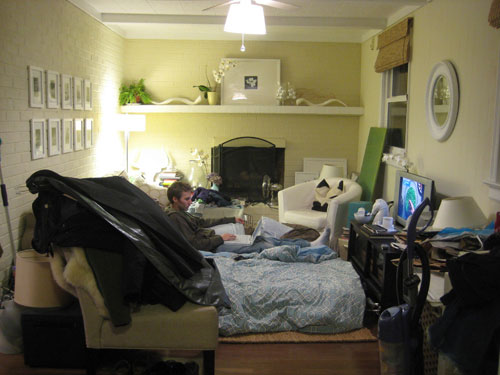
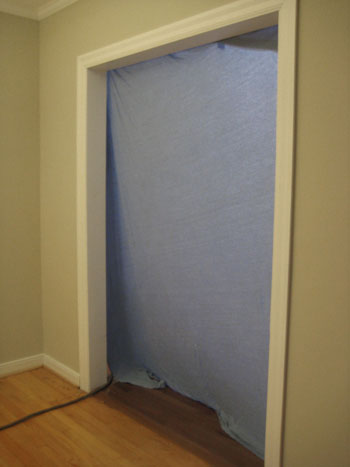
We were also sure to tape plastic bags over our heating vents to keep our air filters free of dust during the sanding process that would commence in the the morning. And we hung an old sheet to block renovation dust from invading our kitchen and den where we were storing all of our furniture.
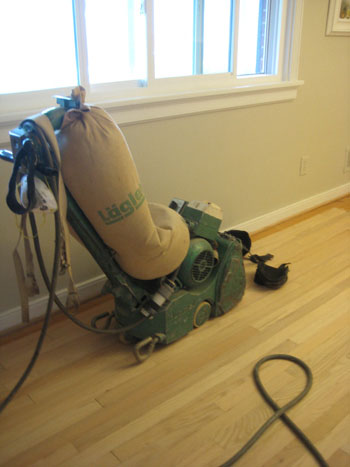
Next our refinisher spent all day sanding the floors (it was actually the longest amount of time a contractor had ever spent in our house- including masons, window guys, kitchen installers, etc). He used one of those professional sanders with a dust bag attached to suck in as much excess dust as possible (but of course we still found some sanding dust atop door frames windowsills and on our closet shelves). He then thoroughly dusted and vacuumed the floors to be sure they were free of dust and shavings.
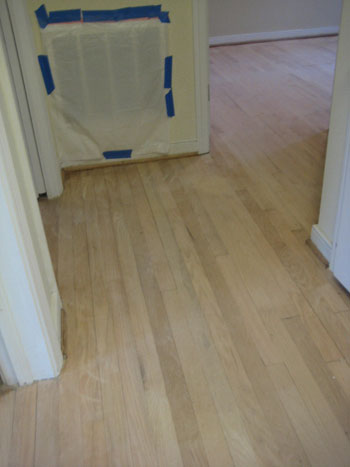
Then we removed the plastic from our vents and fired up the heat to a toasty 75 degrees before our floor refinisher laid down any stain since we wouldn’t be able to walk on the floors for 20 hours after the stain was applied (heat helps to speed up the drying process).
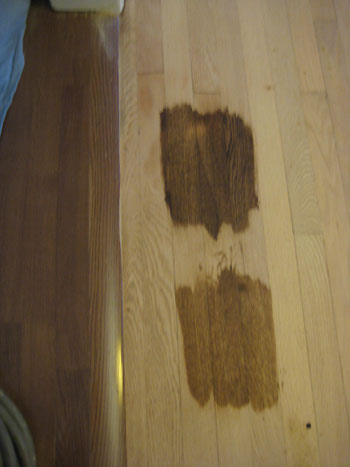
Our refinisher mixed a few different stain concoctions and applied each one to our stripped flooring (right near the new kitchen hardwood so we could easily identify a match). We all agreed which one was the closest and he went to work applying it throughout the 600 square feet, working towards the front door where he “painted himself out of the house.”
The next morning he arrived to apply the first coat of polyurethane, which only took about 45 minutes but smelled to high heaven so we cracked a few windows before he “painted himself” out of the front door again. Being sensitive to the toxins, we actually arranged to stay with John’s sister for the duration of the polying process due to the nasty smell (and the fear that all the fumes couldn’t be good for us or our tiny pooch). We would definitely recommend arranging to stay with a friend or even at a hotel from the first coat of poly on (we actually didn’t sleep in our house for a full week to ensure that the air was clear)- and would especially caution that anyone who is pregnant or has small children or pets should make it their main goal to stay far far away for as long as possible.
The following morning our floor guy arrived again to apply the second coat of poly (he lightly sanded the first coat before laying it down just as all the experts recommend). This entire process took about an hour and forty five minutes and he again “painted himself” out of the house when he was done. At this point the house was even stinkier (if that’s possible) so we cracked all the windows that we could access (in the den and the kitchen) and although the heat was cranked to 75 degrees to aid in the drying time, we were happy to overwork our heating system a bit in return for some much needed ventilation.
On day four our floor guy returned to apply the third and final coat of poly (and get paid of course!). Apparently three coats of polyurethane are far superior to two- so always check how many coats your refinisher intends to apply (three probably means that you’ve got an expert on your hands).
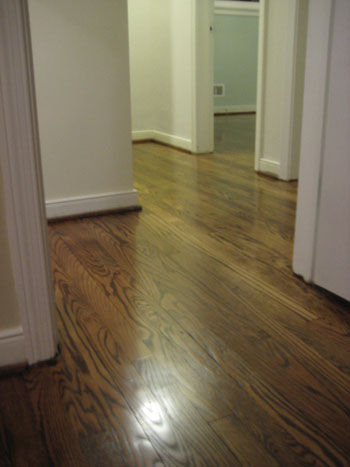
We then were instructed not to walk on the floors for 48 hours at which point we had the ok to move all of our furniture back into the rooms. Thanks to the holidays we easily stayed clear of our house for three days (extra insurance that everything was dry and the fumes were even more dissipated). And truth be told we actually still smelled some lingering poly chemicals in the air, so we continued to steer clear of our house for a few more days and keep our windows cracked to further vent the fumes (although we lowered the heat back to our normal not-home temp of 64 degrees).
And once we finally got around to putting everything back in it’s place we were beyond thrilled with how our furnishings seemed to pop a little more and look a bit more luxe thanks to the rich mocha flooring underfoot:

And not only in the living/dining room, check out the newly spiffed floor in the third bedroom:
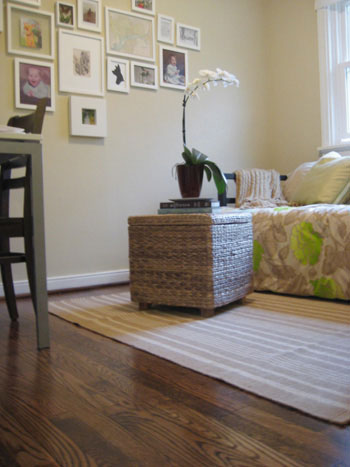
And the guest bedroom:

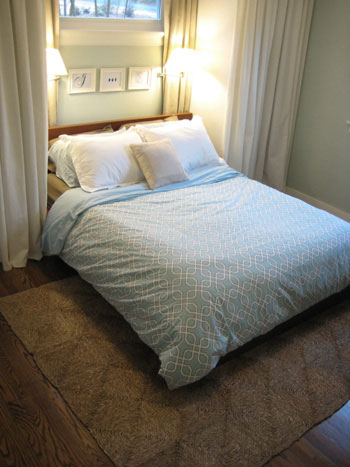
And our bedroom:
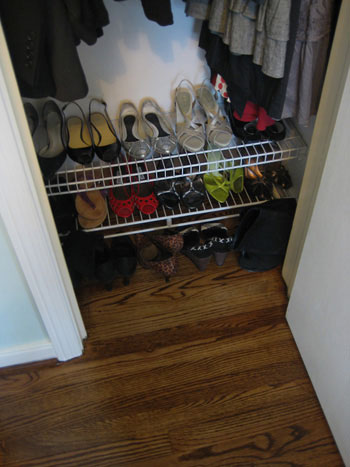
Even our closets look sleeker with their newly mocha-fied floors. Mmmm.
So there you have it. A step by step breakdown of what to expect when you’re refinishing your floors. Whether you’re doing it yourself or hiring it out, we wish you all the luck in the world… and some glossy and fabulous floors that make all the dust, smell, and chaos totally worth it in the end!
Psst- For more info on the guy we hired to redo our floors (and the entire process) click here.
More Hardwood Floor Refinishing Projects
If you would like to read more about our specific hardwood floor refinishing projects, please see the posts below. They range from matching original hardwoods to new prefinished flooring to restoring 100-year-old pine floors!
- Matching New & Old Hardwood Floors In Our Third House
- Refinishing Historic Heart Pine Floors in Our Beach House
- Repairing Historic Oak & Pine Floors In Our Duplex
- Clear Sealing Our Refinished Floors In Our Florida House
