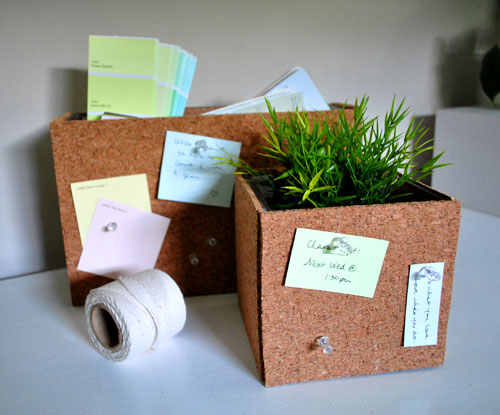
You may have spotted our little DIY cork vases back in the big office reveal (and the follow up guest bedroom/playroom post). And now we’re back to share our two-different-looks tutorial. Yup, you can keep them au naturale…
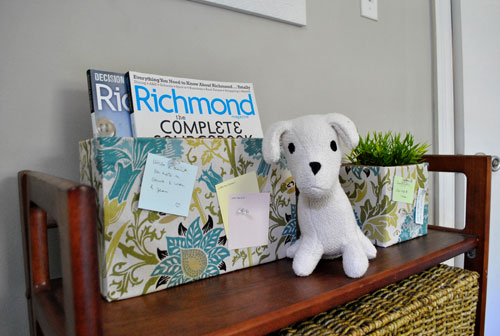
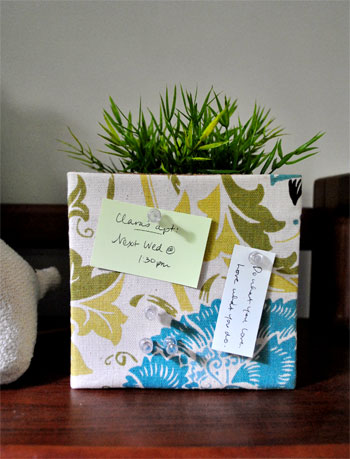
… or cover the cork with fabric for a playful printed look:
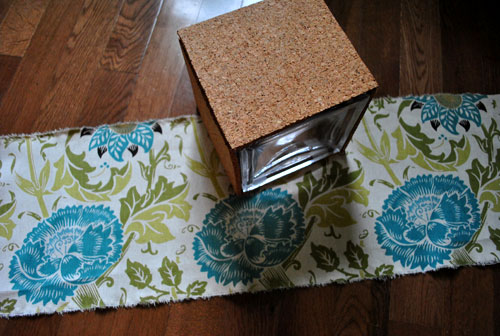
We first got the idea to create cork vases for pinning up little reminders and paint swatches that we loved from seeing an expensive designer cork lamp a while back. It seemed like such a smart way to keep from forgetting Clara’s checkups along with our dental appointments- and to add some aesthetically pleasing function to the room as well. But we didn’t need a lamp, and we just happened to have two glass vases lying around (one from Ikea and one from a bouquet of flowers that we received a while back). And so the cork vase idea was born. All we picked up was a pack of cork from Target for around $5 and we were ready to go.
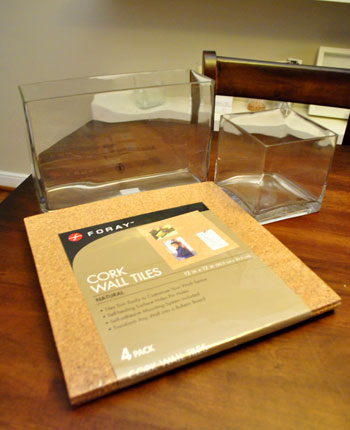
The four squares of cork in the pack provided more than enough material to cover both vases. And they even came with self adhesive squares that we used to stick our cut-to-size rectangles on each side of each vase. We just laid the vase on the cork, and traced an exacto knife along the edge of the vase to create our rectangles for each of the four sides for each vase. Then with a sticky square on each of the four corners for each plane we stuck them carefully to the vase (going slowly enough to ensure that they were straight and lined up with each other before firmly sticking them on).
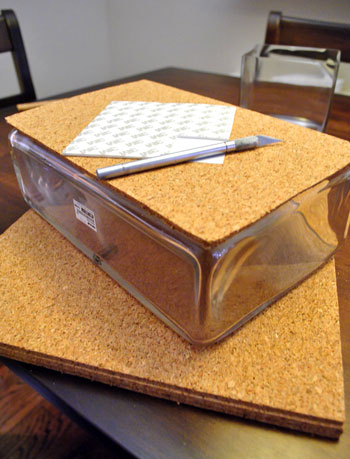
Before we knew it we had two cork vases. Easy, peasy. Oh and here’s a tip. Since we used the white adhesive squares to secure the cork, if you look on the inside of the vases you can see them (since they’re clear vases and the squares are white). So it helps to consider what you’ll be filling your vases with to hide those white squares (a plant and some paint decks did the job for us). You could also use dabs of clear glue from a hot glue gun in each corner to adhere the cork if you plan to leave the vases less full and don’t want to worry about the white squares being seen if anyone peers down into each vase.
Although we loved the rough natural texture of the cork, we actually decided it would be fun to take things one step further with some printed fabric. The pins would still stick through the textile and grab the cork (so none of the function would be lost) and we really liked the idea of gaining some pattern and fun since we knew these babies would sit on Clara’s bookcase in our office/guest room/playroom. First we roughly cut out a strip of fabric that could easily wrap around the entire circumference of each vase (with extra fabric on the top and bottom to allow for a “hem” to create a more polished and finished look).
Then we whipped out some iron-on heavy duty hem tape…
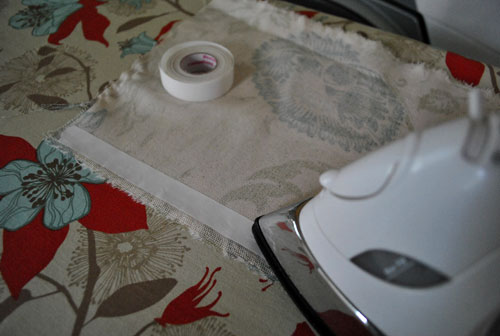
… which instantly added those polished looking hems that we were going for.

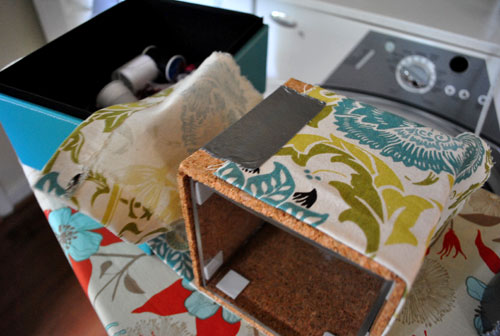
When it came time to apply the fabric around the vase to cleanly cover the cork we knew that a tight fit was the only way to go (something loose or baggy would have looked messy and weird). So we used duct tape to hold the soon-to-be-hidden edge of the fabric in place so we could pull the other side around for a nice and tight look. We hemmed the other side of the fabric so it would have a finished edge when it overlapped the duct tape (completely hiding it for a snug fit and a professional looking result).
We debated using a glue gun to adhere the hemmed side of the fabric (the one that hides the duct tape) but couldn’t find any glue sticks so I quickly stitched the hemmed flap over the other side of fabric to create a tight fit that would really hold up over time. The seam landed right in the middle of the back of the vase, and thanks to some white heavy duty thread it looked nice and clean back there:
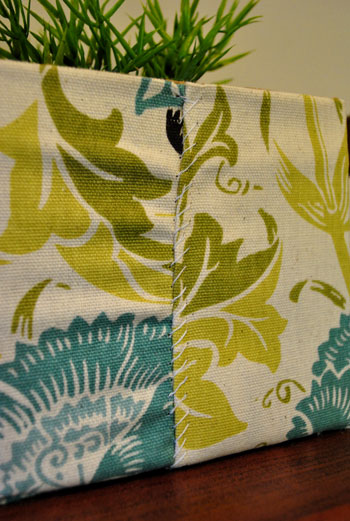
And of course the front looked even more seamless:
Fun right? The whole project only ran us around $5 for the cork since we already had the vases and the fabric (scored for cheap at U-Fab here in Richmond for Clara’s weekly photo project).
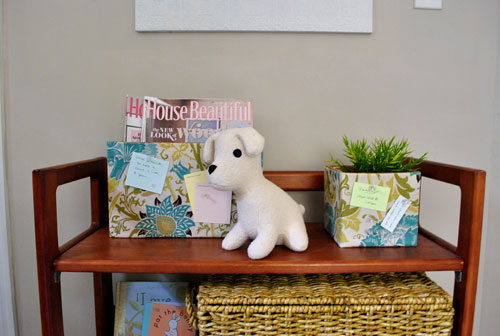
We love that we can use our DIY cork vases to house everything from magazines and paint decks to plants and pens in our multifunctional home office/guest bedroom/playroom.
And the fact that they help us remember all of our appointments is the icing on the cake.
Have any of you guys worked with a roll of cork or the same pre-cut cork squares to DIY something fun in your house? Do tell. And do you have any quotes that keep you going or make you smile? We pinned one of our favorites up: “Do what you love. Love what you do.” So share those cork projects and inspirational quotes!
Psst- Looking for another fun cork project? Check this out.

Leave a Reply