I’ve always thought that curtains are the unsung hero of room makeovers because everyone’s quick to talk about how paint can make such a huge difference (agreed, it totally can) but I’d argue that curtains can rival the whole “wow, paint totally changed that room” because they can:
- make a small window look twice as wide
- draw the eye up and make ceilings feel taller
- add a whole lot of color/pattern/interest (or not, if you just want something simple/breezy)
- make any room feel more cozy by adding softness
- add function (block light and drafts, provide privacy, absorb sound, etc)
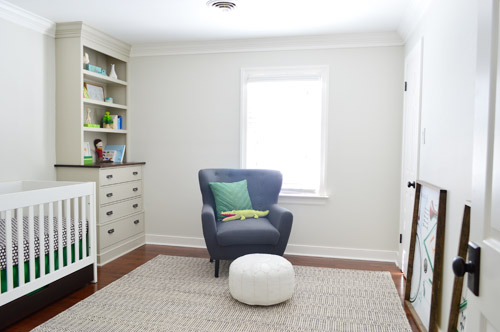
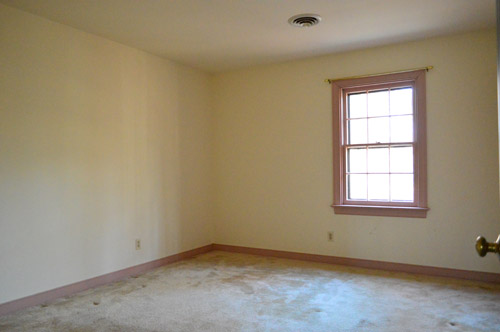
So there it is. My name is Sherry, and I’m a fan of curtains. Just look at the nursery wall without any:
And here it is now with some happy green-apple deliciousness going on:
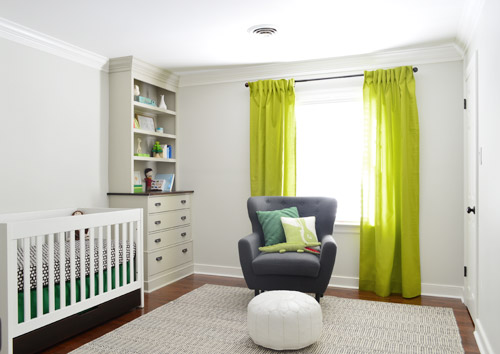
This room is still far from finished (we’re planning a colorful large-scale mobile for over the crib – maybe something like this – and the bare wall across from the crib still needs furniture and art). But back to the curtains. They make such a difference, right? I also tried a new pleated approach this time, along with an extra thick hem at the top and bottom to give them some added heft, and I’m a complete fan. It was really easy, so I’ll just stop yapping and dive into the details.
When it came to picking the fabric for the nursery, we knew we wanted something happy and colorful since the walls and built-ins are a neutral palette (Clara’s white-walled yet super colorful room has taught us that safer choices on those harder-to-change surfaces leave things wide open to layer in a lot more personality and color with other accents like textiles, art, and accessories). We considered everything from a bold pattern to a fun dip-dyed look or a band at the bottom, but thought one solid hue would be nice because we didn’t want anything that would look too busy next to our patterned rug and crib bedding.
We were actually really inspired by the different tones of green in the Target box that we recently grabbed for the built-ins, along with our old stacking tree game, which both showed us how great a vibrant apple green color could look with a darker kelly tone in the mix.

We hit up a local place (U-Fab) as well as JoAnn fabrics, and ended up falling for a cheerful apple green color at JoAnn. We thought it would layer in nicely with the kelly green bedskirt, bike art, and chair pillow without being too matchy or flat. I bought five and a half yards of fabric, which was listed at $6.99 a yard (it’s 100% cotton, and the color is Solid Apple if that helps you track it down at JoAnn) but I used one of those 50% off coupons so my entire purchase was $19.22, which means each of my panels breaks down to being under ten bucks.
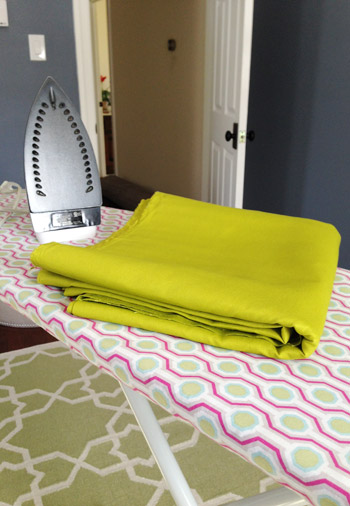
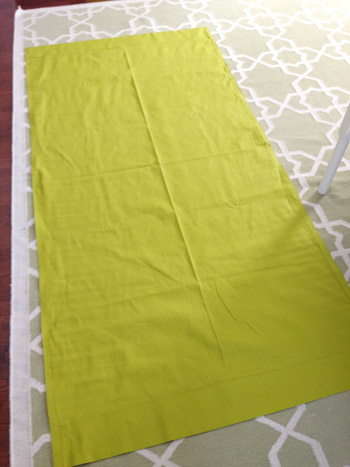
The first thing I did when I got it home was pre-wash it (this helps you avoid shrinkage on the back-end, which can result in highwater panels if you wash them later). Then I laid my fabric on the floor and folded it in half (length-wise, not width-wise) and cut along the fold so I was left with two equally sized 99″ panels. My desired finished length was 88″ so that meant I could have a nice weighty 5.5″ hem at the top and the bottom. First I hemmed the top and bottom of the panel just about an inch from the edge with hem tape, like so:
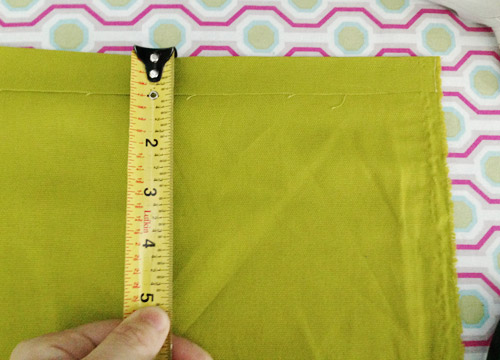
Heavy duty Heat N’ Bond is a favorite of mine, just because I’ve made a few curtain panels with my sewing machine and others with hem tape and find that hem tape is easier for me to get a nice straight seam instead of a slightly meandering one. I’ve also had luck with durability (and washability) in a nursery/kids room with it over the last 3.5 years (all of Clara’s curtains have been hemmed with the stuff) so that made it an easy choice.
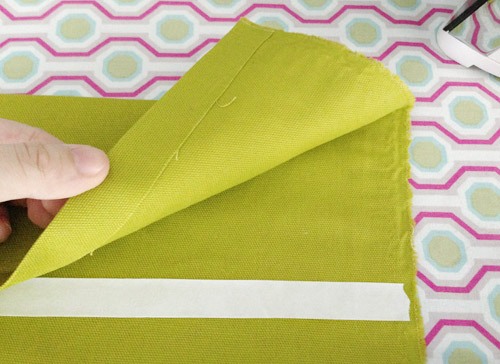
After making that first 1″ hem on the top and bottom of the panel, I folded each one of them over again to make a 4.5″ cuff, so I was left with a nice finished looking edge on each end (that’s why I did that little 1″ hem first). Even though it’s the back of the panel, it doesn’t take much time to make that extra little fold, and it ends up looking nice and clean.
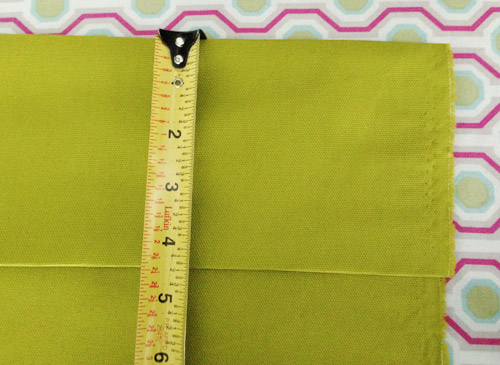
Again I used hem tape to secure that flap of fabric at that 4.5″ mark.
After securing each of those top and bottom hems, I hemmed the sides (just with simple 1″ one) to keep the panel as wide as possible, but give it a finished edge. Here’s what one panel looked like on the floor with the backside-up, wrinkles and all.
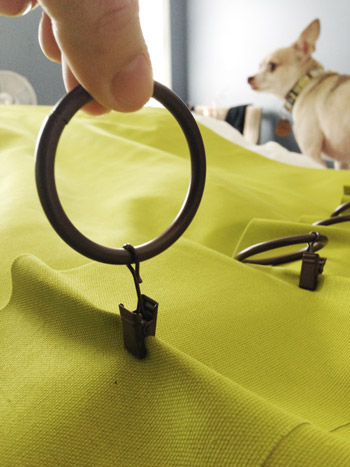
Next I ironed each panel to get a bunch of the wrinkles out (they honestly still could use a steam-session now that they’re hanging in place) and then it was time to give the whole “pinch-pleat effect” a try. Instead of my usual MO of clipping rings to the top edge of the fabric (so the curtains hang like this or like this), I pinched the fabric in ten equal increments and secured the clip to the back of the top hem, about 2.5″ from the top of the panel. Burger was intrigued.

Here’s a close up for you of that top hem along the back of the panel (again, I just used ten ring hooks and spaced them out by eye in as-equal-as-possible increments).
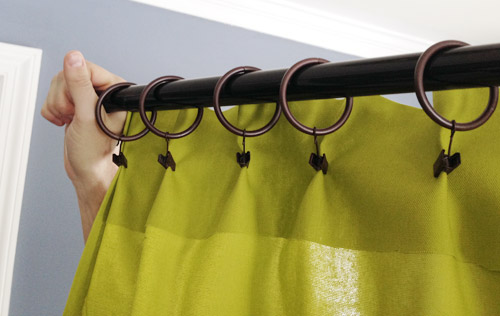
This is John holding up the rod after I strung one panel on so I could snap a picture of the back for you guys.
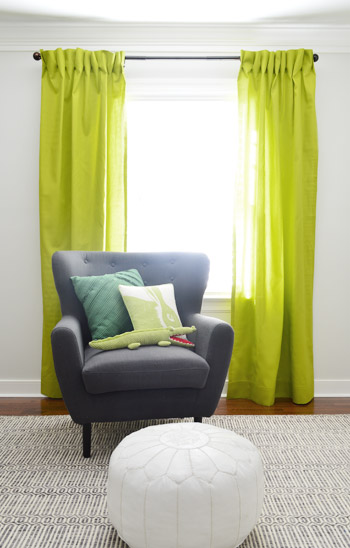
And here’s what they look like from the front after hanging them with the anchors and screws that came with the rod we picked up at Home Depot:
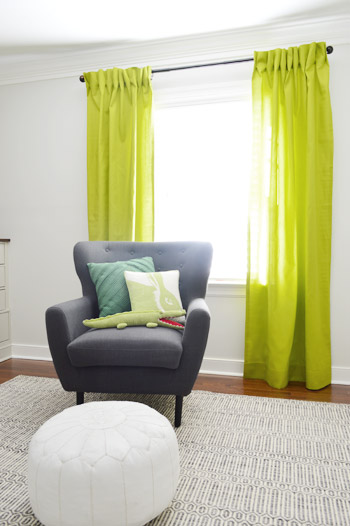
Don’t those pleats add a little something extra? I like that they’re not super perfect & uniform (it’s more of a casual pleat if that makes sense) but they still feel a bit more upgraded than the regular old ring-hook look that I’m used to. If you’re at home thinking “I’d make those, but I wish each pleat was identical and super uniform” – fear not. You could probably stand on a stepladder and tweak the clips in the back to even everything out. John and I just thought they looked sort of effortlessly cool this way. Either that or we’re too lazy to break out the step-ladder.
Update #1: We’re getting a bunch of questions about if we’re planning to use blackouts and/or if these curtains can close to block light. They can close (they’re each 56″ wide) but we have light-blocking faux wood blinds on all of the upstairs windows (more on those here) so we typically just close those instead of the curtains. Although I might add some blackout panels to the back of these panels like we did in Clara’s room if this guy ends up loving total darkness like her. Will keep you posted!
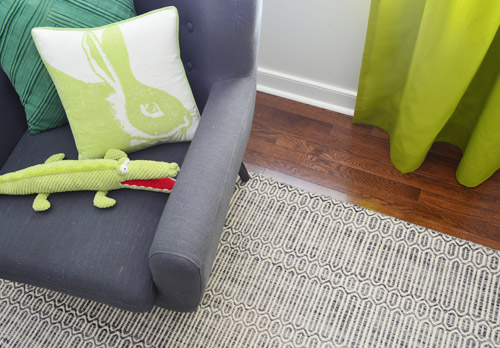
Update #2: Also getting questions about where the chair’s from. We bought that from Joss & Main a few years ago (it used to be in the corner of the kitchen across from the fireplace in our old house, and was in our office at this house until we realized it made more sense in the nursery). The white pouf is a sale find from J&M too.
It’s definitely feeling a bit more like home (and making this baby on-the-way thing feel a bit more real) to see how much this space has changed since we bought the house.
I’m telling you, curtains make the difference. Ok, and a new floor, some wall paint, a pair of built-ins, crown molding, and furniture help too.
So that’s what’s new in the nursery. And Operation Homemade Mobile is actually in progress, so I hope to share that with you guys soon – along with some updates to the completely blank wall across from the crib. Have any of you ever done pinch-pleats, either with the sewing method or the ring-clip method? Do they make you feel fancy? Was your dog super interested the entire time?
Psst- Wanna know where we got something in our house or what paint color we used? Just click on this button:


Susan says
This is a little off-topic but I didn’t see any posts in the archives on the topic of decorating with dogs. We’re hoping to get a dog later this year and I’m a little concerned about the dog destroying our home. I’ve heard the leather couches and hardwood floors are more dog-friendly than plain ol’ fabric couches and carpet, but I’d love to read your tips on this topic. Cheers!
YoungHouseLove says
We have found that hardwood floors are definitely dog and kid friendly (they’re our favorite) along with washable slipcover sofas. The one we have now has been awesome (it’s a Karlstad by Ikea that we’ve had for a few years and the fabric is dark so it hides stuff and it’s really durable like denim). We also like natural fiber rugs (cotton and wool) since they seem easier to clean in case mud gets tracked in or our daughter drops something.
xo
s
Elise says
I’ve made a few curtain panels, with the sewing machine and I use a sewing gauge to get an even hem (http://www.joann.com/singer-sewing-gauge-6in/1073113.html#q=sewing+gauge&start=3). I do like the idea of using the hem tape though! One trick though is sometimes the fabric isn’t cut straight and then you can end up with a wonky hem. That’s when I’m thankful for a yardstick and rotary cutter!
YoungHouseLove says
Love that tip Elise, thanks for sharing!
xo
s
Rae says
Is it weird that I saw this print and immediately thought of your nursery?
http://www.ikea.com/us/en/catalog/products/30234074/
YoungHouseLove says
So cute! I love him!
xo
s
Jackie says
What a great idea. I wish I had enough courage to add colour like that to my house. You guys are amazing. The panels look incredible!
YoungHouseLove says
Thanks so much Jackie!
xo
s
Jess @One English Teacher says
The ring clip pleats are genius! I’ve never done them, but I would feel fancy if I did :-) And, my dog usually wants to be more than a curious onlooker. He’s probably like to run across the curtains a few times if I let him.
Jeannine says
I’m still a fan of Rust over White. I think it will compliment the rustic aspects of the porch and just cast a nice warm feeling prior to entering the house. Plus, I don’t care what they say, it will not show as much dust and dirt as white.
I’m a three hour drive from the show house, but have seriously started plotting a way to come see it.
Fantastic job with the built-ins.
Bethany @ Dwellings by DeVore says
so clever, I would never have thought to do that!
Clever Girl Reviews says
Curtains do make a huge difference because they have it all: color, texture, and graphic impact.
J says
Sorry if you guys have covered this before, but where do you get such nice weight-y curtain rods? (Without, you know, breaking the bank)
YoungHouseLove says
We used to get them at Target but recently discovered that Lowe’s and Home Depot have thicker ones with bigger ring clips, so we spring for those more often. They’re not super cheap, but way less expensive than most of the fancier brands (like West Elm or a drapery company).
xo
s
Katie B says
Hi – love your blog, and first time commenting ever on here for me :) I want to make similar curtains and wonder if you have any tips for lining them? I’d like to line mine to help filter light, and want to know if you think I can still use the iron on stuff effectively? Thanks for your help!
YoungHouseLove says
I’ve never tried that, but I would think the heavy duty iron on stuff should work for that! Good luck!
xo
s
Rebecca says
These would be so cute in this room!
http://m.anthropologie.com/mobile/catalog/productdetail.jsp?id=30543797&catId=SHOPSALE-HOME
YoungHouseLove says
CUTE!
xo
s
Betty says
Your idea is great. I am not making my own curtains. I found some really great patterned sheets that I wouldn’t sleep on (scratchy) but will make really great panels. Using your trick will dress them up and when I get tired of them I can change them easily. My total was only $3.00. I already had the rings and the rod is hung.