Oh what a feeling… dancing on the ceiling. Which is much easier when your ceiling is on the floor.
But let’s rewind to a time when our sunroom ceiling was more ceiling-like. We’ve mentioned we wanted to try vaulting the ceiling in here to make it feel even more open (here’s a link to some of our inspiration). We’ve never vaulted a ceiling before but we figured this was a pretty low-risk spot to finally give it a go.
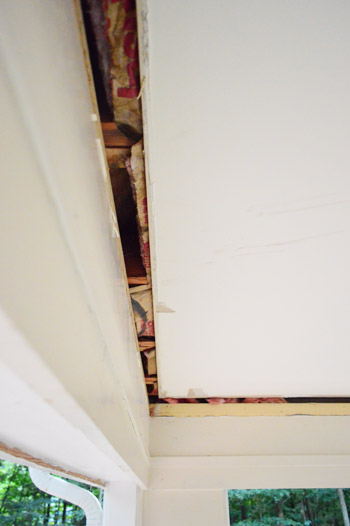
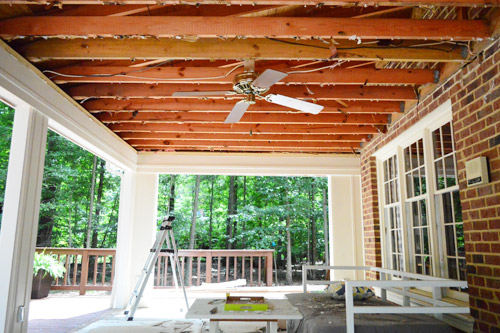
We realized from the start that we might need to hire a pro for part of the job since structural ramifications like “the roof could cave in” is one of those failing answers to our “what’s the worst that could happen if we DIY it?” test. But we figured we could at least do the demo part ourselves (just of the ceiling, not of any support beams). Why pay someone else to tear stuff up when I could have all the fun myself, amiright? So I started by turning off the power to the entire house (always a good first step when you’re ripping things apart) and then I got busy prying off the crown.

That step revealed what we were both expecting (I guess?): insulation and some sort of wood framing.
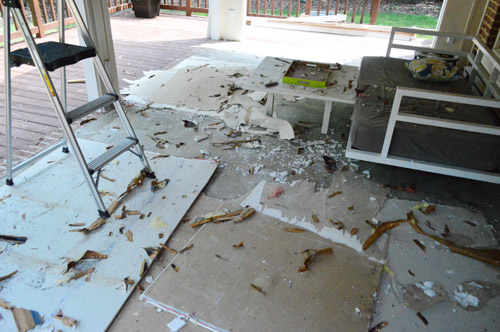
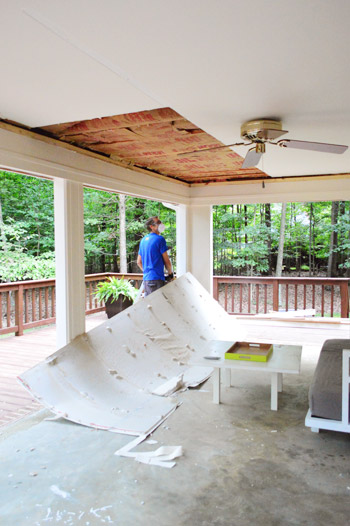
The ceiling itself was some kind of moisture resistant drywall, which surprised me because for some reason I assumed it was plywood like the walls. So my plan to meticulously cut and pry it out turned into “let me just pull on this a little bit to see what happens…”
One down, about 5 more to go!
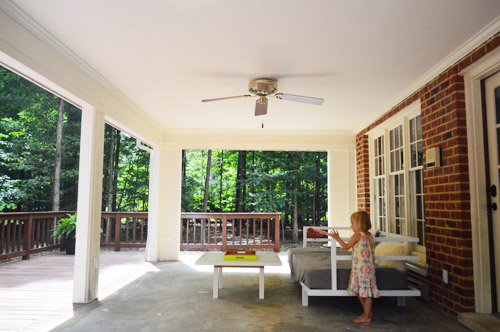
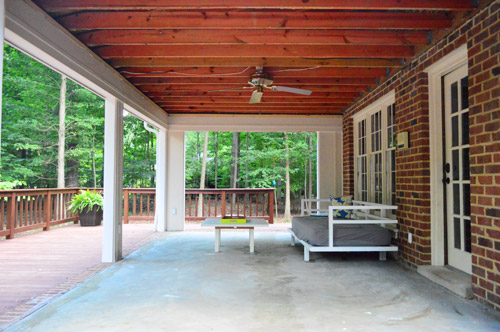
That should have been the moment where we moved the daybed and the table out of the way, but we just got so excited to bust things out and the drywall was surprisingly light (especially compared to the idea of it being plywood). Both the daybed and the table are on our “need a new paint-job” list as well, so I think that made us less protective of them, but thankfully no furniture was hurt in the making of this post (you can see it all alive and well in the last shot).
Taking it down was pretty easy, very satisfying, and apparently highly entertaining. Get this girl some popcorn!
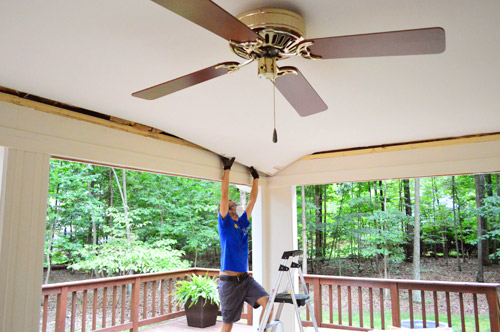
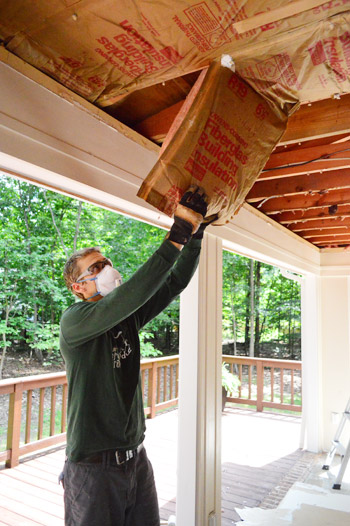
It only took me about 15 minutes to get the whole ceiling drywall-free. That was the easy part. I was even able to get it out around the fan which I probably should’ve just taken down – but the drywall was so pliable that I could easily pull it down around the fan without damaging the blades. In the end it was nice to keep it up there in case this phase of ceiling reconstruction takes weeks (so we can still stay cool while we work).
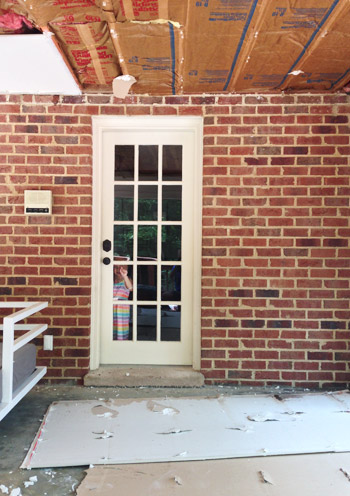
With the drywall down, I turned my attention (and my mad pulling-things-down skillz) to the insulation.
It too came down pretty easily, although it took a few hours (spread across a few days) and I filled about eight big garbage bags with the stuff.
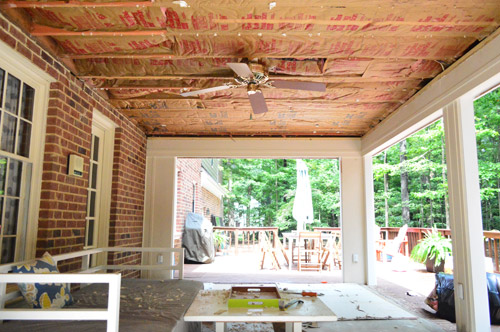
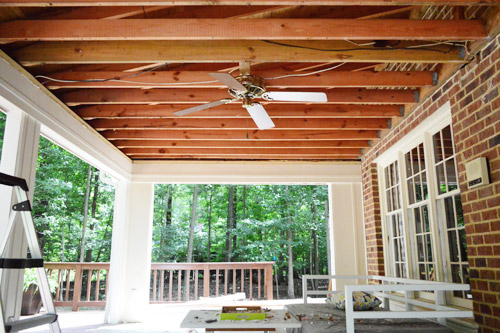
Here’s a shot where you can better see what it looks like up there. We love all of the rafters way up there for eventually nailing beadboard to. It’s just all of those lower joists that are in the way.

I’m not an engineer so it took me 0.0002 seconds to admit that I had no idea what to do. A reader named Kate commented with how they dealt with a similar situation in their home, but I wasn’t feeling gutsy enough to assume the same method would work for us. So my next step was tidying up the still messy looking joists by prying off all of the leftover drywall nails and lingering insulation.
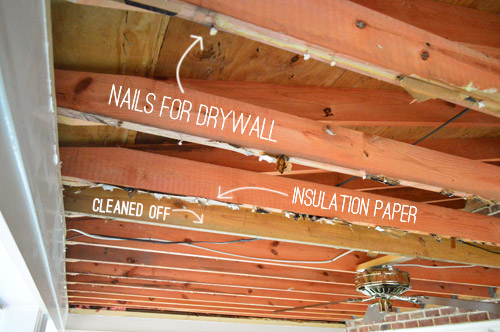
If we were going to have to wait for a pro to lend us a hand, at least the exposed wood could look a bit less scraggly, right? And that way when we finally get to tear it down (fingers crossed) we won’t have to worry about all of those half-sunk nails piercing us on the way down.
So this is where we are now. Just waiting on a pro for more info about how to proceed (he’s coming this morning actually). I feel like if this were an HGTV show this would be the part where the homeowner “happens to stop by” mid-renovation, freaks out about how torn up their house is, and confesses to the camera that they doubt the designer will ever get things together but will just have to trust him. So yeah, the homeowner in us is a bit uneasy by not having an exact plan yet, so we’re waiting with bated breath for the doorbell to ring.
At least while we wait we got to cross a few more things off the to-do list in here. Does this mean we’re halfway there? Maybe after we finish lofting…
Rip up the old carpeting(check that step out here)
Remove the sliding doors and tracks to open things up(we did that here)
Convert outlets to outdoor-safe rain-proof ones with covers(we also did that here)Add fresh casing to the openings and caulk like crazy to waterproof everything(here’s the post about that)
Demo the old ceiling in hopes of possibly lofting the ceiling (get a pro in here for advice)- Remove old beams, reinforce ceiling stability, and install painted beadboard
- Add a hanging ceiling fan (or two?) and possibly recessed lighting or hanging lanterns from posts
- Repaint the columns and interior of the sunroom with exterior paint
- Tile the floors with something outdoor-safe that’s less slick than the glue-stained concrete (we’ve already been poking around a few tile places…)
- Get a rug, furniture, and maybe even add some outdoor curtains?
- Build an outdoor fireplace like this down the line
Until we have some “this is happening next” info, we’re turning our attention back to some indoor projects. Thankfully I don’t think any of those will involve ripping down any more ceilings, as much fun as this one was…

Leave a Reply