Betcha thought our grouting post was the last time we’d talk about installing our tile, eh? We’ll you’d be incorrect, sir – er, madam? We had a few other less-fun and less-interesting steps once the grout party had wrapped. And since a bunch of folks have asked us to detail the de-hazing and sealing steps… here they are! So stay tuned while I try to make them as interesting as I can. Maybe I should get my laser pointer.
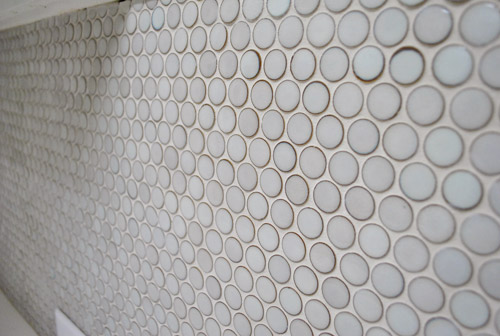
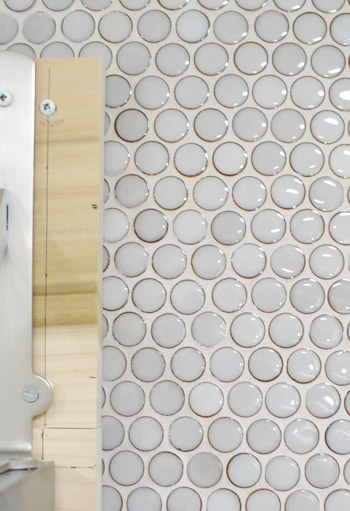
Anyone who has tiled knows that grout often leaves a bit of a hazy film on your tile. We saw it on both the subway tile and the marble floor tile in our old bathroom and this penny tile was no exception. I actually referenced my own post from 2 years ago to see how I had dealt with it then because although we document everything that we do in posts, we usually forget the details – so it’s nice to have them in writing to look back on. In case you don’t feel like reading it again yourself, basically I just used some elbow grease to essentially buff the tiles clean in our bathroom. So once again I broke out a clean rag and rubbed the surface of my tile with a little bit of pressure. You can see it working in this angled shot below. See how the left half of the tile is hazy and the right half of the tile is smooth and shiny? That’s the part I had buffed. We hear cheesecloth is especially amazing, but we had pretty good luck with just a plain white rag.
So yeah, that was a fun task. But it was nice to see the tiles start to get some of their sparkle back. And Sherry followed right behind me and scratched any grout that was around the perimeter of the tile off with her thumb to clean up the circles so they looked like full round tiles instead of hazy half-moons. It actually filed down her nail all the way to the nub (ouch) so her recommendation would be “don’t use your nail, because it hurts – but I don’t know what else to suggest- anyone have ideas?”
Only it didn’t really solve everything. See this close-up below (can you tell this was all going on while we charged ahead on other projects, like hanging the hood?):
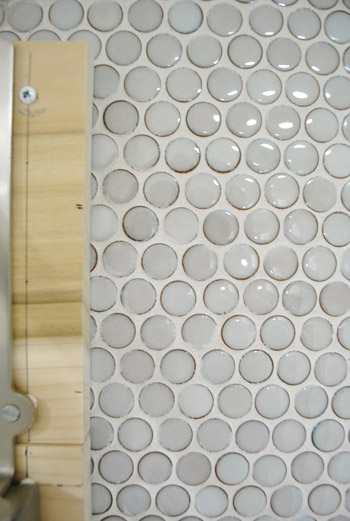
Maybe we had gotten a bit lazier with grout sponging towards the end of the task, but we noticed in a bunch of spots that the tiles were looking especially clouded around the dark outer ring. It wasn’t visible when wet, but it dried like the pic above. See how all the dark rings around the circle are irregular instead of all being exposed and looking clean and round? And although Sherry could scrape it off with a fingernail, since we didn’t have 10 billion spare hours to do that to each individual tile (and Sherry had ground both of her thumb nails down) I called The Tile Shop to ask their opinion. They confirmed my guess that I should let Haze Remover do the work. No more buffing and scraping every last tile.
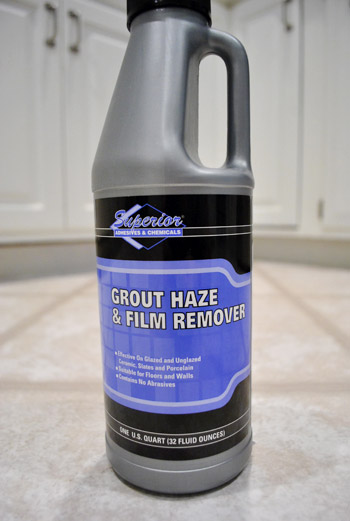
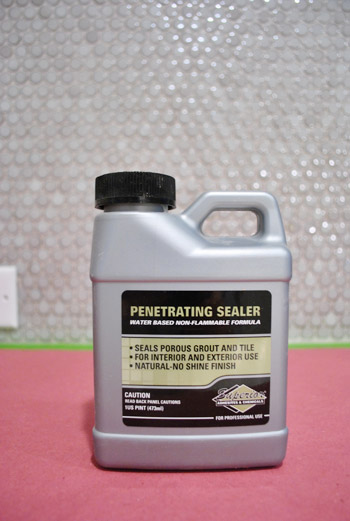
I had been hesitant to use this product previously because (1) why break out another chemical if you don’t need to and (2) it can damage certain types of tiles. But The Tile Shop guys assured me it’d be just fine on our penny tile, so I picked up this bottle for $8 and gave it a shot. Here’s my result:
Is that amazing or what? To save you from scrolling back up I’ll put the before right here for ya again:
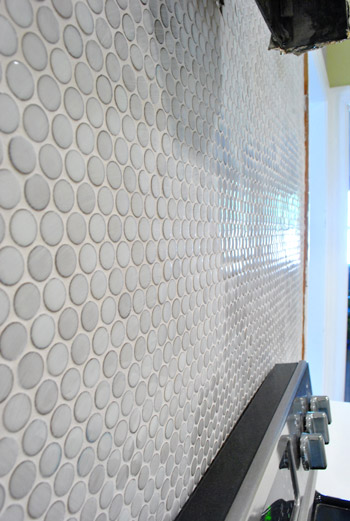
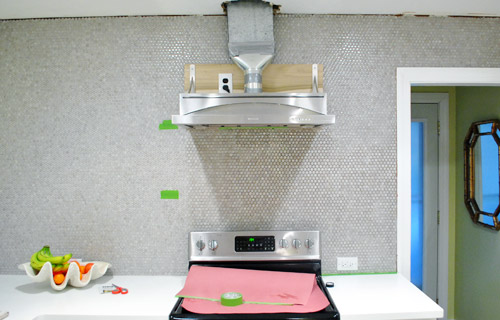
There’s still a smidge of that hazy ring in some very very subtle places, but it’s a HUGE improvement. I was also pleasantly surprised by how it brought out more of the tile’s shine. If you look below, you can see my progress line right under the left edge of the hood. See how much shinier it is on the right side of the wall up to that line and how dusty it looks to the left of it?
So yeah, we’re really glad we decided to do the haze remover. Although it was a bit tedious to apply over the whole wall (you basically apply it with a sponge, let it sit for a few minutes, then rinse and dry it off). But it was actually good practice for the next step: sealing.
The process for applying the sealer is essentially the same (minus the few minutes of wait-time in the middle). The purpose of this step is to seal the grout to protect it from staining (since this isn’t porous tile in our case, so the penny tile can’t be stained), which is definitely an especially important step for a kitchen backsplash that’s sure to see a lot of action over the years. There’s no visible change to the tile/grout after it has been sealed, so sadly I don’t have any before and afters to show you. It all looks exactly the same, but now it’s protected so rogue spaghetti sauce won’t make us shake in our boots. We like that the sealed grout still looks matte, because we like the play of the shiny tile and the matte grout to balance things out. The lack of visible shine on the grout phenomenon also occurred when we sealed our first houses’ bathroom tile and then never had to scrub it once in over a year of use – even before hosting an open house and selling the place! So it’s safe to say they we’re huge believers in sealing tile. Oh but our tip would be to seal it when it’s clean (if you’re sealing an existing kitchen or bathroom) since sealing it when it’s grimy just seals in the grime. Haha.
We also had to caulk all of the edges of the tile. Basically anywhere that the tile met another surface at an angle, we applied some caulk to help keep that seam from cracking. This meant where the tile met the counter, where it met the wall in the corner, where it met the cabinet under the microwave, where it met the door frame and… well, you get the idea. We bought caulk that’s colored to exactly match our grout from The Tile Shop (where we purchased our tile and grout). It’s so nice that they make matching caulk so it all looks seamless.
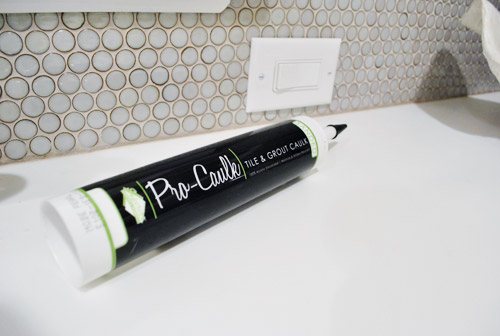
I probably could’ve snapped more pics of this process, but it was one of those “quick, Clara’s about to wake up and our hands are covered in sticky stuff” tasks. Sherry and I each started on different sides of the counter and worked towards the middle (we met behind the sink) and then Sherry stood on the counter to get the crack up to the ceiling (since she can stand on the counter without crouching like I have to). Meanwhile I worked on the doorway and the side of the pantry. So we don’t have application pics, but at least I remembered to artfully pose the tube next to the finish product when we were done.
So I think we’re now officially done talking about how we installed our tile. Hope this post cleared things up for everyone out there wondering why we didn’t detail the buffing/de-hazing/sealing/caulking steps. We now return to our regularly scheduled, non-tile-related programming.

Leave a Reply