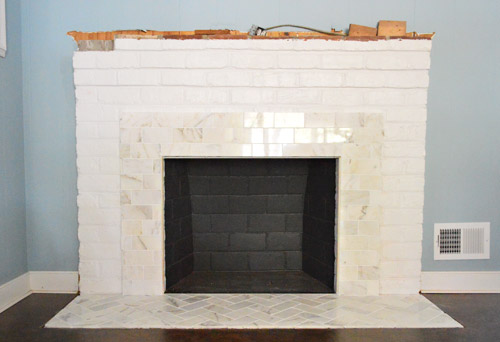
Ready for more progress on the fireplace? Good, ’cause there’s been lots. Last you saw, we had tiled the hearth and part of the surround with marble subway tile.
That was the easy step. Well, at least the more straightforward step. Because our next assignment – building out the rest of the frame – involved the addition of a lot more materials.
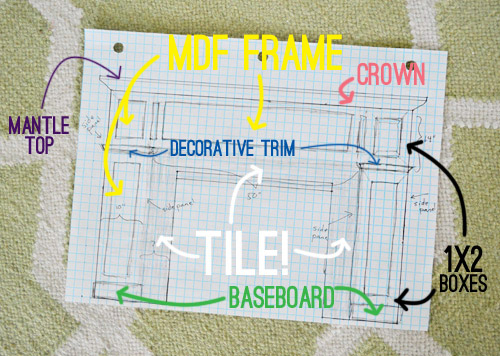
Let’s start with the MDF frame. We decided to work with MDF for the first time since it’s lighter, cheaper, and smoother than wood would be (plus it’s now sold without formaldehyde and it’s FSC certified). A 4ft x 8ft panel cost nearly $35, but the good news is that we only needed one sheet to get all of our pieces.
The first two parts of our frame were the two sides which sat on the floor and extended all the way to the mantel.
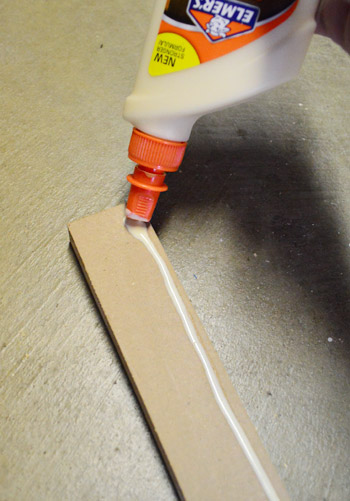
I built them by cutting the two pieces of MDF to size and then attaching them at a right angle using the ol’ Kreg Jig and some wood glue (just to be safe).
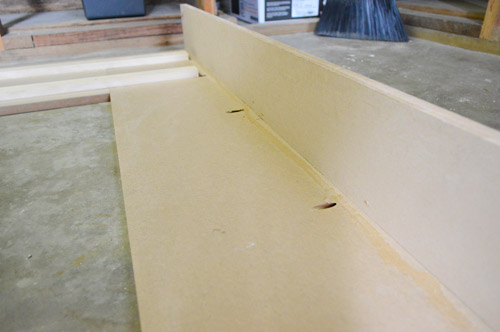
My bottle of wood glue and I actually become good friends during this project. I started to favor my nail gun over Kreg Jig-ing many of the pieces because it’s much much faster (one shot with the gun versus drilling a pilot hole and then screwing pieces together). But since nails don’t hold as tight as screws in the long run, wood glue is nice extra insurance.
To connect the two side pieces, I cut a middle span (using my table saw) and then attached the three pieces together with a couple pieces of scrap 1 x 2″ whitewood.
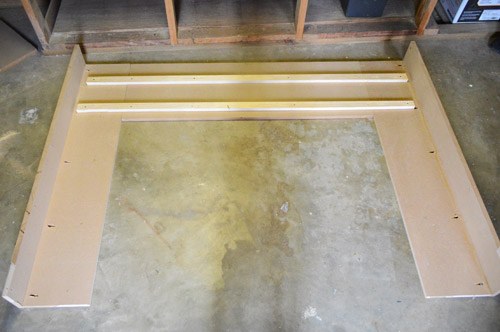
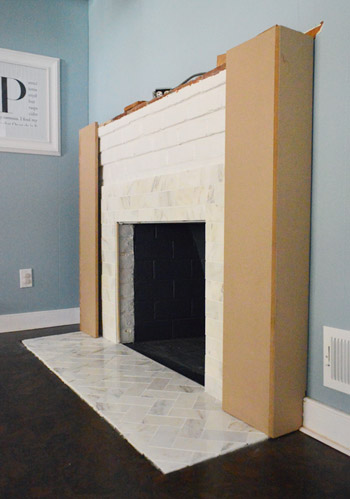
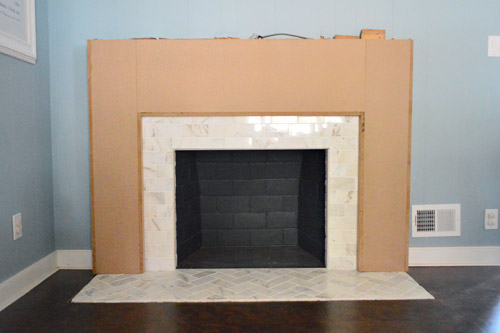
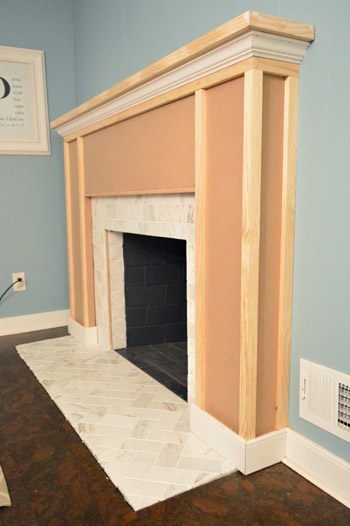
I realize the picture above is a bit confusing, so here’s a photo of the frame in place so you can understand how it’s coming together.
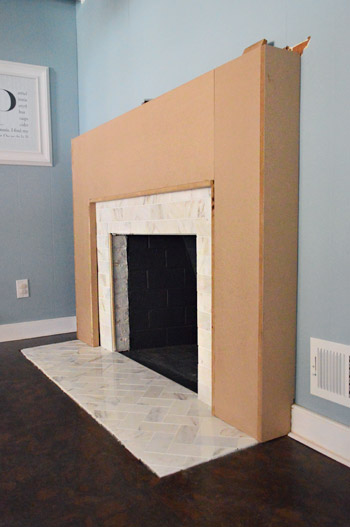
As you can see from the view from above, the MDF frame fits snugly right around the original brick fireplace (which turned out to be pretty gross-looking under the old mantel that we tore off – surprise!).
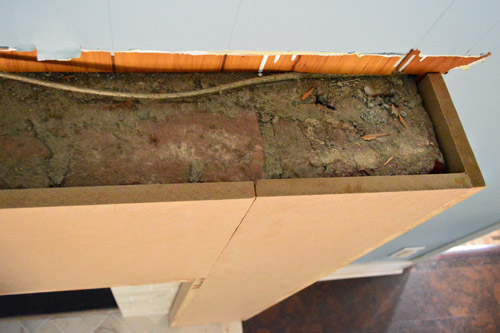
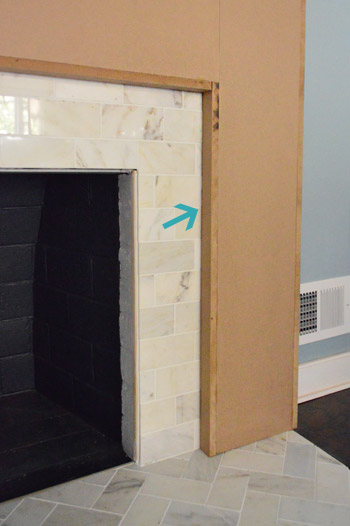
Oh and we had to add some thin pieces of MDF right where it sat against the tile because there was a small gap (see arrow below). That’s because the brick fireplace flared out right under the mantel and got thinner towards the floor (from the side it was actually pretty top-heavy). So even though the MDF sat right against the brick at the top, it floated a couple of inches away from the brick (and tile) at the bottom. It’s nice that from the side it’ll be nice and balanced now.
Here’s the MDF frame from the front. Hopefully this whole thing is starting to make more sense to you all.
It was actually pretty steady already, but we weren’t about to rely on good balance to keep it in place. So a few masonry screws through the top and along the sides (as well as a line of construction adhesive where the MDF met the brick at the top) made sure this thing wasn’t going anywhere.

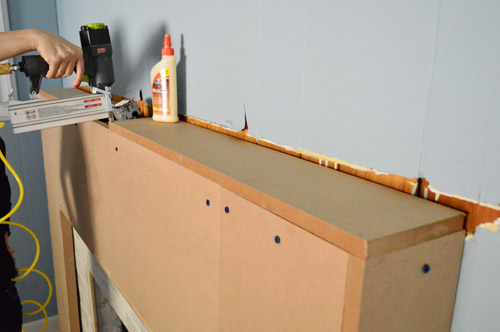
Next up was adding the mantel. The old mantel piece was too small to put back in place and my original plan to secure the new mantel directly to the brick (like the old one had been) failed upon realizing that the brick wasn’t level (it sloped away from the wall slightly). So after some trial and error, we cut some more MDF (still from the same sheet) and added a flat top to the frame with some glue and nails. Look at wifey go.
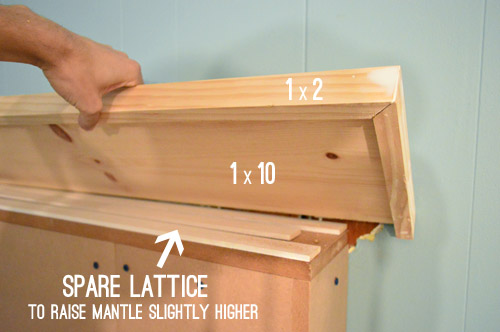
Then we constructed a new mantel top by taking a 1 x 10″ and framing it out on three sides with 1 x 2″ pine strips (so that no raw wood edges were exposed). It’s kind of the same technique we used for our floating shelves in the kitchen. Oh, and we added a few strips of lattice leftover from the board & batten project to raise the mantel a smidge so that it matched the old height (and thus covered all of the unpainted paneling behind it). When finished, this mantel will be exactly the same height as the old one, which is nice because we liked that about the last one (mostly we just wanted to fix the smashed tile hearth, and the side proportions since it got skinny and sloped into the wall from the side).
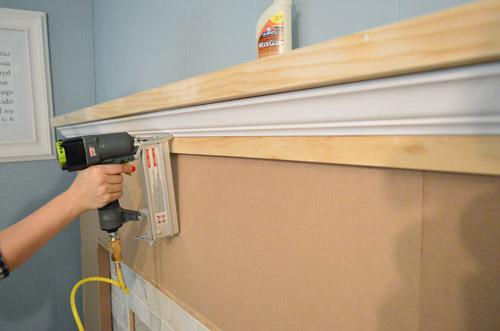
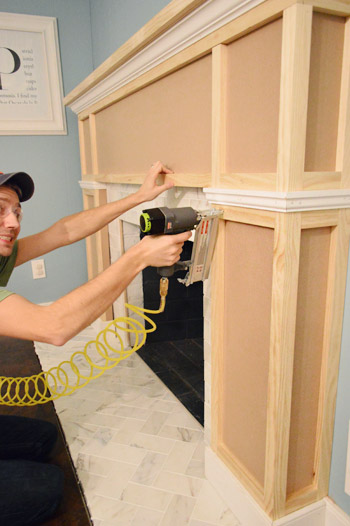
Once we nailed the mantel in place, we wanted to add some crown molding beneath it to give it more presence. But we couldn’t put the crown right against the MDF because we wanted it to sit flush with the rest of the decorative boxes (made from 1 x 2’s) that we’d be adding later. So we had to attached a piece of wood to bump the crown molding out to the right spot:
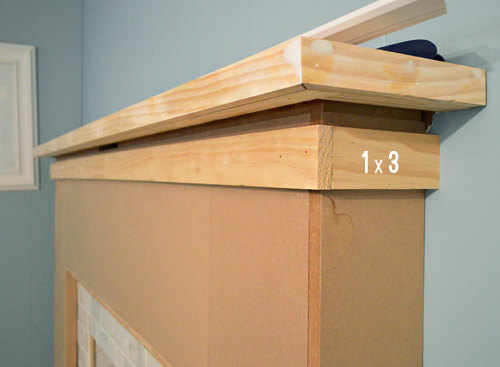
We chose 1 x 3″ boards so that we could use 1 inch of it as a base for the crown to rest against, while the remaining inches could act as the top piece of some of our 1 x 2″ boxes. Look it’s wifey with the nail gun again. Sorry, I’m still getting used to how good she looks while shooting nails into things. Update: Here’s an affiliate link to the nail gun that we bought, for anyone interested in grabbing one for themselves.
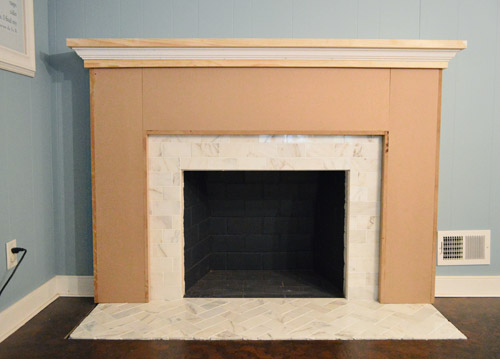
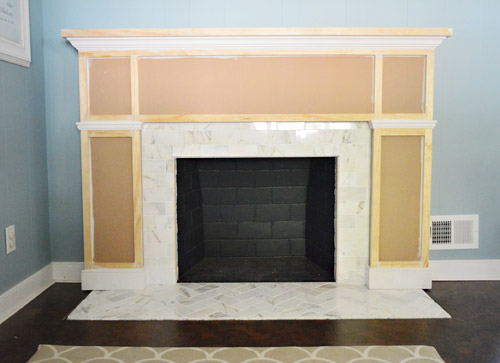
So here we are with the mantel added. It’s starting to look a bit more finished, eh? But we thought this flat-fronted look was a bit too modern for the rest of our kitchen (our cabinets on the other side of the room have more of a traditional shape), so adding baseboard and some framing/details to the wood surround was next on the agenda.
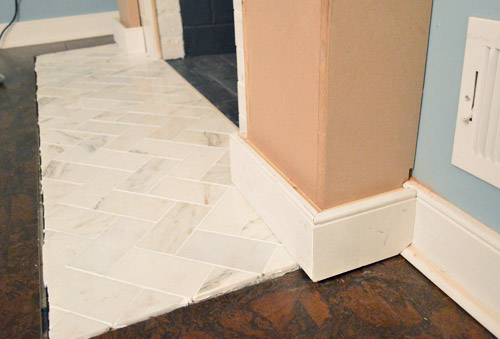
When it came to the baseboard, we had to add some scrap 1 x 2″ boards behind it so that the baseboard didn’t sit flush to the MDF (again, I promise this will make more sense once you see the finished piece).
From there we could start adding the 1 x 2″ boxes that we thought would give the piece a nice, simple detail. So first we added a few vertical strips of 1 x 2s.
And then we added some of the horizontal pieces between them. Are you starting to see the boxes?

We also added another piece of decorative trim right where the vertical “posts” of the fireplace frame seemed to support the middle “span” that stretched across the whole fireplace. It helped to break up the boxes a bit more so we didn’t have these long, skinny boxes on either side. Oh yeah, and this is what it looks like when you’re not aware that your wife is cropping you out of the photo. Smile!
The whole trim process actually went pretty quickly, so we even had time to start caulking some of the seams before the bean woke up from her nap and asked us what we were building now (true story).
Of course, we still have to prime and paint. And we’ve gotta finish trimming out the bottom – especially where the tile meets the cork floor, and add some quarter round where the baseboard meets the floor. So it’ll look a lot more polished when we tie up those loose ends.

Even though it’s not sporting a fresh coat of paint yet, we’re crazy about how this fireplace makeover is shaping up. Because, as a reminder, here’s where we started:

Give us another day or two (Wednesday maybe?) to get all of those finishing touches wrapped up and we’ll hopefully be back with the fully finished product, a complete budget breakdown, and a junkload of photos.

Leave a Reply