We’re back with the fireplace update that we mentioned in yesterday’s post about removing our old not-baby-safe wood stove.
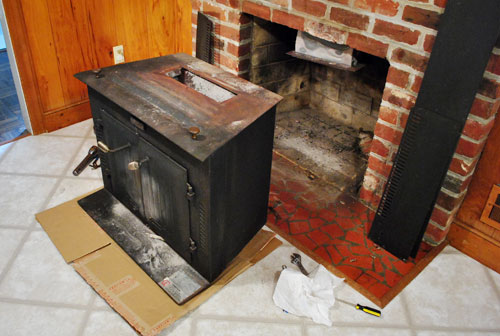
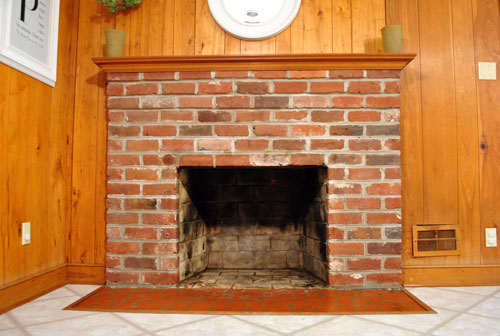
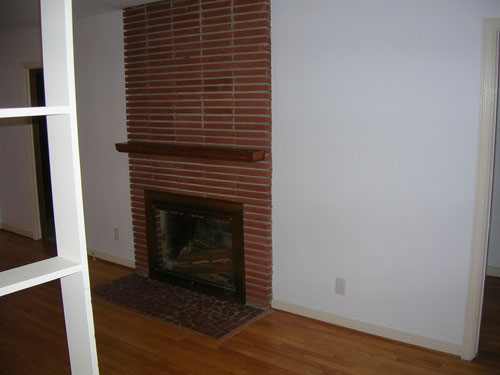
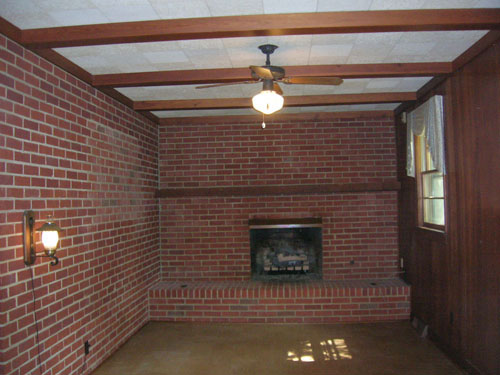
This next step is definitely just the beginning of our fireplace makeover (as in step two of probably fifteen). We figure we’ll tackle this baby in stages (just like we do pretty much everything else around here) so the first step was to spend as little as possible to get it looking better for the short-term (since it might be a while until Phase Two kicks in). So here’s what it looked like yesterday morning:
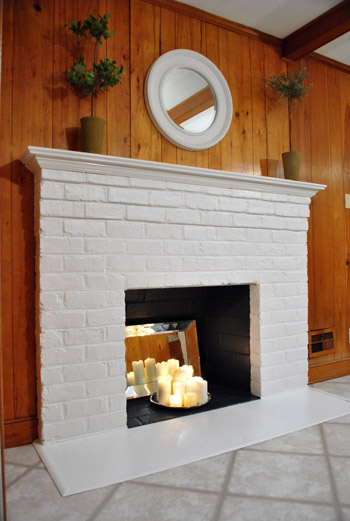
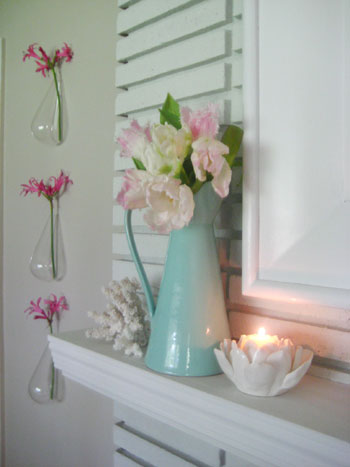
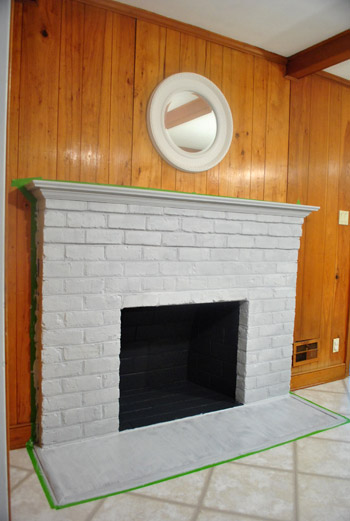
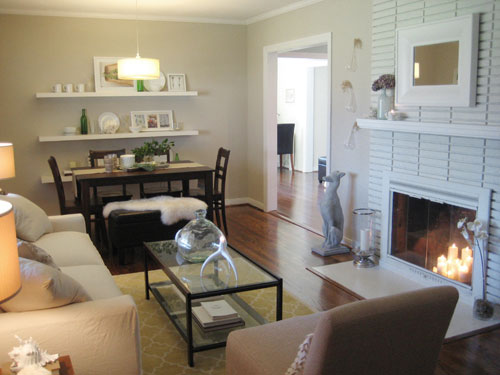
And here’s what it looked like yesterday evening:
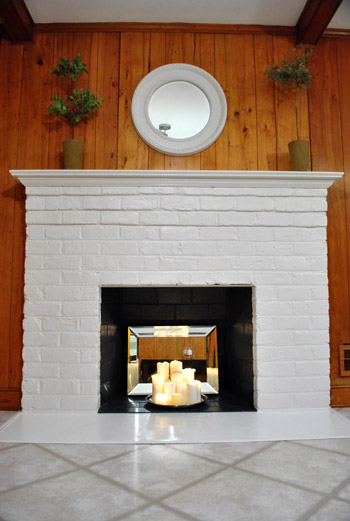
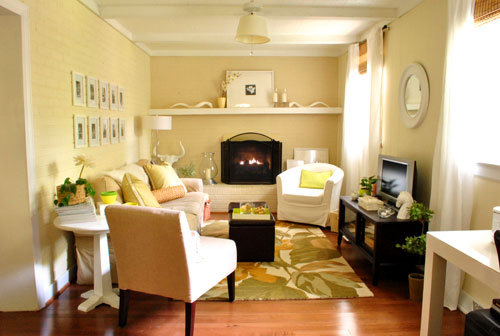
I know, I know – the orange paneling makes it look craZy with a capital Z. But just scroll down a bit to the dark den from our first house (which also had paneling and brick) to see just how transformative paint can be (we didn’t remove the paneling in there, just primed and painted it). So try to envision some fresh paint in a soft color on the paneled walls with glossy white beams and trim to match the same semi-gloss paint on the fireplace. Can you see it?
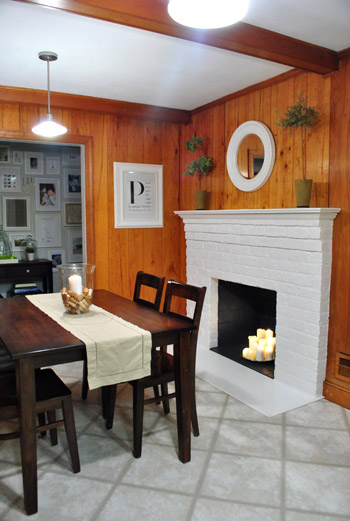
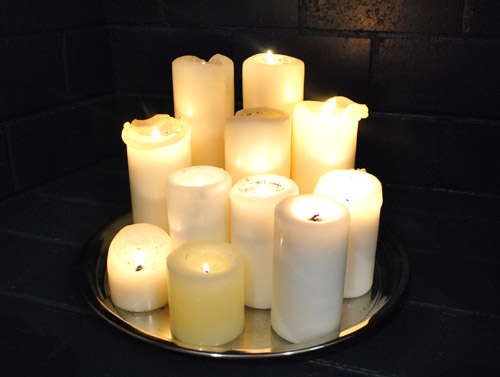
And now for a word about the candles and the mirror that I tossed into the firebox. Those are definitely not Clara-friendly. That was just mommy psychosis (I wanted something cute in there for the pics, even if there won’t be a thing in there for a while during Clara’s waking hours). It was such a quick little addition that it gave me some baby’s-in-bed-let’s-have-date-night ideas (you know as opposed to baby’s-in-bed-let’s-upload-fireplace-photos-and-write-the-post-for-the-morning ideas). The latter won out, so maybe I’ll break out this look for anniversaries. Me-ow.
But when it comes to the day to day stuff, l fully expect to find pillows, stuffed animals, books, and whatever else Clara decides to put in there awaiting me when I walk into the kitchen. The girl loves hiding stuff around the house, so I’m guessing that she’ll appreciate this new little nook. Maybe we’ll even be able to sneak a picture of her chilling in her not-hot-and-not-sharp-anymore zone reading a book or snuggling with Gee (her stuffed giraffe that she named herself).
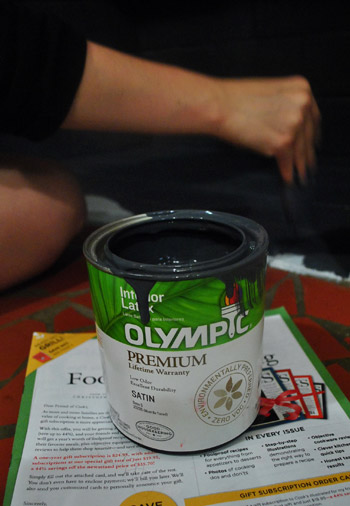
The best thing about this little fireplace facelift is that it took us about five hours (on and off with drying time in between coats) and it only cost eight dollars (and three cents, to be exact). We just used primer that we had leftover from painting the guest room (Olympic Premium No-VOC primer), some white semi-gloss paint that we always have around for trim touch ups (Olympic Premium No-VOC paint) and a quart of Benjamin Moore’s Temptation in satin that we picked up from Lowe’s (color matched to, you guessed it, Olympic Premium No-VOC paint). Primer isn’t always necessary (we’ve gone without it while painting brick before) but we had it on hand so we figured we might as well use it.
You guys know we’re no strangers to painting brick fireplaces since we tackled not one but two in our first house. Remember this guy who went from this…
… to this:

And this one that went from this…
… to this:
You can check out our original fireplace-painting tutorial here, but since we’re nothing if not even chattier these days, we thought we’d recap the steps we took when it came to prepping our current fireplace for paint. First we:
- Closed the damper and declared the fireplace inoperable (we never used the woodburning fireplace in our last house and plan to either install a double-sided gas or electric insert down the road).
- Scrubbed the heck out of the firebox, exterior brick, mantel, and hearth with soap and water to cut the grease/ash (we used Dr. Bronners + water).
- Let everything dry.
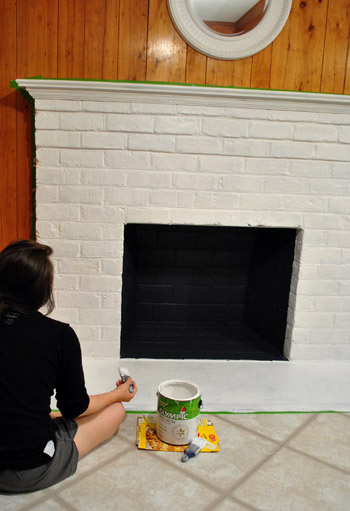
Then it was time to prime and paint. Here’s what we did:
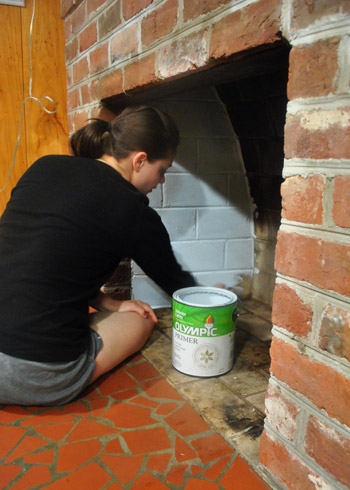
- Primed the firebox with Olympic Premium No-VOC Primer (remember, we’re not going to use this fireplace for wood burning, so if you’ll be using your fireplace either leave the firebox unpainted or hunt down high-heat options that are meant for the job).
- Painted the firebox with Ben Moore’s Temptation in satin (color matched to Olympic Premium No-VOC paint).
- Taped off the wall around the fireplace (since you have to smash a paint brush into craggy brick, it’s hard to stay in the lines).
- Caulked the big crack between the tile hearth and the firebox so it would look seamless when painted.
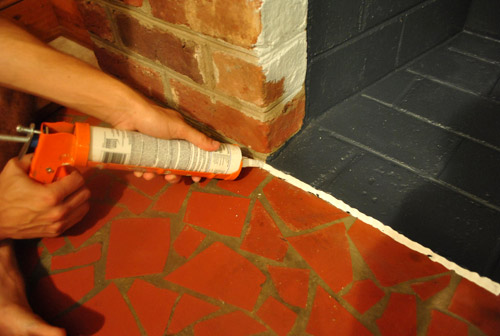
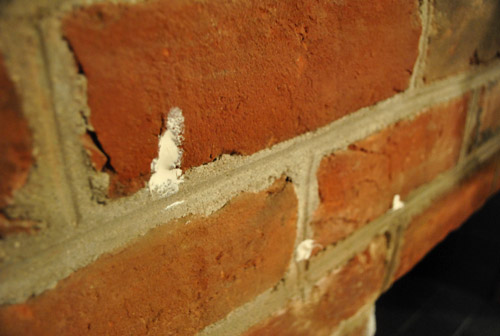
- Caulked other especially cavernous holes in the craggy brick so it looked less shadow-y and chipped when painted.
- Primed the brick fireplace surround, wood mantel, and even the tiled hearth (yup, the tiled hearth… more on that in a minute).
- Painted the brick fireplace surround, wood mantel, and tiled hearth with two coats of Olympic Premium No-VOC semi-gloss paint in off-the-shelf white (some folks like more contrast when it comes to mantel and hearth color, but we’ve always loved the all white look – although later when we build out or even tile the fireplace & surround we might add more varied colors and materials for fun).
- Applied three thin and even coats of Safecoat Acrylacq (a low-VOC non-toxic alternative to polyurethane) to just the tiled hearth on the floor. Be warned that certain polyurethane types will leave a nasty yellow tint so the only two that we trust are the Safecoat I mentioned above and Minwax Water-Based Polycrylic Protective Finish in “Clear Gloss.”
You think we’re crazy for painting the tile on the floor huh? Check this out. We did the exact same thing to the exact same heart floor in our first house. See the same little smashed up tile?
The whole prime, paint, and poly technique was meant as a very very temporary solution (we planned to replace the tile pretty soon thereafter). But it stuck. Literally. It still looked mint four and a half years later when we sold the house! Even with foot traffic (in shoes) and small nephews of ours ramming it with metal matchbox cars. Here’s where I’d add a close up shot, but sniffle, we don’t live there anymore. So here’s the last wide shot we took of the room (you can see that it still looks glossy and white):
So although painting ceramic tile, especially tile that gets walked on, is nothing the pros recommend, we’re totally cool with doing it as a temporary fix (although doing it in a bathroom is probably a terrible idea because it can get slick when walked on with sopping wet feet). I should mention that in both cases the tile was terra cotta which is really matte and porous (and not slick and shiny), which might be why it grabbed the paint and held the heck on for such a long time. Who knows, it could inexplicably show a lot more wear and tear than it did in the last house (you know we’ll tell ya if things quickly go south). But either way we’re pretty sure we’ll bring in some awesome new tile for the hearth and maybe the entire fireplace when we get down the road a bit (read: save enough loot to tackle the kitchen in a more major way).
Have you guys painted any brick lately? Or ever primed, painted, and poly’d tile- just to see what would happen? Has your husband ever taken terribly unflattering photos of you painting something to get you back for sharing pics of him scrubbing brick in his high school gym shorts?

Leave a Reply