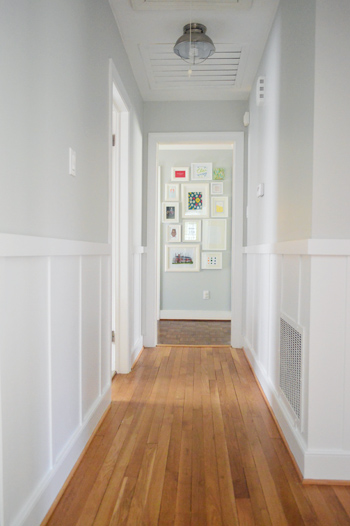
Which eyesores? The wicked ones in our hallway of course. Because if we were going through all of the trouble to install board and batten, we didn’t want a blah light fixture, a dingy old ceiling vent, and a gaudy doorbell stinking up the view. So here’s an overdue rundown of those other little updates that you might have noticed in last week’s big board & batten reveal (while we steadily add crown molding to the playroom, guest room, and this very hallway – which we can’t wait to share!).
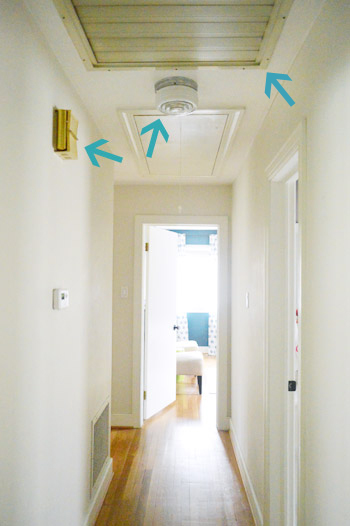
Although updating the light fixture, the doorbell, and the ceiling vent sound small-ish in size, they definitely were detracting from the view. So those little switches are definitely worth doing right along with the big ones (you know what they say about the devil being in the details). And dare I say that thanks to those updates the hallway is now befitting of all the fancy board & batten that’s going on down below.
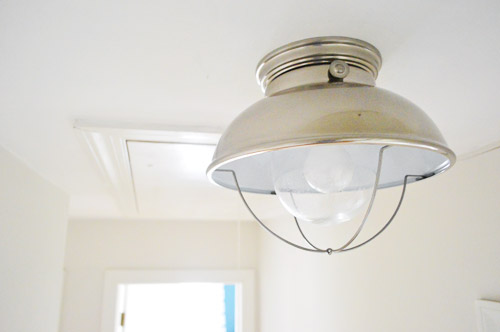
Let’s start with the light fixture, which was actually a transplant from our laundry room since the original fixture was too much on the eyes. Whereas the former laundry room light may best be described as “not really enough on the eyes.” But it worked for over a year and you know we love to use what we have – at least while we hold out for something that’s more our style.
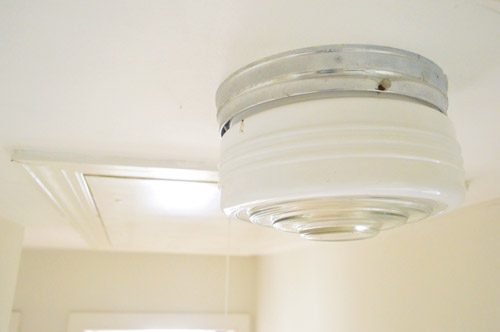
While we were holding out we also contemplating freshening it up with some new spray paint on the base and maybe a painted stripe on the glass cover. But then we came across this deeply-discounted fixture at our favorite local lighting outlet. And since it reminded us of the industrial, outdoor-ish fixtures that we installed in the guest and hall bathrooms, we were sold. And for $18 (marked down from $99) how could we not be?
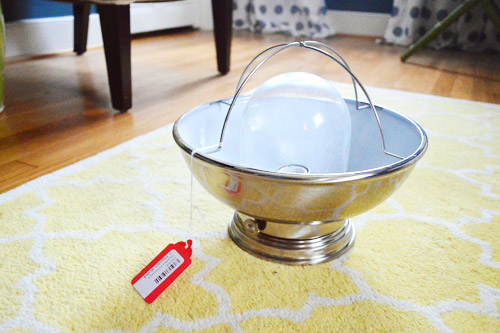
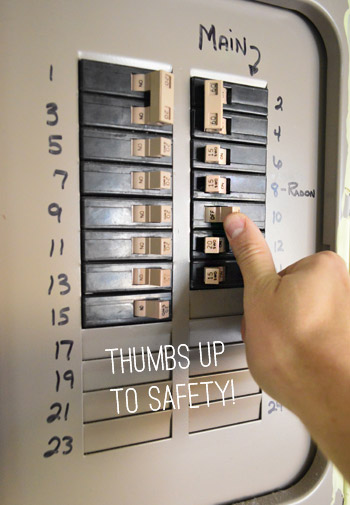
So I switched off the power and got busy with a good ol’ fashioned light fixture switch-up.
Not too shabby, eh? Forgive the incandescent bulb – it was the only one I had around at the time.
So with that little upgrade made, it was time to turn our attention to its ugly neighbor: the doorbell.
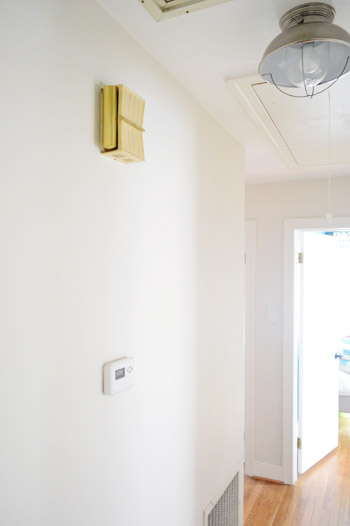
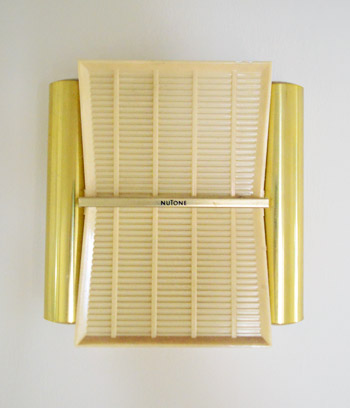
I’m convinced this thing is straight out of a Brady Bunch episode. And when it dings I half expect an old-timey milkman to be dropping off some fresh bottles on our doorstep.
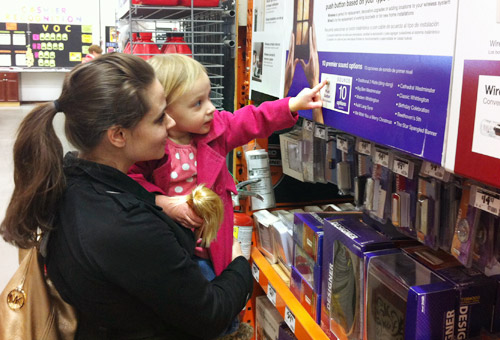
I shouldn’t really complain, considering our last house didn’t even have a doorbell (we eventually installed a wireless one). But I’ll admit that having a wired doorbell presented a somewhat new challenge to us… in that we didn’t know much about them. So off we went doorbell shopping, hoping to find something that was still wired but far less scene-stealing. I believe it was one of Clara’s favorite DIY shopping trips to date. I’m not sure all of the the Home Depot shoppers who had to listen to us test each sound over and over again would agree.
We came home with this guy. He was $20, wired, and wonderfully nondescript.
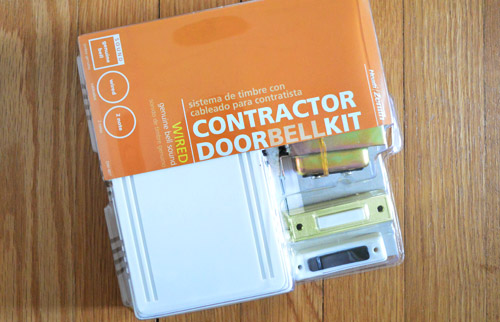
With the electricity still off, I nervously popped off the cover of the old bell, half expecting to find some elaborate contraption run by a tiny cartoon dinosaur a la The Flintstones. But to my surprise, the dated (and quite dusty) fixture had the exact same connections that the new one did. Hallelujah.
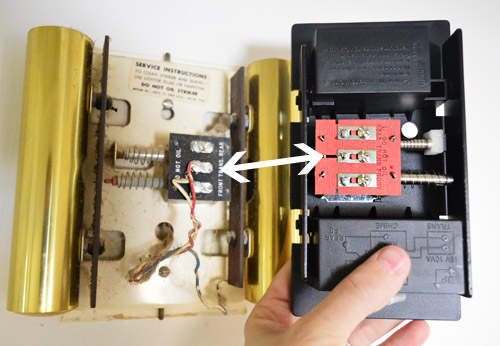
That meant I could rely on my old “just redo what you undo” technique for swapping out anything electrical (with the power off of course – important detail!). To elaborate on that method: if the red wire went somewhere on the old fixture, I put it there on the new one. Replication theory.
So I disconnected the old connections and unscrewed it from the wall…
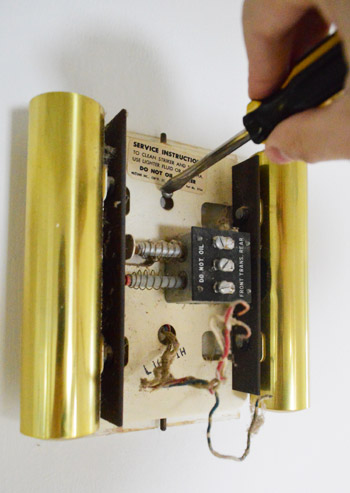
…which was oh-so-attractive underneath.
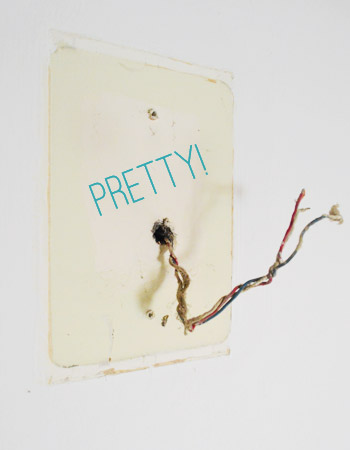
The new doorbell had a slightly smaller footprint when attached, but since we knew we’d be painting the wall as part of the board and batten project we didn’t mind living with the now-visible ugliness for a few days.
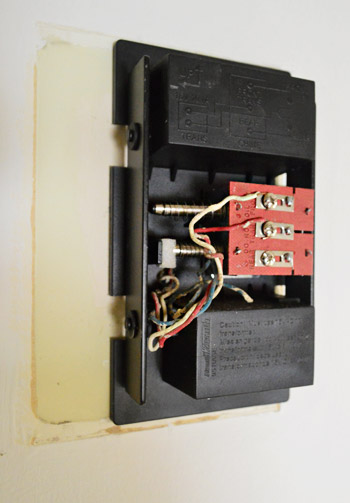
With all of the wires reconnected in the same way that they were configured for the old doorbell, I added the cover and marveled at what a small but helpful improvement it was. It’s one of those easy changes that makes the whole house feel a lot more updated (great for resale since the entire “system” now appears new). Update: Every time we mention resale (which we do pretty often as DIYers) we get a bunch of “are you moving?!” questions, so here’s our response for you guys!
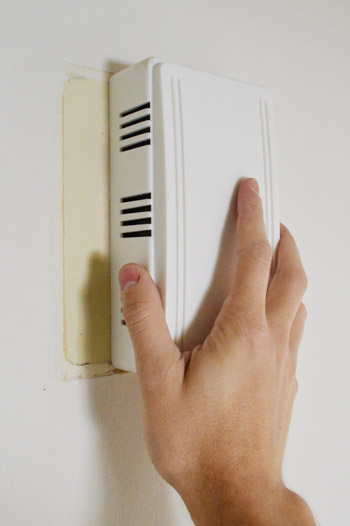
And as is the case as soon as you complete one project, it just makes something nearby look terrible by comparison. Like that dingy yellowed grate behind these before & after photos (it’s a vent for the whole house fan). In a word: ew.
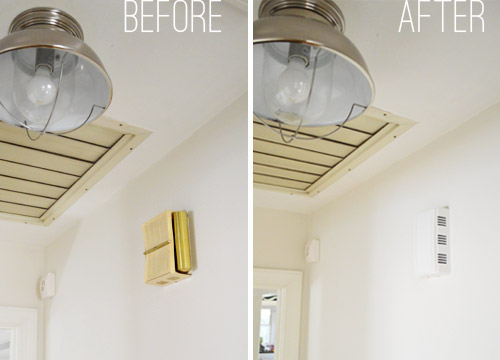
Thankfully my paint-happy wife hopped right up on a stepladder and tackled it with some ceiling paint from the basement (it was left for us by the previous owners). She just used a paint brush to apply extra thin coats (it took her three, but the fan still opens/works/looks great thanks to the thin application).
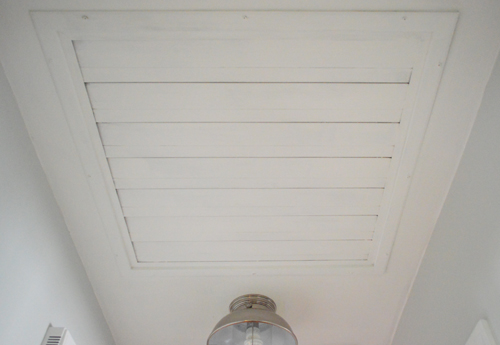
So. Much. Better.
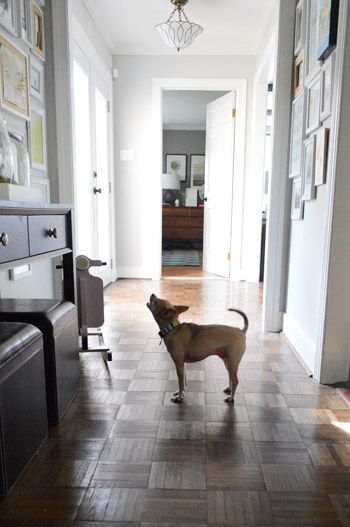
Oh yeah, and if you were wondering if the doorbell still works? It does. And so does our back-up “doorbell” that goes off every time the real one sounds. He’s also known as Burger.
And more recently, in our current home, we went fully wireless with our doorbell because the house didn’t have one to begin with! We installed a Ring video doorbell instead. It was super easy and took only 5 simple steps to add.
Are there any upgrades that you tend to tackle in a domino-effect-ish row? Do you ever notice how one little update can lead to a few more nearby? It’s like ugly things get incrementally uglier with the presence of new things nearby…

Leave a Reply