Sherry’s junk drawer switcheroo was actually just the beginning… the beginning of our kitchen makeover. At least the first phase of it.
With our self-imposed six month waiting period running out earlier this month, we finally started putting some plans into action last week (we like to force ourselves to live with things for a while before doing anything drastic – you know, so we’re sure to remove/demo/open the right things after some thought). The plan: to do sort of a “Phase 1” kitchen makeover where we work with as much of the existing kitchen as possible first (aka, keep the cabinets, the countertops, the vinyl floor, the paneling, the beams, etc). Then down the road we’ll enter “Phase 2” (where we do a more invasive reno after saving our pennies and really thinking about what we want/need and what we can keep/work with). But for now we’re happy to ride the Phase 1 wave (and see where it goes and how much our “refreshed” kitchen will meet our needs before jumping the gun on Phase 2 down the line).
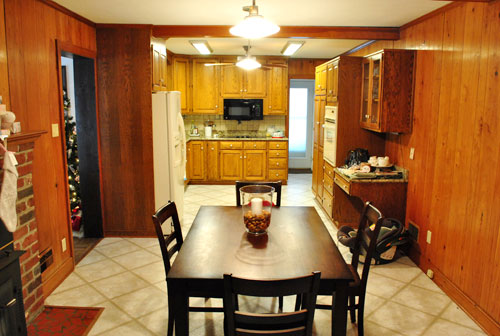
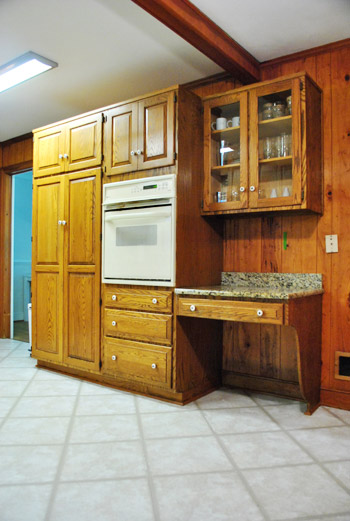
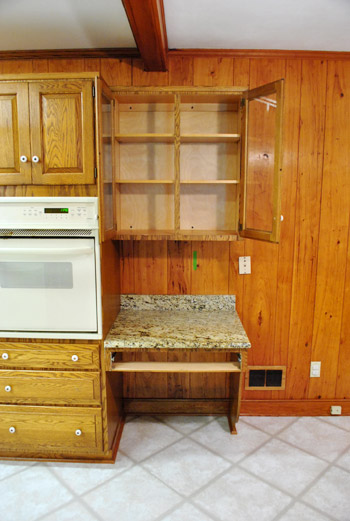
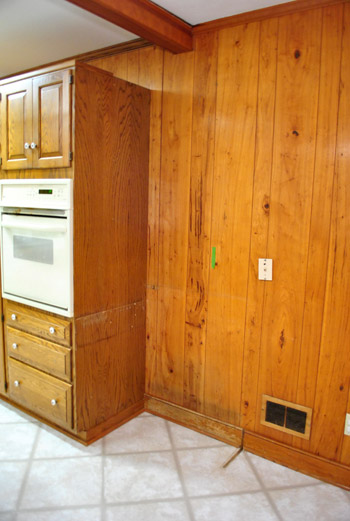
Here’s a taken-recently shot of the kitchen as it looks now for reference.
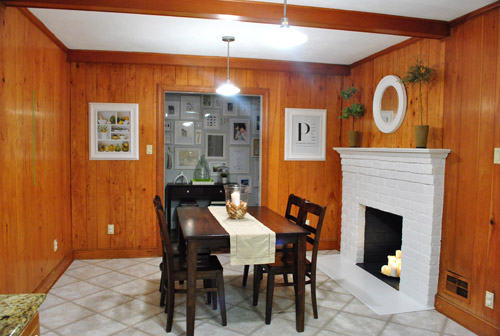
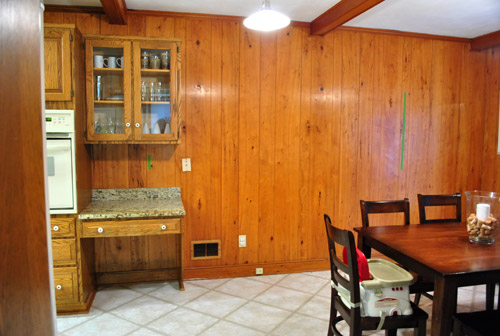
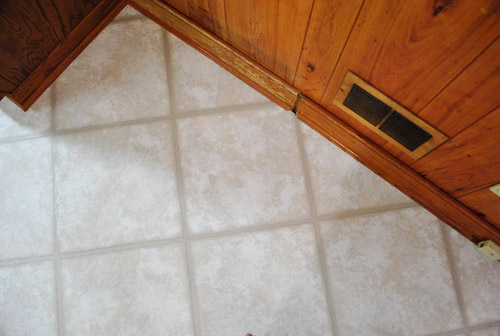
And here’s a taken-a-long-time ago shot from the other direction (see the stockings and the tree?) to refresh your memory. Apparently we don’t take many photos of the room from that direction, so this one is the most recent:
And now here’s the Phase 1 breakdown. Even this first phase has a lot of steps to it, so it won’t necessarily be a quick task (we plan to tackle it on and off as we have the funds/energy). But here’s a quick rundown of what we want to eventually accomplish (not necessarily in this order):
Remove woodstove insert from fireplace<– done herePrime and paint fireplace<– done here- Remove the desk area to the right of the oven to make room for a nice wide doorway into the dining room (we’ll be adding an island so a desk is redundant)
- Prime and paint all that dark paneling
- Open the aforementioned double-wide doorway between the kitchen & dining room (which will line up with the big dining room window for balance – so it looks like it has always been there) <– we’ll need a pro and a permit for this
- Swap the too-low-hanging microwave over the cooktop for a proper hood (the current microwave isn’t to code and causes steam to go everywhere but into the vent)
- Replace the wall oven with a wall oven/microwave combo
- Prime and paint the cabinets
- Completely redo the backsplash
- Overhaul and update the lighting (buh-bye florescent lights)
- Add an island full of storage and seating space where the current kitchen table resides (since the wide doorway to the dining room will make large gatherings at our big round table in there nice and convenient)
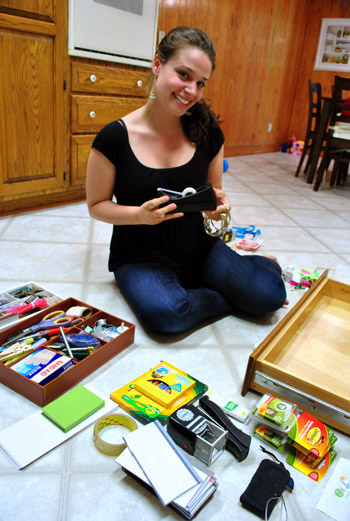
So as you may have guessed, Sherry’s junk drawer shenanigans were all in preparation for removing that desk area and the cabinet above it. Why? Because our future mega-doorway will slice right through it otherwise.
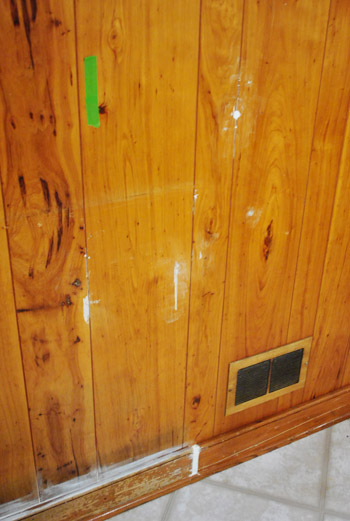
Can you see below where we’ve begun to tape off the future opening with green painter’s tape? We actually have had those pieces of tape up for months- just to live with them and see if we like that placement. And after 60+ days of consideration we’ve come to the conclusion that it’s the perfect location for the doorway, since it’ll open up the kitchen to the dining room while mirroring the width of the front window in the dining room on the other side for some nice balance. We don’t mind losing that one upper cabinet and desk area for the sake of a nice open kitchen and dining room along with a much larger island full of storage (and desk-ish usage if the mood strikes).
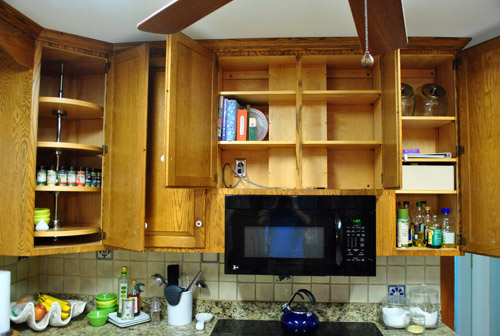
Obviously we could have worked around this cabinet if we wanted to, but so far that desk has only served as a junk magnet (kind of like the kitchen table that we’re desperately trying to keep clear). And we’re not short on upper cabinet storage at the moment so there’s lots of room for stuff to relocate (and you already saw that we had a few empty bottom drawers to put to use here):
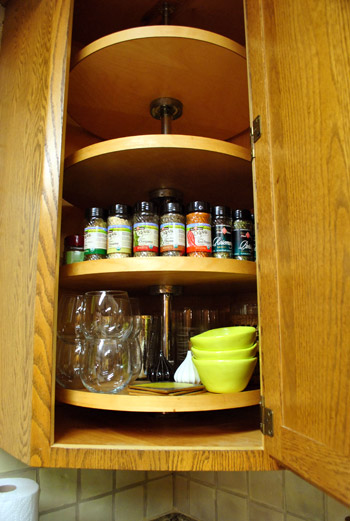
In fact, we had no problem transplanting all of the things in that glass upper cabinet (full of obedient items according to the wife) into our mostly bare lazy susan’d cabinet. Here they are all packed into the bottom tier (with upper space to spare):
Not to mention that once we add a nice big island we’ll have tons more when it comes to stash space in this room. So with the junk drawer and upper cabinet all clear, we were ready for this little slice of our kitchen to come down. Like yesterday.
The upper cabinet was a cinch. First we removed the doors so there was no shattering of glass or slicing of body parts in the process. We’d like to find a use for these (we love a glass-fronted cabinet) – though they unfortunately don’t fit any of our other kitchen cabinets for a quick switch. Boo. Might rehang the whole thing in another room though. We’ll keep you posted.
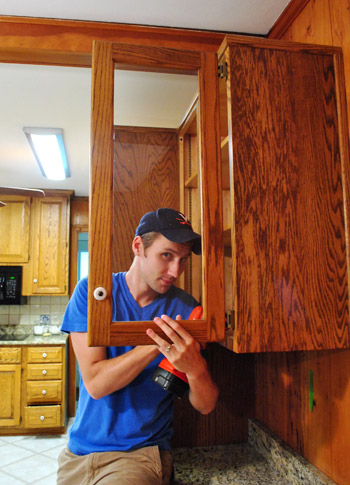
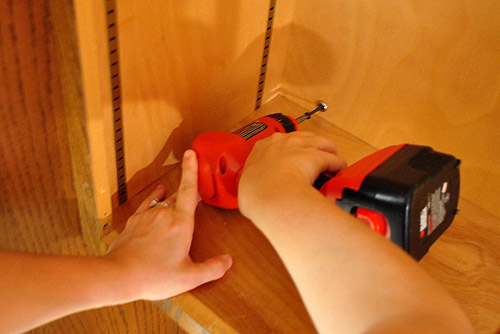
Then I supported the weight of the cabinet while Sherry unscrewed it from the wall and the cabinet next to it.
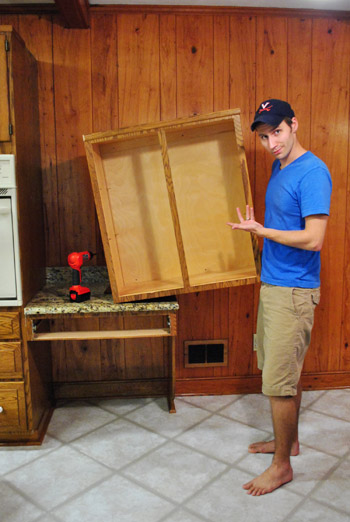
And just like that, the cabinet came down in one remarkably light piece. I was so unphased by the task that I even broke out my smirky Vana White impression. Look at that creepy lopsided half-grin. It reminds me of a face that Mystery (aka: The Pick Up Artist) would make. Anyone remember that show?
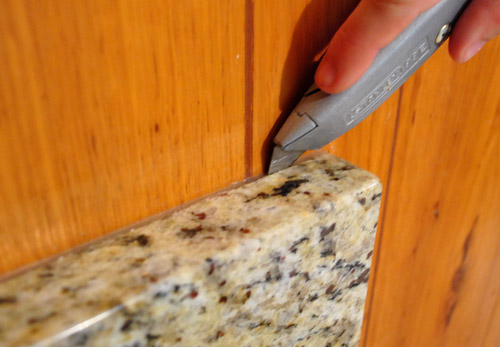
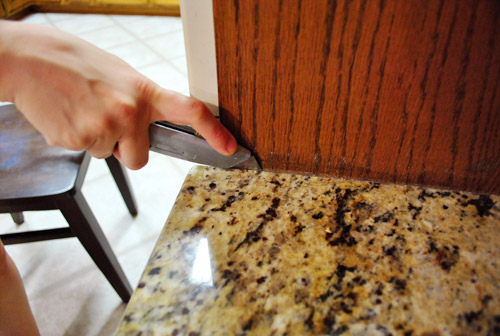
So the top cabinet was a cinch. But the little desk area below was a slightly different story. Sherry approached it the same way that she removed the granite backsplash from our bathroom (seen here). First she used a razor to slice through the silicone caulk holding it in place.
The backsplash part came off pretty easily (with a little prying with a screwdriver and a hammer used chisel-style to get behind it).
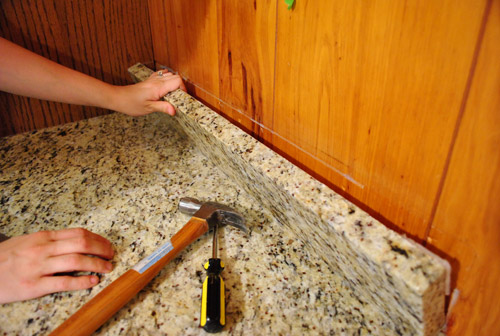
Then Sherry sliced the clear caulk holding the counter to the wall as well as to the other cabinet and the drawer below it – assuming it would just lift right off.
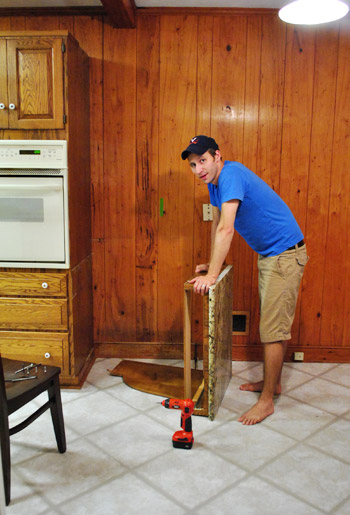
No dice. We tugged and shimmied that sucker with all of our might. We sliced the caulk again and again. We shimmied a few more times (just for good measure). And finally, in one strong tug, the whole thing (granite and drawer) tipped over onto the floor – nearly pulling us down with it as we struggled to keep it from slamming to the ground. Man, granite is HEAVY. This is my tired face. Note: Wear shoes when demo-ing. Barefoot = stupid and not recommended. Shame on us.
But at least everything was gone (and we still had all of our toes). There was some residual damage left in its wake – like some missing trim and some glue on the remaining cabinet. Both are semi straightforward fixes (we just have to scrape off the glue, use wood putty to fill holes, sand and stain things to match, and add back the missing trim up top).
Since we eventually plan to paint the cabinets we may not even bother with all the sanding and staining, but we’ll definitely tend to the trim.
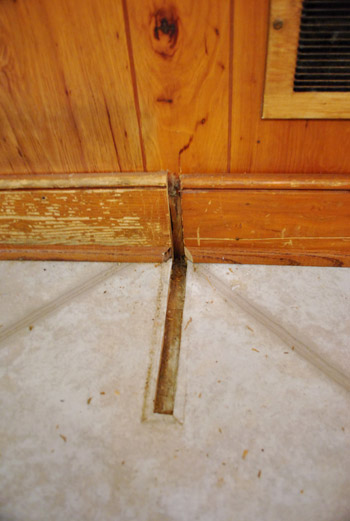
The most notable “damage” was the hole in the floor where the leg support once sat. We had hoped that the flooring went under the desk’s leg, but nope:
Lucky for us, the previous owners had left some spare vinyl floor tiles behind. So all I had to do was scrape up this old damaged tile (which was VERY thick, by the way)…
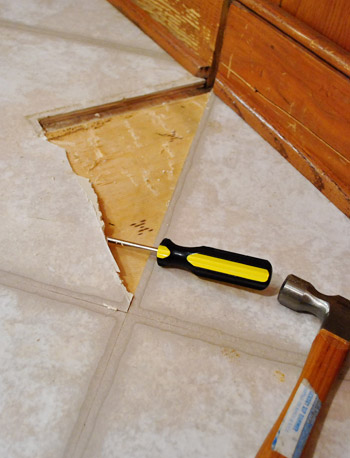
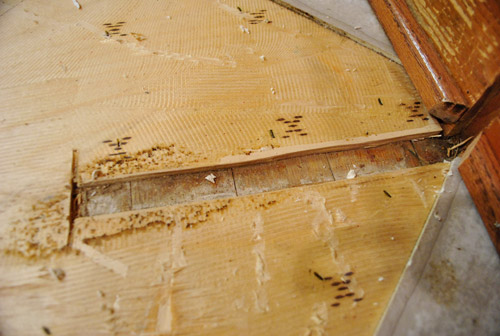
… to reveal something very interesting indeed: original hardwood flooring (wahoooooooo! picture me doing flips and cartwheels and clicking my heels in the air) underneath a thick layer of plywood. Perhaps I should add “restore old hardwood floors” to our kitchen to do list? Nah… that’s more of a Phase 2 project since it’ll necessitate removing all the lower cabinets and appliances which sit on top of the vinyl and plywood layers. Plus we’re not certain it runs all the way through the kitchen (this part of the room used to be a family room, so it stands to reason that there’s not any hardwood under the main part of the kitchen – I guess time will tell).
But back to the floor tile replacement task at hand. After I removed that tile and went crazy over the hardwoods, I just measured how much of the tip I needed to cut off of my replacement tile, and then used a razor to make my cut:
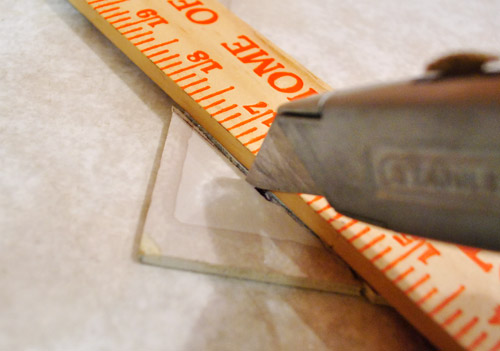
This isn’t the type of vinyl tile with a peel-n-stick base, so I just relied on the leftover glue residue on the plywood below (of which there was plenty) and slid the new tile into place.

Then we sat Clara’s carset on that tile for a while to hold it down while the glue took hold. Now it’s nice and secure. And it looks like new, right?
Well, except for that gap in the molding. But luckily I was able to reuse a perfectly sized piece of quarter round (that had been nailed to the front of the desk) and Sherry broke out her mad spackling skills to bridge the gap in the baseboard (along with some other cracks and holes in the paneling).
Of course, had this part of the baseboard not been on the “to be removed” area of the wall (our doorway to the dining room will be right here), we probably would’ve gone the more professional route (buying some baseboard, cutting it to fit, and nailing it in instead of caulking the gap). But this works for now since it’ll all be gone-zo when we open up the doorway to the dining room anyway.
And now that we’ve got this cabinet gone and those ugly caulk spots all over the wall, I guess that means it’s time to prime and paint (we learned that opening up the wall calls for a permit – which might take a while – so we’re happy to brighten up that dark paneling in the meantime). Sayonara dark paneling. But more on that later… well, sooner rather than later if all goes well. In fact, we’re probably priming as you read this.

Leave a Reply