Our Third House
Here are all of the updates, projects and makeovers that we did to our third house located in Richmond VA, complete with before & after photos and tutorials.
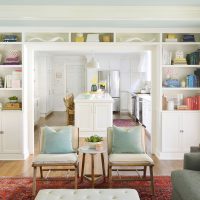
DIY Built-In Bookshelves
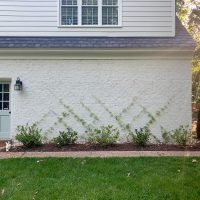
How To Make A DIY Trellis
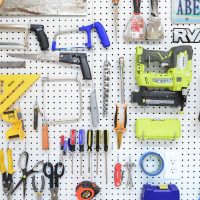
10 Easy Shed Storage Ideas
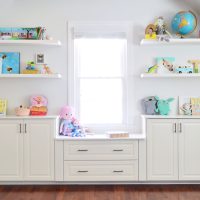
How To Make Built-In Cabinets
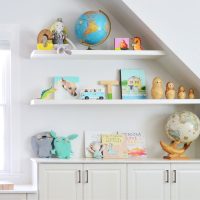
How To Make DIY Floating Shelves
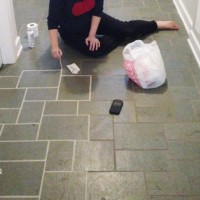
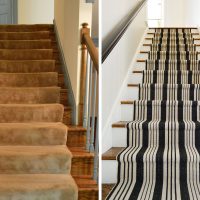
How We Got Our Stained Grout White Again
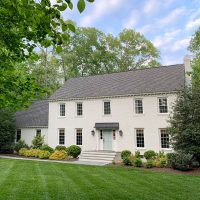
Our Painted Brick House’s Exterior Makeover
Two Final House Tour Videos Pre & Post Packing
The Best LED Light Bulbs
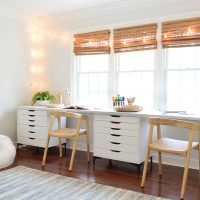
Making An Arts & Crafts Room For Our Kids
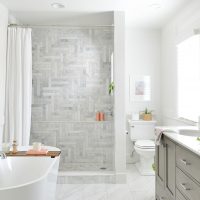
Before & After Photos Of Our Bathroom Makeover & How Much It Cost
- 1
- 2
- 3
- …
- 22
- Next Page »