Sherry is officially half-done with Clara’s canopy wall update, so thanks so much to all 900+ of you who commented with votes and additional suggestions! We shared tons of photoshopped images with Clara and she decided we should combine a few ideas, and well, the kid’s a genius and we can’t wait to share the photos. We might just let her decide what we should do in every room.
But I, ever the party pooper, was determined to check a certain project off of my list that was over a month old before Sherry got to work on that wall: adding chunky double-wide crown molding in there.
So yes, feel free to boo me because I cut the line and knocked it out before Sherry could say “what about my canopy project?!” – which explains why she’s only half-done right now. But she woke up early yesterday to get things moving, and just needs to check off a few more things before she can shoot it and share it – hopefully by Monday).
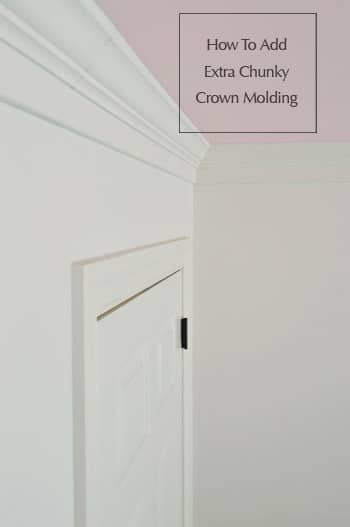
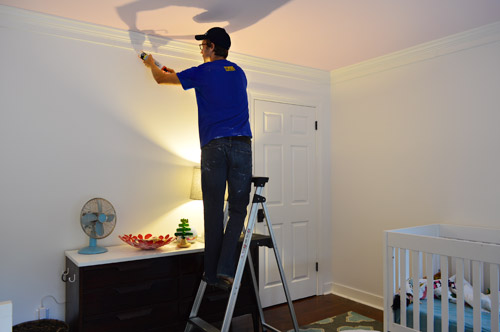
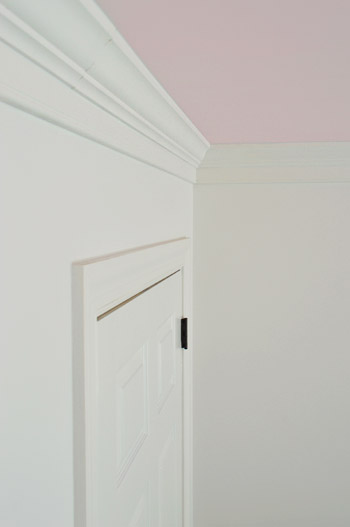
Back to me and my chunky crown. Around a month and a half ago when we painted her walls and ceiling, we didn’t bother to cut in where the white walls meet the pink ceiling so a thin yellowed line of paint remained. Why? Because I planned to install crown molding right afterwards. Soft emphasis on “right afterwards.”

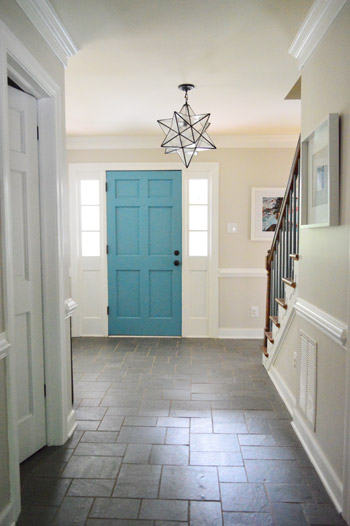
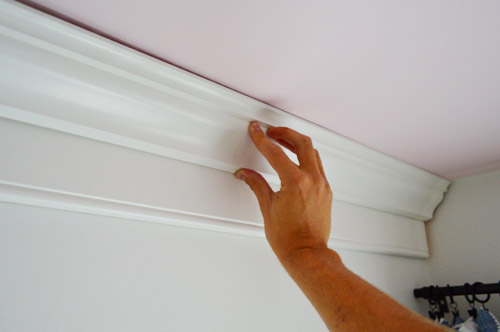
We’ve posted about installing basic crown before (both in photographic and video form) but I wanted to upgrade things this time and beef this crown up bigtime. One, because I had mastered the basic kind first (doing this right off the bat sounded scary, but now that I’ve done a bunch of crown it sounded like a fun challenge), and two, because this house sports beefier crown in many of the rooms that have it, including our dining room, living room, bedroom, office, and foyer – so we wanted the new crown to match the original crown. To give it more presence, the builder appeared to have installed a piece of baseboard before adding the crown on top. See how much thicker it looks?
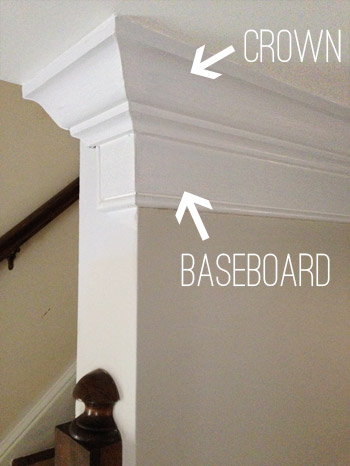
From further away it doesn’t look weirdly baseboard-ish or too thick or anything, it actually seems nicely proportionate with other woodworky details in this house (like the chair rail in some of the rooms, the paneled doors, and the window mullions).
So I purchased baseboard that was 3.25″ tall, which just meant I’d have to float it away from the ceiling a bit to achieve the look we wanted (I could’ve bought wider stuff but I would’ve just been paying for wood you’d never see). So I cut some spacers to help me to keep it a consistent distance from the ceiling all around the room and nailed that in with my nail gun (more on the one we have here). I was sure to use a level to double-check my placement too, since ceilings aren’t always straight and relying on spacers alone could produce some wavy results. Oh and I used a stud finder and a pencil to mark my studs with a dot on the wall lightly below where I’d be nailing them in so I knew where to drive those nails in to be sure I hit a stud for a nice strong hold.
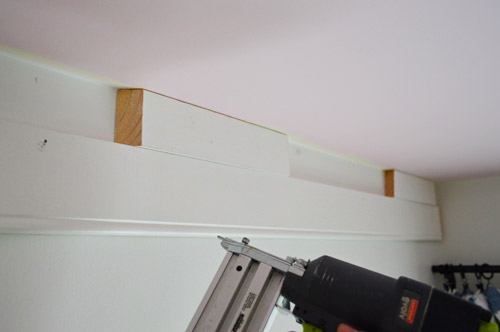
With my first piece of baseboard nailed up, I held up some crown to make sure we liked the look. Up close the baseboard part looked a little thick, so we walked into the other rooms to be sure that’s how it looked in there and to be sure we liked it. Sure enough, we loved the finish look, so we pressed on.
Getting all of the baseboard installed around the room went pretty quickly. It only required some simple 45° miter cuts in each corner, along with some 45° scarf joints where my boards weren’t long enough to span an entire wall. So it was a nice warm up to the more complex calculations and cutting that were to come with the actual crown.
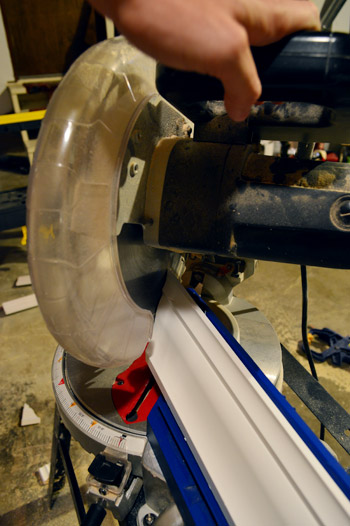
I relied on my Kreg Crown Pro again to help me make accurate cuts for the crown (here’s an affiliate link to the one we purchased). You can read a more about how to make those precise cuts in this post (or watch the video in this one). But the gist is that this Kreg tool (which I bought myself – we have no affiliation with them) helps you hold your board at the right angle on your miter saw. Since crown sits against your ceiling at an angle, it helps to cut on that same angle to get precise cuts so things match up nicely in the corners.
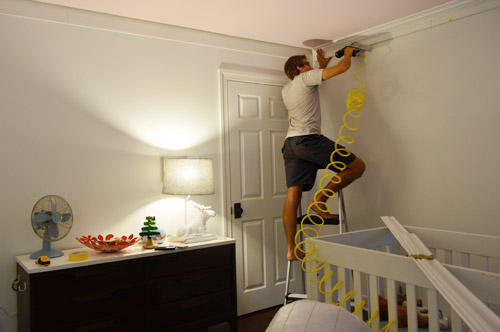
This part definitely took me longer and, thanks to a mid-day meeting, it wasn’t until later in the evening that I finally got all of the crown hung.
The next day it was time to caulk the seams to make the whole job look more finished. In addition to my corners and scarf joints, I also caulked where the baseboard meets the wall, where the crown meets the ceiling and where the baseboard meets the crown. That last step was especially helpful in making our base + crown combo appear more like one chunkier piece of molding instead of two pieces hung on top of each other.
Then we got our touch-up paint on. After you caulk nail holes and gaps you always want to paint again to seal all of that in and get a nice glossy and uniform look (caulk can read as more matte and can even collect dust while the glossier part deflects it so it’s well worth a coat to cover that up).
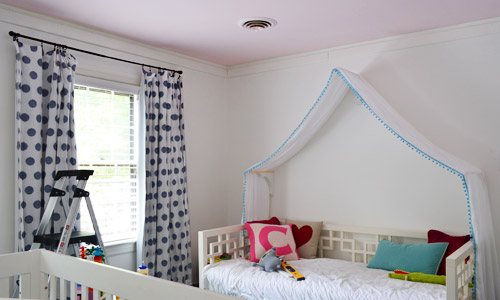
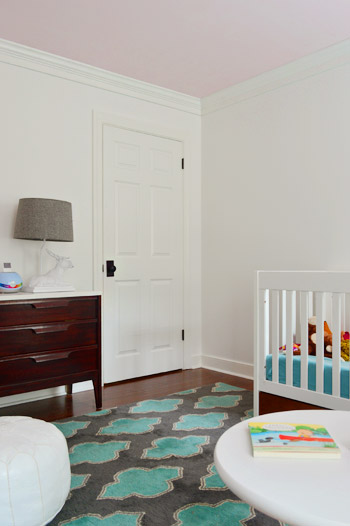
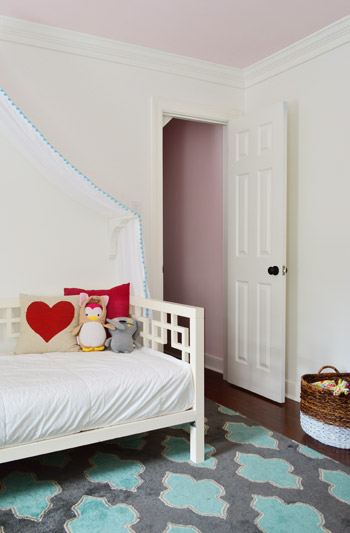
Here’s a detail of the finished job. We’re really happy with it! We thought we might not love it as much in a room with white walls (since it pops more easily when there’s color on the walls) but we actually really love the architecture it adds to the space. Sort of like how we find ourselves oohing and ahhing over those cool old buildings with white walls and thick crown that draws your eye up to the old tin ceilings… it’s not exactly like that in here (we wish!) but the pink ceiling is a fun focal point and the crown is like a big ol’ arrow pointing at it, which we really like.
It definitely makes the room look more polished – so even though it wasn’t the most fun or dramatically transformative project, it feels good to have it checked off my list. As for Clara’s reaction, she likes the “wood things we hung up there” but Sherry’s probably the most excited because she now has free rein in there. And things are HAPPENING on that canopy wall, let me just tell you.
Oh and in the money department, the total cost for the project was $76 worth of crown and $61 worth of baseboard for a total of $137. The boards came pre-primed and we used some of the Simply White semi-gloss paint that we stocked up on back when painting the rest of the trim upstairs, but adding $25 to that amount should cover a quart of paint plus caulk if you don’t have those on hand. Rather than paint after it was hung this time, I had the foresight to spray it way back in early September when I was set up to spray the planks for our sunroom ceiling. See, I told you this had been on my list for a while. Just don’t ask me how long I walked by that freshly sprayed trim sitting there mocking me in the garage.
Only bad news is that now I’m jonesing to put more beefed up crown around the rest of the rooms upstairs. Our bedroom was the only room to already have it, so that means I have two bedrooms, two bathrooms, and a loooooong hallway with weird angles to do. Oddly enough, I’m excited about it. But maybe that’s just my affection for nail guns and miter saws talking.

Leave a Reply