What carport? This carport. You know, the one that almost kept us from considering this house because we were so anti-carport? My how we’ve changed our tune after spending a few years with it…
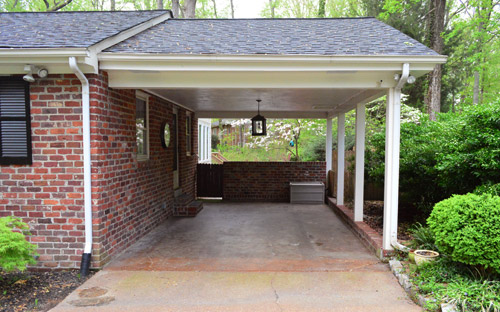
Sherry actually mentioned the new tune we’re signing back in this Listy McListerson post: “we originally wanted to convert this into a garage, but now we’re leaning towards adding a trellis arch so it’s all lush and pretty like a carport with a pergola instead of being closed in and dark like a garage (we’d lose some light from two windows into the laundry room and office if we closed it in).”
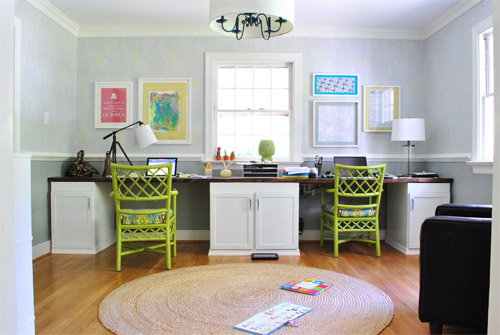
The lost windows were a big game changer, since we learned that fire codes would require us to close them off. See this guy over our built-in desk? It would be gone-zo along with the window in the laundry room.
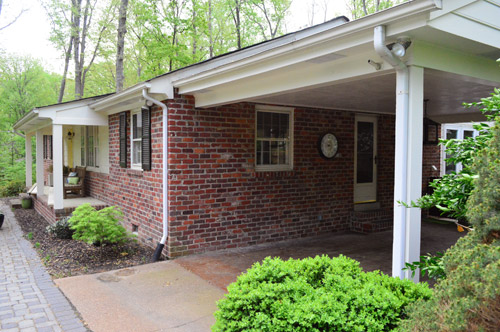
We also got over our need for garage storage because our basement and attic have proven more than sufficient. So Operation Garage Conversion has officially become Operation Carport Fancification. Our main tactic? Adding the architectural interest that Sherry described above. In short, taking it from something like this…
…to something like this. Just more real, less Photoshop-tacular. And maybe with some nice greenery running up it.
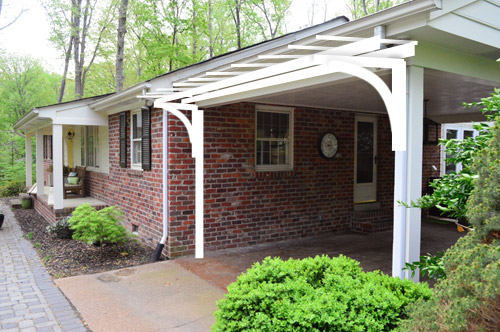
If that Photoshop job isn’t doing it for you (it’s barely doing it for me) the first image in this article might. It wasn’t until we started hunting for inspiration that I realized attached pergolas are a thing. Some fancy folks even dub them “garage arbors.” So the idea of a carport arbor (a “carbor”?) didn’t seem that far-fetched. But figuring out how to actually build one had me all like…

Then Google led us to Workbench Magazine. Well, specifically this 2008 article on – you guessed it – building an attached garage pergola.
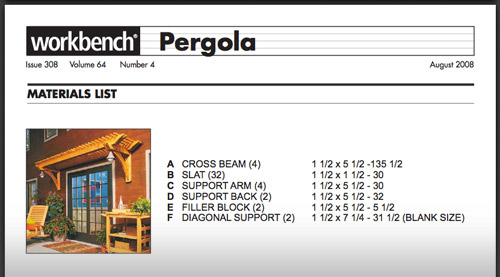
And it wasn’t just any article. It was an article with building plans and diagrams. Glorious, glorious diagrams.
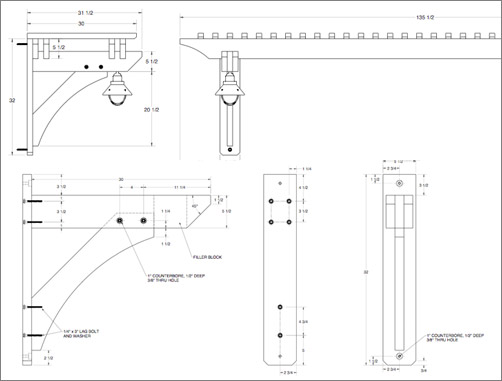
And, as if the pergola heavens were shining down upon us, their plan was just about the exact size of what we needed to do, so we could follow their material and cut list almost to a T. Hallelujah. So I printed out the plans and made myself a date with the Lowe’s rental truck.
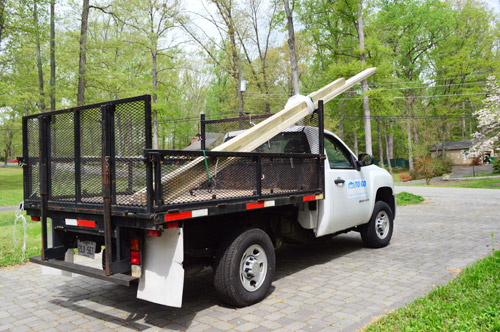
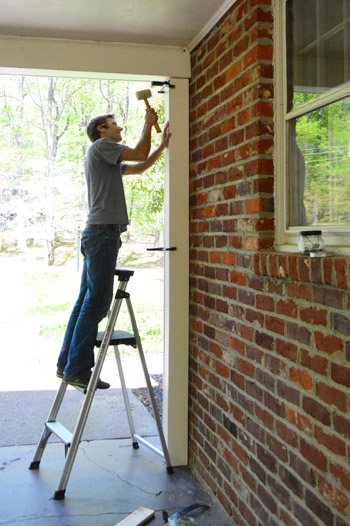
After finding the plans, and buying and hauling back all of our materials, we were finally able to get a start building this weekend, and the first step was installing an extra column on the house-side of the carport (since we needed a place for the pergola brace on that side to attach).
We’re currently in the process of rerouting the drainpipe, priming and painting a lot of wood, making our own curved wooden braces, and cutting all of the slats for the top part. So if all goes well, we should have that knocked out by early next week so we’ll be back with a post full o’ details for you guys then. The plans involve some fairly intricate cutting and bracing (at least by my standards) so we’ll have to see how all that goes. Wish us luck!

People ask us how we get the courage to take on larger building projects like this a lot, and our answer is always “break them down into smaller parts so your brain doesn’t explode.” So to demonstrate that, here’s our own broken-out pergola to-do list:
find or create our own plansfigure out exactly what pieces of wood/screws/bolts we need and somehow get them home<–we rented a Lowe’s truck for $20 to get the 16′ boards homeprime and paint the wood beforehand (should bemuch easier to do this before things are assembled) <– this is about half done, hence the half cross outbuild a column on the left side of the carport so the bracket on that side can rest on it- build the curved wooden braces and bolt them in securely
- lay the boards and slats across the top, making sure they’re all level and secure
- find some vine to creep up the thing for extra credit
Anyone else out there ever built a pergola? Who thinks HGTV should add Pimp My Carport to their programming? Just me?
Psst- I wrote this for Boston.

Leave a Reply