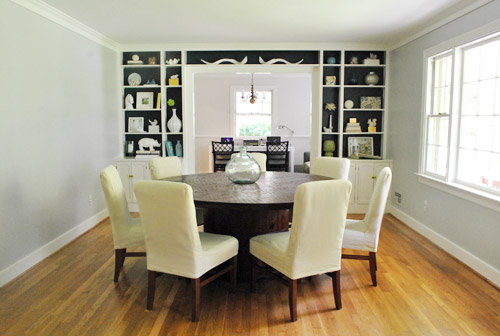
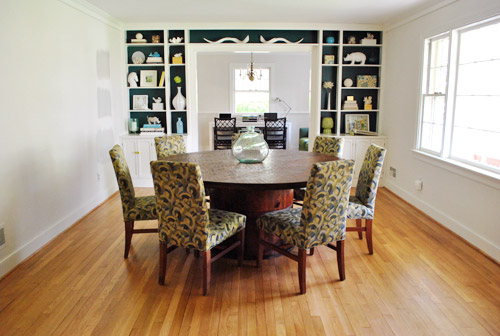
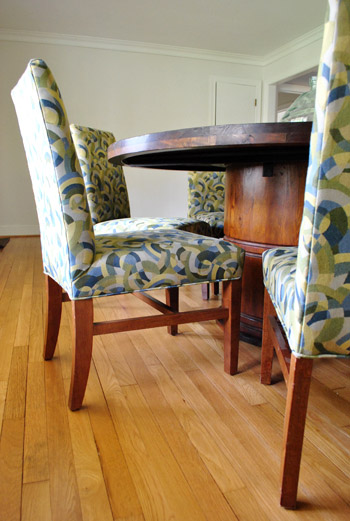
Remember how we envisioned modern and cheerful green leather parsons chairs around a chunky wood table from pretty much the moment we moved in? And how we decided that dyed-green slipcovers were pretty much the same thing when we found chairs for $25 and slipcovers for $23? Well, we were wrong. I dyed two of the chairs green and they were just not “it” (even if we altered the shade of green, we just knew it was the wrong way to go for us as soon as we saw these babies):
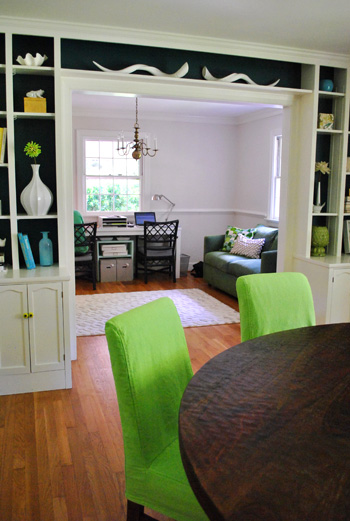
Especially considering that there would be seven or eight of them around the table at all times (and we have the bold built-ins going on in the background and dreams of chic patterned curtains, a huge cut out opening to the kitchen, a giant chandelier above the table, etc). It suddenly dawned on me that of all the things in the room that there were going to be there, the chairs were not the things that I wanted everyone to be staring at. In fact, I decided that I wanted the chairs to blend in. To become best supporting actors items to a few other things that we’d love to be the stars (namely the built-ins, the bold patterned curtains, and the showstopping chandelier that we can’t wait to bring in).
But let’s rewind to two of the four colors that we considered before we reached for the dye at all. First we thought long and hard about whether we wanted to dye them in the first place. We mentioned that the off-white tone of the covers looked dingy in contrast to the glossy white trim and built-in shelving, but even so we still wanted to live with them a while before doing anything rash.
So we did. And we definitely didn’t like the clashy off-white tone any better after the weeks ticked by. It was time for action.
Next we considered trying to somehow bleach them white. That way they wouldn’t look dingy and would tie right into the white trim and those white built-in shelves. But the more we thought about one of our major goals (for this house to be kid-proof and not make us into uptight fearful hosts) we realized that even though white slipcovers can be bleached they’d still show dirt more on a daily basis. Even dark denim could leave a blue tint behind on them (which is something that we never thought of, but some light googling brought to our attention). And if something a little darker could hide a bit more dirt (resulting in less frequent washings and kid-related heartburn) we’d take it. Function first. Plus we felt like white covers would stop the eye and call attention to themselves since they’d be so contrast-y next to the table (which wouldn’t fulfill the blend-right-in goal that I’d eventually come to reach anyway).
So it was back to the green chair idea that John and I thought would be just the ticket (and later learned… not so much). I’m actually a dye novice. In fact I’ve only dyed one thing before (besides my hair throughout middle school and high school- yes I once was a blonde). That thing that I’ve dyed? Oh yeah, it was my wedding dress (so I could wear it again, like to other weddings):
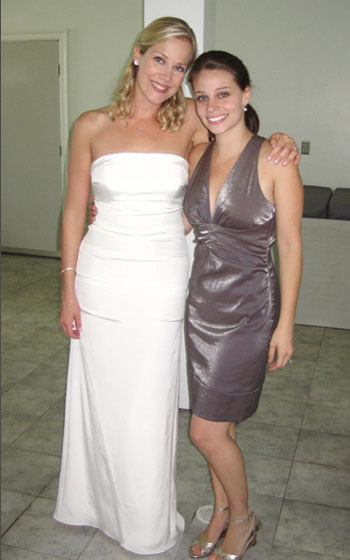
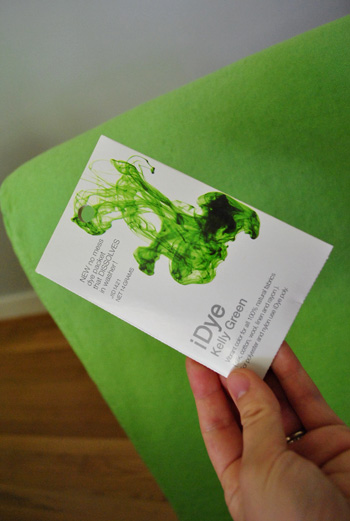
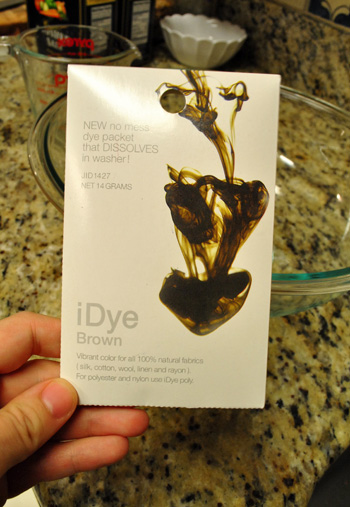
I can’t believe I had the guts but it worked out so I guess I have a soft spot for dye. It hasn’t let me down yet. Anyway, here’s how I dyed those two slipcovers just in case you’re about to take the d-y-e plunge. It was actually really easy thanks to the type that I used this time. A bunch of readers and even a few relatives recommended iDye (we found it at JoAnn). It was under $3 for each pack (and I could use each pack to dye two slipcovers at once). It’s meant for natural fibers like linen and cotton and silk (jackpot: our slipcovers are linen and cotton). When it came to picking the color, there were a ton to choose from (which is soooo much nicer than just one tone of green or blue, which is the case with a few other dye brands). In fact there were at least five different green tones (green, olive, kelly green, emerald, chartreuse, etc) so we narrowed it down to these two:
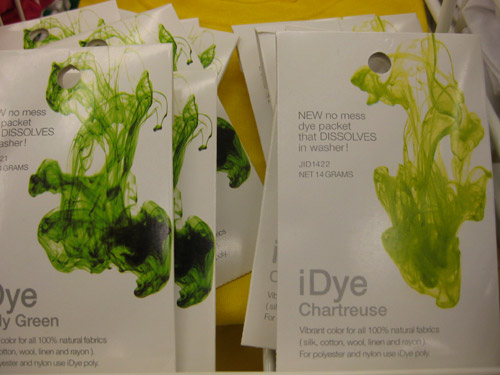
We liked that chartreuse would be modern and fun, but worried that it might end up looking a little too neon and highlighter-ish. And we liked that kelly green would probably be a bit more green and less yellow, so we ultimately decided it was the way to go for that apple green look that I wanted from day one.
Although there were some simple directions on the pack, I’m waaaaay too neurotic to settle for those. So I went to their site for a lot more instruction (aka: hand holding). The fact that this dye worked with front loading washers was a huuuuge perk for me. And it was simple. Burger could have done it if he could reach the dryer buttons.
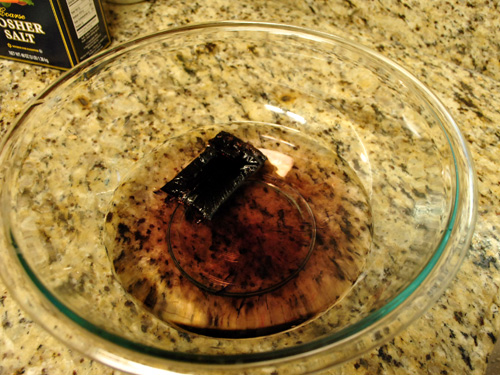
First I put two cups of hottest-possible-from-the-tap water into a big bowl. Then I dropped in the dissolving dye envelope from the dye kit. And I stirred it up.
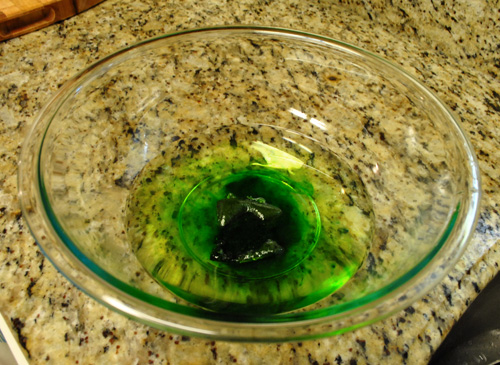
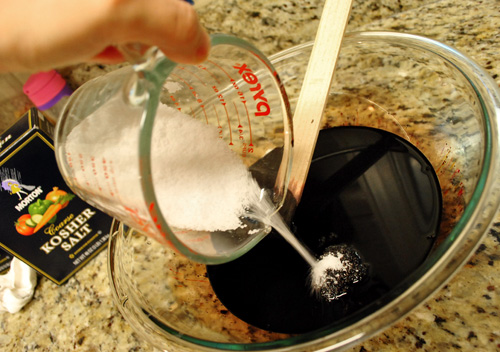
Then I added one cup of salt (since that’s what they recommended on the dye site for cotton & linen fabrics, which is what the slipcovers are).
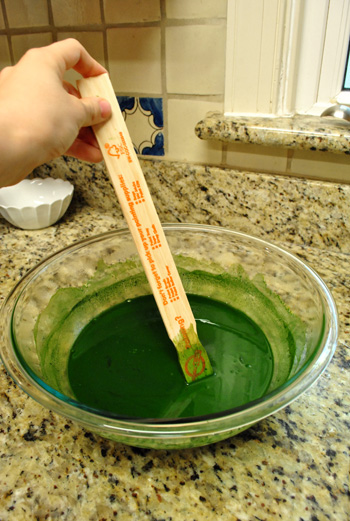
Then I stirred again. Oh and I used a paint stick.
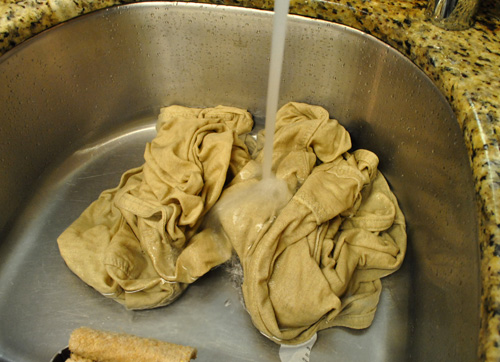
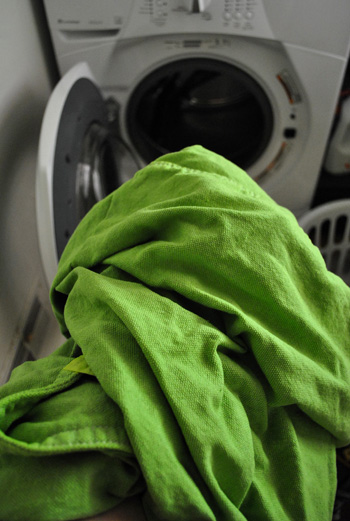
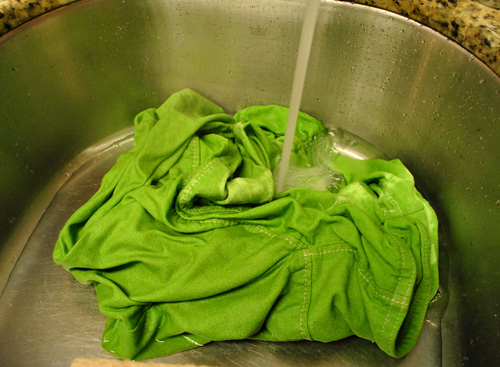
The next step was to pre-wet two slipcovers before adding anything to our front loader (this shot shows how not-white the slipcovers were – sort of oat-meal-ish in person).
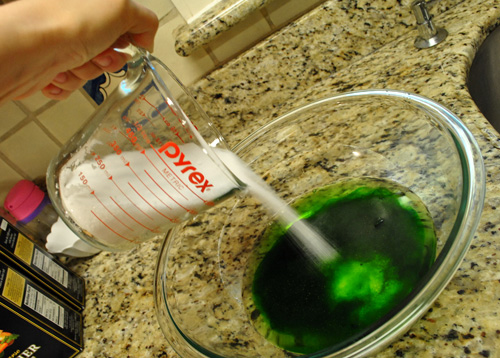
Then came the heart-stopping step. Pouring my bowl of hot water and dye and salt into the bottom of our front loading washer. Is it weird that it made me a little queasy?
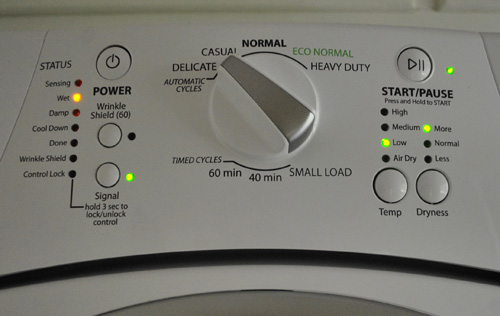
Then I tossed the pre-wet slipcovers into the washer and started things up right away. The dye instructions on the site said to wash them in hot water and mentioned that adding an extra rinse cycle would help the color develop more. So I set it on “heavy duty” (which used hot water) and clicked the “extra rinse” button before hitting start.

About an hour later things were looking pretty green! Happily they were super even and there weren’t any streaks or dark spots (which was my worry). They looked like green slipcovers you’d buy in a store. Sidenote: how much fun would a store completely devoted to slipcovers be? I’m picturing roaming aisles of every color and shape imaginable. Like the big wall of flip flops at Old Navy.
Oh but before I could take them out and dry them, I did one last wash with cold water and a bit of mild detergent (as recommended by the dye site) which basically entailed clicking it to “normal” (and making sure it was cold water) and adding a smidge of Seventh Generation detergent. The second wash with cold water locked in the color and rinsed out any excess dye. Then I dried the covers on delicate (low heat) so they didn’t take too much of a beating since they were originally dry clean only and I didn’t want to press my luck (like I did here).
As for the color that they came out vs. the color on the pack, I thought it was a pretty good representation. My vision was flawed, but the kelly green pack really did produce a nice kelly green-ish (or apple green-ish) color.
Sadly it just wasn’t “the one.” Onward!
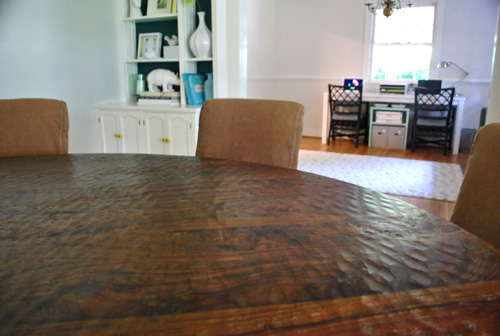
The fourth (and final!) color that we contemplated was good old fashioned mocha. Or as the dye pack called it: brown. We went back to JoAnn and stared at about twenty options and it just seemed like the best way to go. They’d hold up to stains and fall back nicely to let other items in the room be the stars. And the contrast of a chunky wood table and upholstered chairs is a sweet little casual choice (we worried the room would look too formal with eight wood chairs pulled around a matching wood table). So even though it would be brown covers with a brown table we knew the plush chairs vs. hard carved table would be a nice pairing. And by going with the same tone as the table they’d slip in and have less of a “hiya-we’re-a-whole-bunch-of-chairs-so-look-at-us!” vibe (which would have been an issue with green, off-white, or white in the end).
When it came to the actual dying process, again it was the same dealio. Except I used a brown pack to dye two slipcovers at a time instead of a kelly green one.
In went the dissolving pack into two cups of hot water…
… followed by a cup of salt…
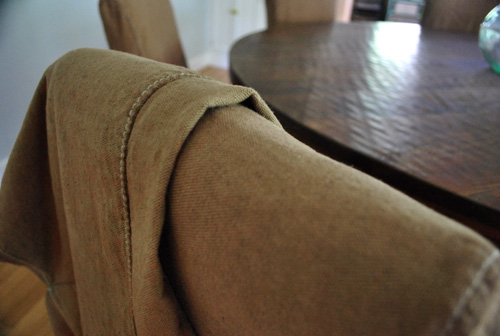
… which was then mixed and tossed into the wash with two pre-wet slipcovers. One hot wash and one cold one later, I had yummy mocha covers to enjoy. Oh and it’s worth noting that many fabrics take to dye better than the most-likely-synthetic stitching (which often remains the color it always was). Luckily, white stitching with the mocha = cool with us.
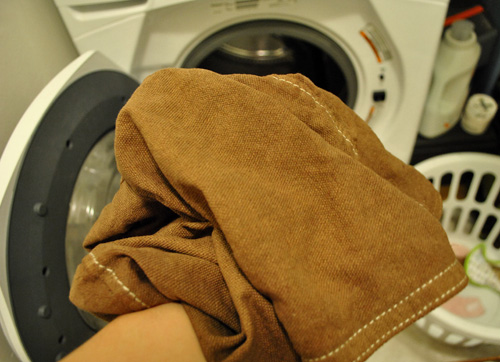
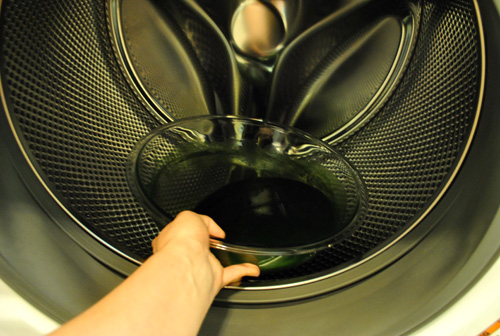
Once again our covers came out looking completely even and didn’t have any dark or light spots or streaking. And after the warm and cold wash the color was set (the color doesn’t rub off at all or anything, even if you’re wet and you sit on the chairs). Oh but one quick note about cleaning your washer after you’re done dying everything: mine was sparkly clean (after one extra rinse cycle as advised by the iDye folks) except for the rubber ring that’s right next to the door, so I just ran a few paper towels across it until they were no longer slightly tinted brown.
Ta da (don’t mind the wrinkles, I let them sit in the dryer far too long before tossing them on the chairs and quickly snapping these pics this morning):
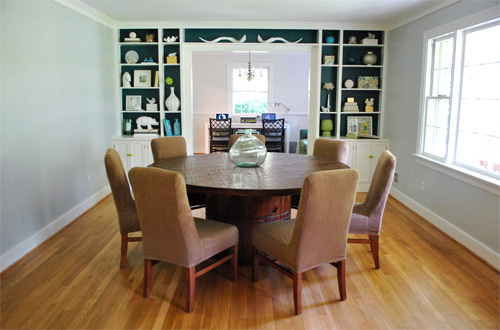

We love how they tuck right into the room (no more of that look-at-all-the-chairs thing is going on) and how they don’t blend too much thanks to the subtle variation in color and of course the hard vs. soft thing thanks to the carved table and the fabric slipcovers:
Most of all I think we’ll love how much dirt they’ll hide when compared to lighter slipcovers.
What about those two “extra” slipcovers that we dyed green (remember we got ten even though we only have eight chairs thanks to John’s genius suggestion since he worried about dye issues)? Well, we figured we had nothing to lose by trying to overdye them with brown (thinking they’d probably turn out a muddy olive tone, but it was worth a shot).
In a sweeeet turn of dye-related events, the brown totally took over and produced the identical color to the other brown covers (even with the green dye under it). So we have two extra brown covers on hand in case something catastrophic (sharpie, scissors, blood…) happens to any of the eight everyday covers that we have. Oh happy dye day.
In the end, it all came down to some basic math. Bold built-ins + patterned future curtains + a large view into the office + a large future chandelier/pendant + a large future punched out view into the kitchen + bright chairs = too ca-razy. So we’re down with brown. And we’re excited to let things like the built-ins and the future curtains/light fixture steal the show. Speaking of which, check out the designer fabric we snagged at a deep discount thanks to a slight imperfection that we can work around:
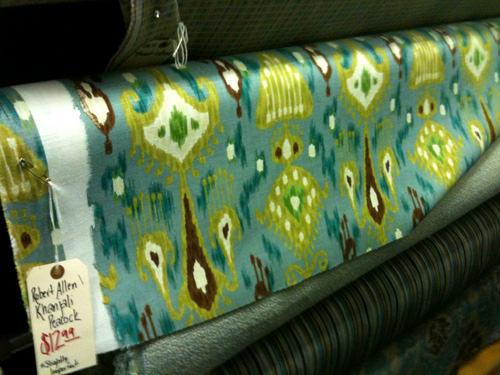
We love that it has brown tones (to tie into the table and chairs), white tones (to tie into the trim and built-in shelving), deep teal tones (which relate to the back of the built-ins) and pops of cheerful apple green (if it wasn’t right for the chairs, at least I’ll get it in the curtains). So it’s safe to say that we’re excited to get down to curtain making business soon. But most of all, we’re thankful that our chairs don’t look like this anymore:
Hallelujah. Oh and when it comes to the whole chair budget breakdown, here we go:
- Each chair: $25 (for a total of $200 spent for eight of them)
- Failed painting supplies: $10
- Each slipcover: $23 (for a total of $232 spent for ten of them)
- Six iDye packets from JoAnn (one green one and five brown ones): $18
- Total cost per chair: $57.50 (which also includes two spare slipcovers)
Have you guys dyed something around the house? Curtains? Pillow covers? Cloth napkins? Or are you a dye virgin who dreams of giving it a shot? I’d love to hear what you’ve been up to (or what you’ve been dyeing to do – har har).
Psst- We’ve had some pretty weird adventures with our $25 chairs. Here’s the post where we found them and here’s the post where I tried to paint one, and here’s the post about finding and shrinking the slipcovers.
Update: Check out how our dining room is coming together thanks to those curtains that we finally made here. Woot.

Leave a Reply