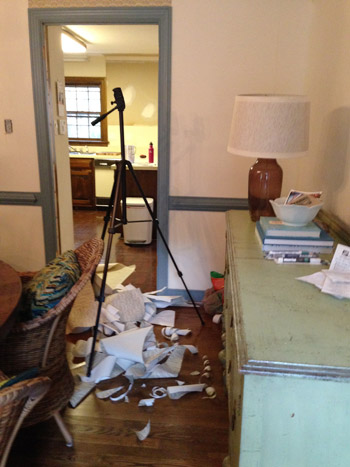
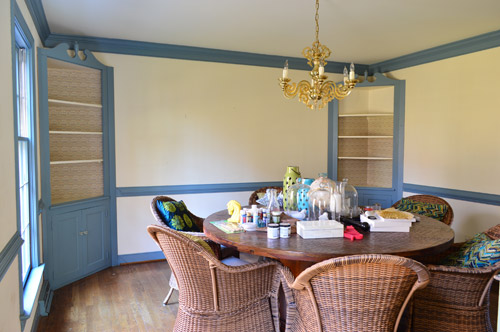
The wallpaper in our dining room is gone. Phew! Hooray!
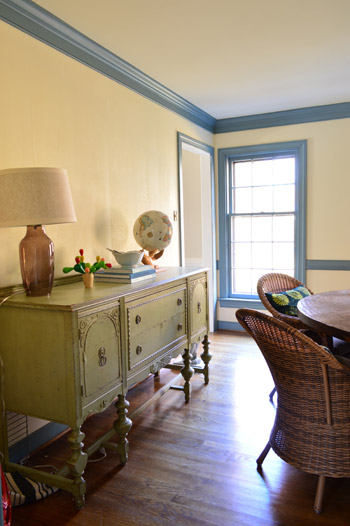
Ahh, fresh ready-to-paint walls, you make my heart sing. (And seemingly endless blue trim, you make my eyes twitch).
You might remember that each time I tackle wallpaper removal I’ve tried out a different method so I can report back to you guys on who’s the fairest of them all what’s the most effective of them all. Yes, I’m the Anderson Cooper of wallpaper. Except less handsome and more pregnant. Up until this point, I had tried boiling water sprayed on with a spray bottle for method #1, a steamer for method #2 (the one that’s in the lead so far for the easiest), and warm water mixed with Dr. Bronner’s soap along with a wet rag to get the underlayer as method #3.
This time’s method was recommended by a former professional painter named Sarah (who did her fair share of wallpaper removal before many a paint job) and her suggestion was “the dry stripping approach” which was followed by a round of “wet stripping.” Sounds saucy, eh? Don’t worry, it’s rated G. Essentially she said she just peeled the paper by hand without spraying it or scoring it with anything, and then used a large damp sponge to saturate the underlayer and peel that off as a second round. So I gave that the old college try…
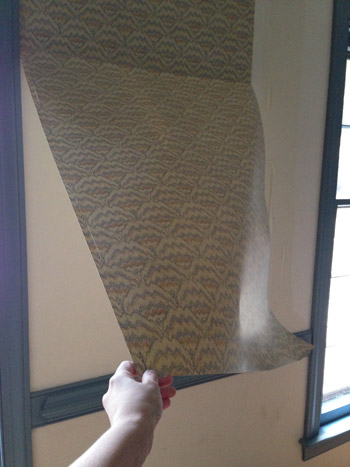
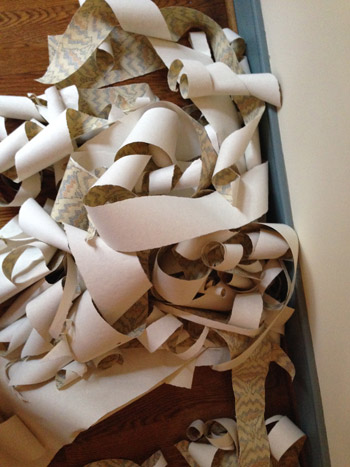
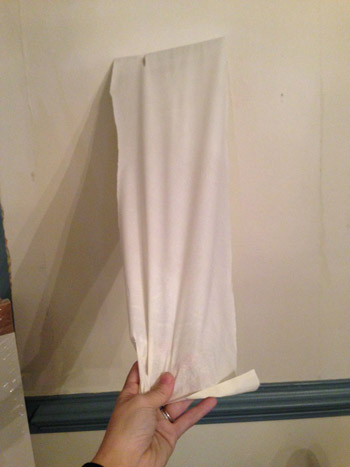
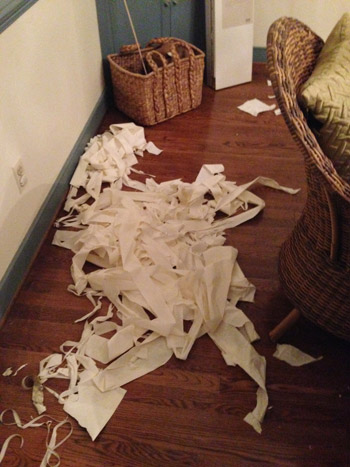
A lot of it actually came off in big sheets like the swatch above. Although you can see from this pile that there were a fair amount of thinner strips and leftover corners that I went back in for. It was by no means fast, but not super slow either. Surprisingly, I’d rank this dry stripping method as taking the same amount of time as spraying it all down, waiting for it to soak in, and then peeling it. Maybe even slightly faster because there’s not that spraying and waiting step. Obviously this won’t work for all situations, but if you have drywall that seems to have been properly prepped for wallpaper (as ours was) then you’ll hopefully have the same luck (especially if it’s old – this stuff was 30 years old and at some of the seams it was already loose and ready to be yanked).
This “dry” approach only took off the top layer of wallpaper for the most part (some other methods, like steaming especially, took care of both of them in one fell swoop if I was lucky) so I just ignored the white papered/glued underlayer and just pulled off the glossy top patterned part of the wallpaper, slowly making my way around the room over the course of a few days.
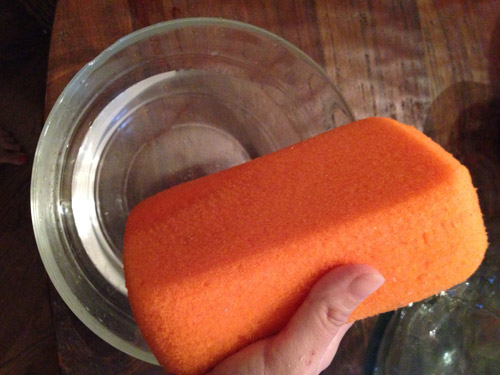
This is that underlayer I was talking about. As for how I loosened that up and peeled it off…
… I just dunked a large sponge in warm water…
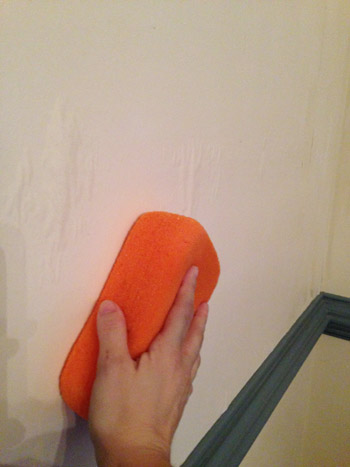
… and wiped down the walls with it. That seemed to deposit enough water to soak through that underlayer so it started to loosen (see how it’s bubbling away from the wall on either side of the sponge in this picture?).
Then I could just peel it off. This was the slow-going part. You can see from the pile below that it came off in tiny slivers for the most part, so each wall took about an hour and a half just to free it from this clingy glue-riddled film.
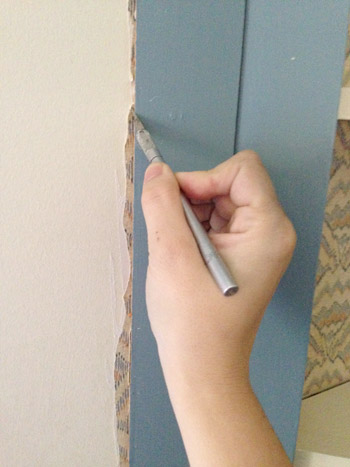
One challenging area that this room had were the seams next to those corner built-ins, which appeared to be installed after the wallpaper was in place (meaning the wallpaper was pinned down behind the sides of each one). My solution was to use an exacto knife to slice the edge of it. I scored it a few times to be sure I got all the way through, running the blade right against the trim so I could get the closest cut possible.
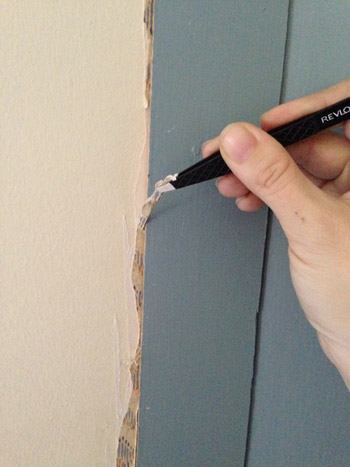
Then I used a tweezers to grab each of those strips, and slowly I could work my way down each side of each built-in to get a nice clean look.
And now for my nemesis. The wallpaper inside of those two built-in bookcases. It was wasn’t properly prepped like it was on our primed walls – instead it was glued with some sort of permanent adhesive to the unprimed and unsealed plywood backing of those built-ins, which pretty much made it a permanent application. Which I discovered after spending about two hours on just one of those cubbies (with seven more to go) and getting a lumpy and rough looking result in the one that I was able to sloooowwwly strip. So at that point, I called John in and we made the executive decision to OBI (officially bag it).
We figure we can either paint, re-wallpaper, or even add some starched fabric right over those stubborn wallpapered areas since getting them down to the bare wood is next to impossible (and they’re actually a lot smoother and better as a foundation for any of those options with the existing wallpaper in place since that one cubby got a lot rougher and bumpier when I tried to remove the paper).
So that’s sort of a bummer, since there’s technically still a little bit of wallpaper in there mocking me from inside those built-ins, but I’m so relieved to finally have the actual walls of the room completely free of paper, and ready for some paint – along with that blue trim!
Oh and to prep the walls before paint after removing wallpaper, I’ve had luck in all of the other rooms just by spraying them down with a vinegar and warm water mixture and scrubbing them with the nubby side of a sponge to make sure any residual glue is gone before painting. I’ve heard that there are some primers that are great after removing wallpaper to block leftover glue, but so far we haven’t had any issues with glue surviving after my vinegar rub-down, and it’s nice to save that priming step (and that money on specialized primer) and just use the vinegar that we have in the pantry.
Aaaand, just because I like to cross things off, here’s how my before-the-baby-comes goal of no more old carpeting/no more blue trim/no more old wallpaper is coming along:
- de-blue-trim-ify the dining room
de-wallpaper the dining roomfinish Project No More Graph Paper in the kitchen- strip the bold blue master bathroom wallpaper
rip up the old carpet runner on the stairs- paint the blue trim in the office
Slowly but surely! Can you believe we still have another whole room full of wallpaper laughing at us from upstairs? What do you think our final method should be? Maybe fabric softener? We keep hearing good things about that…
So far the steamer has been the fastest and easiest, although every other approach that we’ve tried has been 100% free using stuff we have around (we borrowed the steamer from John’s sister so that was free too – but it does involve renting or borrowing or buying something if you don’t have access to one in your house). Have you ever tried to remove wallpaper that was seemingly super glued to plywood? It’s enough to make you shake your fist at nobody and mutter “this is the most fun I’ve ever had in my life” while rolling your eyes so far back into your head that they make actual sound affects as you roll them. Not that I’d know…
Psst- John’s over on Young House Life chatting about the half marathon he ran this weekend for the folks who requested a post about that.

Leave a Reply