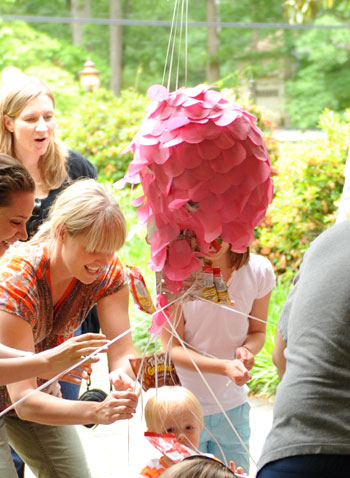
We had a bunch of requests for a tutorial on Clara’s pull sting piñata, so here ya go. And if you have no interest in this project but want to blow off some steam after work you could easily turn this post into a drinking game and take a sip every time I say the word piñata. But beware, you won’t be ok to drive afterwards. Anyway, I had never heard of a pull string piñata until I got some unsolicited baby party catalog with one and I instantly realized that it was a genius idea for wee ones. Clara’s not exactly strong enough (or coordinated enough) to whack a regular piñata with a bat, but she can definitely tug a string like the best of them. And the entire concept behind a pull string piñata is exactly what it sounds like: each kid holds a string and tugs on it so the piñata bursts open and treats fly out. Here it is in action for ya (you can also see the video here) and although Clara just ended up watching from the sidelines, she really seemed to enjoy the show:
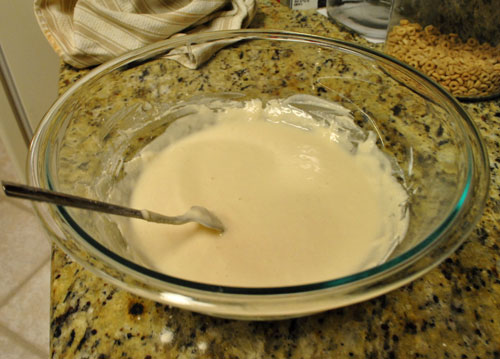
Who knew my weird homemade piñata would actually work? Anyone who saw Friday’s post saw that the first few steps left it looking a little questionable (I’ll recap those steps quickly so this post is a one stop shop for anyone who wants to whip up one of their own). And I’m sure there were some doubts that it would work out (mine included) but I guess this piñata was destined to beat the piñata odds. First we made paper maché (mixing approximately two parts water to one part flour)…
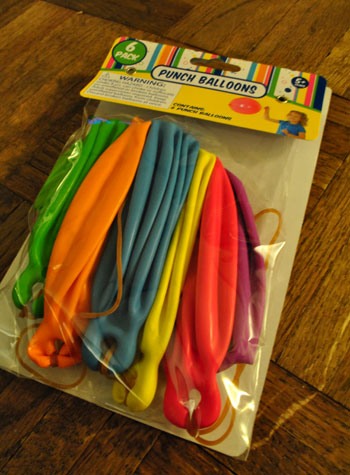
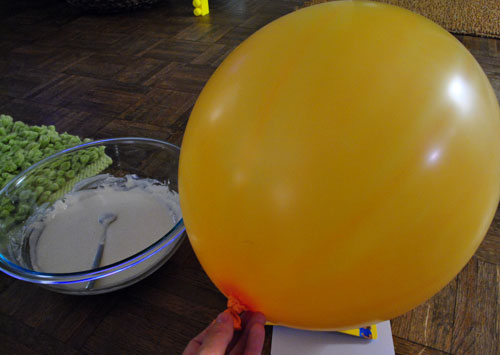
… and blew up one of these punch balloons from Target that wasn’t in our color scheme (the orange one)…
… and cut a bunch of newspaper strips…
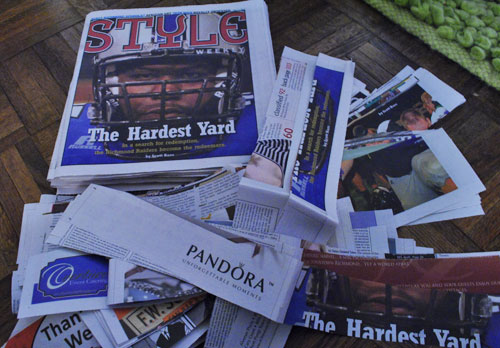
… which I paper machéd to the big balloon…
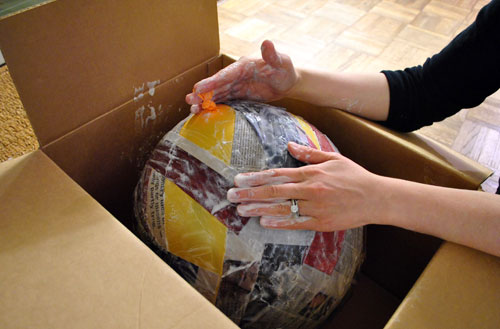
… which I then let dry a bit overnight and then hung outside in the morning to hopefully speed up the drying process (since it was still soggy and looking a bit like a goiter).

That didn’t help much because it was a humid day, so I brought it inside and thanks to some reader recommendations I actually opted to break out the hairdryer on that sucker. It worked really well (drying it out completely in about ten minutes for a nice hard shell).
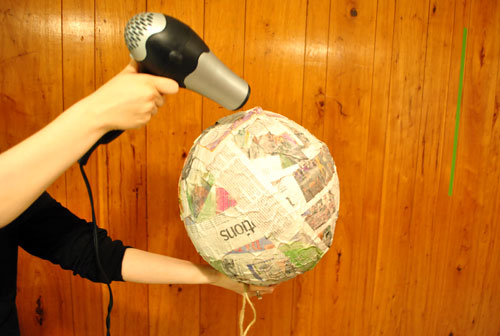
How about that orangey paneling in the background? Are you feeling inspired yet?
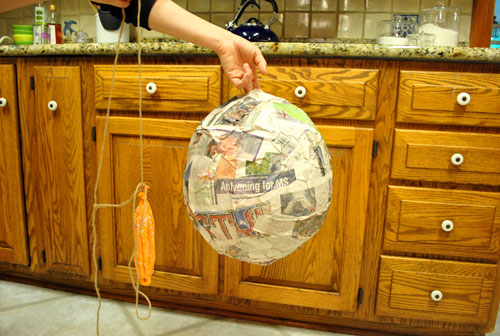
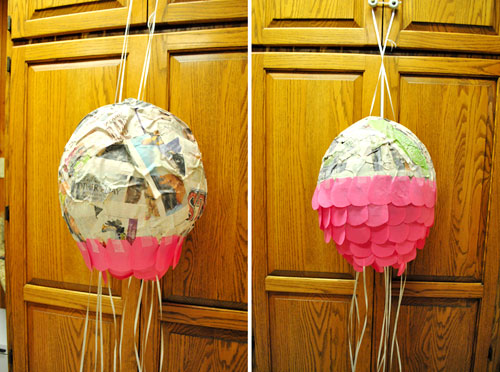
Anyway, then I popped the balloon which slipped out really easily, leaving me with a large hollow piñata-ish thing (which still wasn’t breaking any hearts in the looks department):
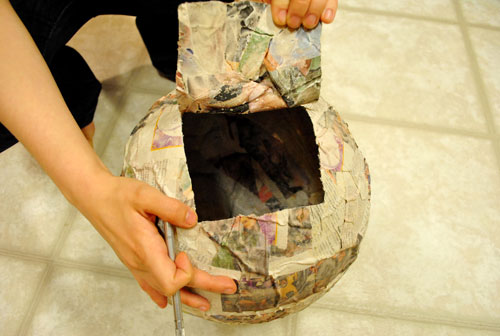
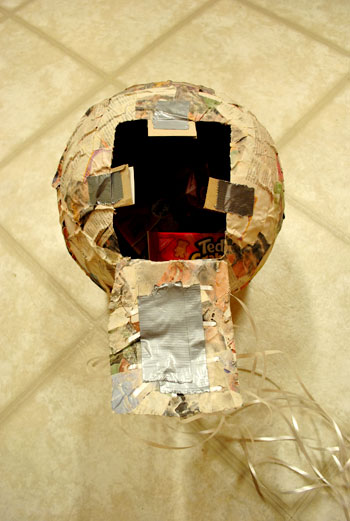
I turned it over (with the bottom of it facing up) and used an exacto knife to cut a little “exit flap” for all of the treats to fly out of:
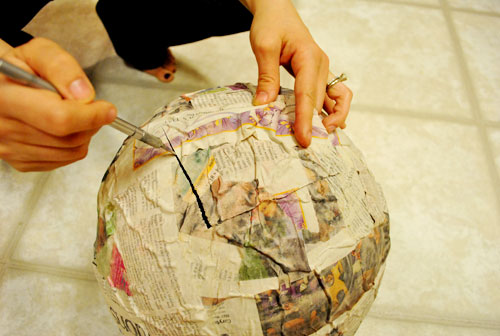
Here it is opened so you can see what I mean:
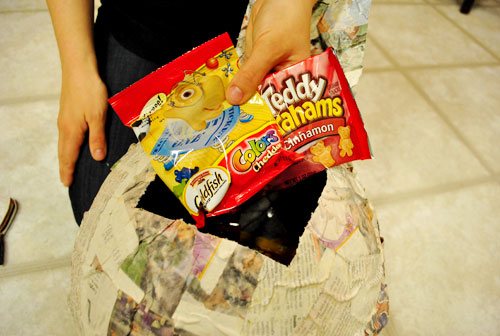
Then I added our kid-friendly treats. We didn’t want anything too small and choking-hazard-ish going on, so we went with crowd pleasing packs of Goldfish and Teddy Grahams.
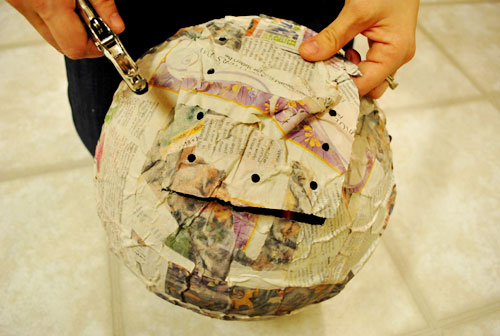
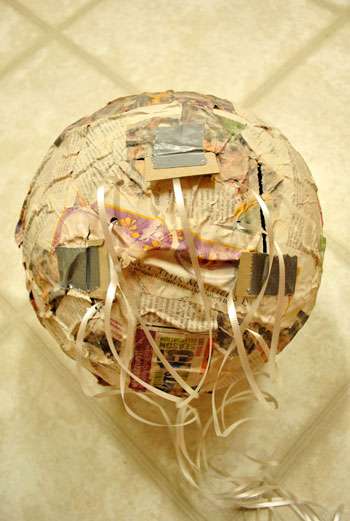
Once they were inside I used a hole puncher to make nine holes that I’d use to attach nine pieces of ribbon (since there would be nine kids coming who I figured might want to get in on the fun):
I cut nine 30″ lengths of curling ribbon and treaded them each through the holes so they could be duct taped down on the back of the flap.
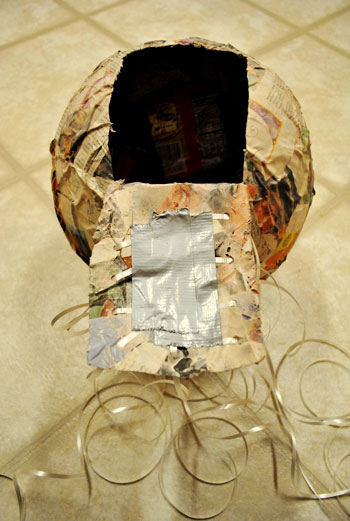
Then I realized that in order for my flap to stay closed with all the weight of the treats inside (since this was the bottom of the piñata and gravity wasn’t on my side) I would need smaller flaps of cardboard to hold it closed. So I used more duct tape to secure those smaller flaps to the opening…
… so that my large flap could be slid in behind them and held closed by those handy smaller tabs. It worked but I’ll admit it- at this point it was looking pretty grim. Have you ever seen an uglier piñata? I said a little prayer that tissue paper could cover a multitude of sins.
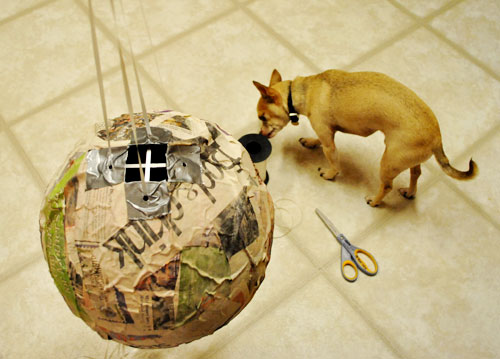
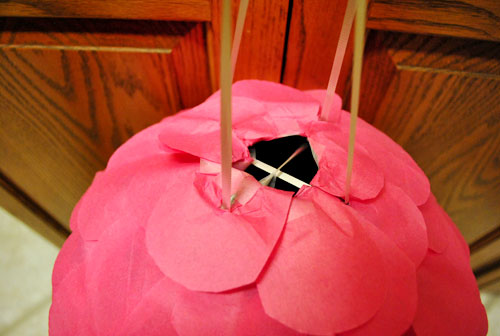
Since the balloon was no longer inside, I had nothing that the piñata was hanging from anymore, so I folded four 4″ pieces of duct tape around the top hole (to reinforce the paper maché shell) and then used my trusty hole puncher to create four holes through the duct-tape enforced areas. Then I used two long pieces of ribbon (which Burger was mildly interested in) and looped each one through two of the holes (the ones that were opposite each other) and tied them off at the top to create two long loops that were the same length. I figured that was stronger than trying to knot four of them inside of the piñata or something, and it really did turn out to be nice and secure.
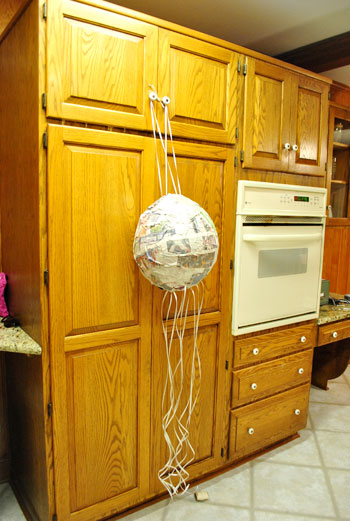
With my heavy duty string-it-up system going on, I looped my two long strings over those weird eyeball cabinets in the kitchen (so they could watch- more on those here). This enabled me to have two free hands to start adding little pink fish scales in the hopes of saving The World’s Ugliest Piñata.
It only took one 99 cent pack of pink tissue paper from Target, which I folded and then cut little scales out of (by folding it I was able to cut out a bunch at a time, and soon I was left with a big pile of them). Oh and on the subject of budget, that was all I purchased for this project since I had the ribbon already and the newspaper and paper maché paste (flour + water) were free since I had those in the cabinet and the recycling bin. Oh and the multi-packs of Goldfish and Teddy Grahams were $7 all together, so this whole project came in at under $8.
But on to the fun stuff – the fish scaling step. As I mentioned yesterday, the design was inspired by this one that I pinned on Pinterest a while back. So I figured that taping the scales from the bottom up would hopefully yield the same sweet (and semi-finished looking) results as my inspiration piñata (and yes, I just snickered at the use of “inspiration piñata” – what an insane sentence).
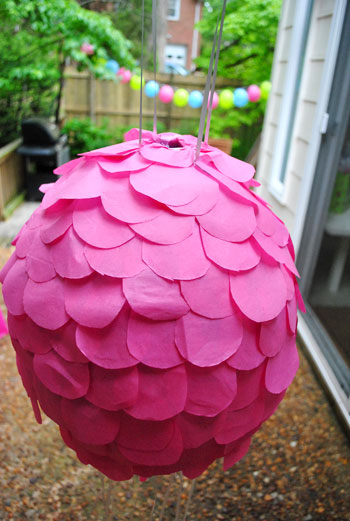
I just worked my way around in rows, gently twisting the piñata as I taped around it on all sides (using regular old scotch tape), and moving up from the bottom slowly – row by row. I was left with a pretty cute result. Definitely something at least 5,000 times easier on the eyes than the mess of newspaper and duct tape underneath it all. As for the top, I just folded the top scales into the hole and taped them to the inside for as polished of a look as I could manage (I knew it would be hung pretty high so no one would likely see the top, but I’m weird so I still tried to make it look ok anyway).
Isn’t she kinda cute?
It was definitely lots o’ fun. So that’s how I started out making a record-breakingly ugly piñata and then tried to course correct with some sheer determination and a pack of tissue paper. Hope anyone at home who decides to follow suit ends up with something at least this sweet (and most likely a lot sweeter).
Good times. Have you guys made piñatas or other homemade party games (cornhole? pin the tail on the donkey?). Share and share alike.
Psst- We’re over on BabyCenter sharing the play by play for making cheap and easy balloon garlands here. When it comes to festive party bang for your buck, it doesn’t get much simpler than those.

Leave a Reply