Ever since we spotted a rain barrel in action on our visit to Matt & Kristin’s house last fall, Sherry and I have been itching to harness the power of our own otherwise wasted rainwater. So we participated in a recent rain barrel making workshop offered locally and we’re here to pass along the play by play.
First things first – why rain barrels? Well, placed under one of your downspouts, rain barrels conveniently collect rainwater that you can use to water gardens and lawns, wash cars or even fill birdbaths and ponds. A 1000 square foot roof yields about 600 gallons per inch of rainfall, so that’s a lot of water (and money) to be saved. We’ve even seen ’em hooked up to a soaker hose for easy and free garden watering. Novel idea, eh?
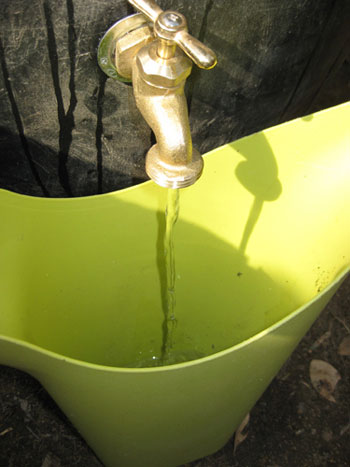
Rain barrels are relatively easy to make, but finding the barrel can be a challenge. Which is why many people will purchase them already assembled for upwards of $120. Needless to say, we were thrilled to find a local workshop that provided the tools, equipment and instruction for only $40. They provided everyone with a 50 gallon food grade plastic barrel… that just happened to have a previous life as an olive shipping vessel. Funny, huh? Sherry said it made her mouth water.
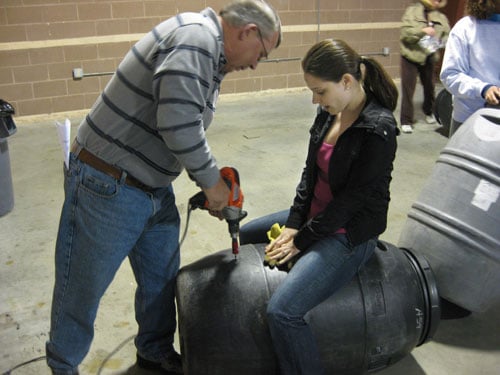
The first step was drilling the hole for the faucet. You’ll want to drill it as low as possible (since the water below the hole won’t flow out) but not too low that you can’t attach a hose or place a watering can under it (which obviously would be no good). Here’s Sherry sitting on our barrel to keep it from rolling while one of the volunteers operated the hole saw (a regular drill with a hole-cutting attachment). In less than 20 seconds, we had a hole for our faucet.
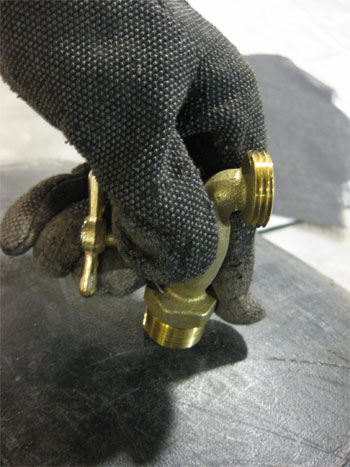
You’ll want to keep the barrel on its side and then use your faucet (or “hose bibb”) to thread the plastic edges of the hole. You’ll do this by screwing it all the way into and back out of your newly made hole once. It may take a little bit of force to get the faucet threads to catch, but be careful not to push it so hard that you damage the plastic threads you’re creating. In under a minute we had made our threads and removed the faucet for the next step…
Once you’ve unscrewed the faucet, you’ll want to apply a thin line of caulk around the edge of the hole:
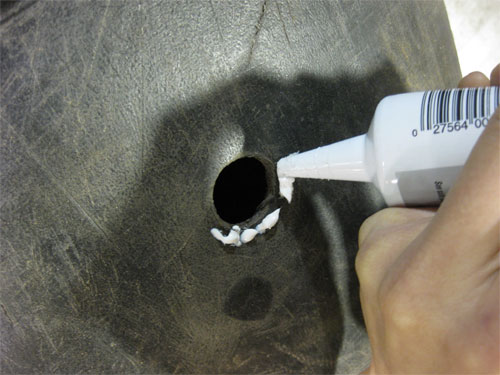
Then you’ll place a reducing washer over the hole, with the caulk acting as the adhesive. Reducing washers have a raised lip on the inner rim, and that raised portion should go against the barrel.
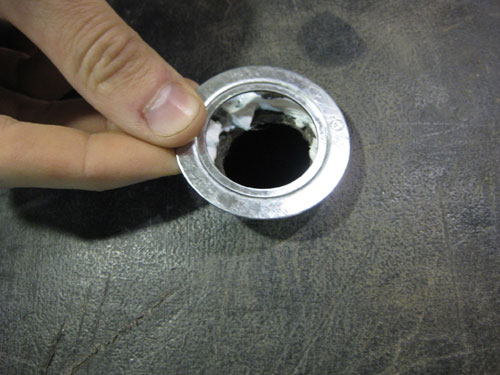
With the reducing washer firmly in place, you can screw your faucet back into place for good (this will be a lot easier since you’ve already created threads by screwing the faucet into the hole and removing it a few steps back). When it’s firmly in place, it should look something like this:
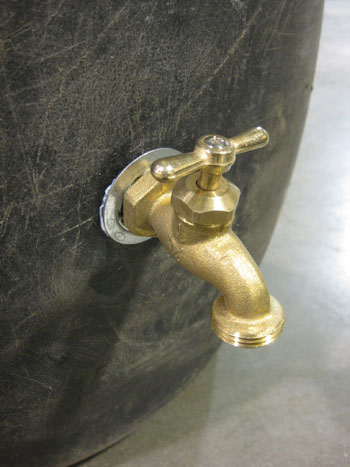
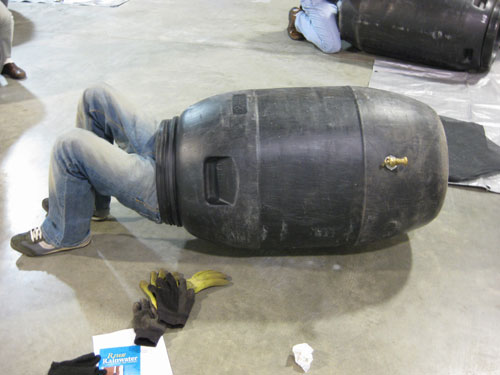
Now that you’ve created a watertight seal on the outside – here comes the fun part – you’ve gotta do the same on the INSIDE. Yep, time to crawl inside the barrel. You’d think this would be the perfect job for a petite person like my 5’2″ wife. Nope, somehow I got that assignment (and Sherry kept her job as barrel sitter to keep me from rolling away).
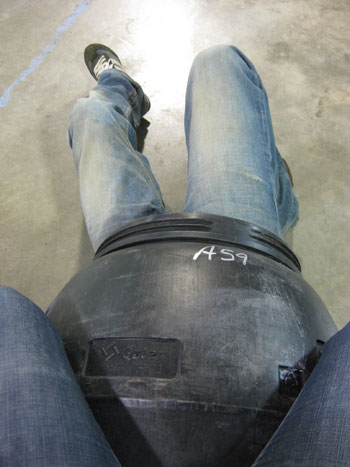
Inside the barrel, you’ll be repeating the process with the caulk and reducing washer – so remember to bring those with you when you go in. You’ll also want to bring a flashlight, because it’s dark in there (and it may smell like olives). Once you’ve got your washer caulked in place, you’ll screw on a locknut to secure the faucet. You’ll probably need the help of some pliers to ensure you’ve got the locknut on there nice and tight.
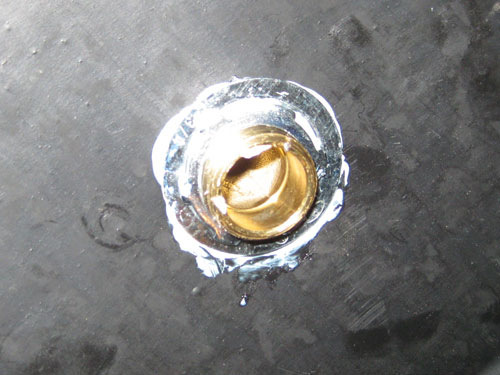
Your partner should stay sitting on the barrel to keep it from rolling away throughout the process. Or if you’re Sherry, you could use the opportunity to snap photos of your husband looking like, and I quote, a “California Raisin.” All I needed were some oversized gloves and a saxophone.
That completes the process of attaching the faucet. We did have the option of repeating the process at the top of the barrel with a “rigid nipple.” Basically, it’s an overflow spout that you could use to connect multiple barrels together. Since we’ll be a one barrel family for now, we’ve just opted for the overflow to come out the top (meaning when the barrel fills up with water, the excess spillover will do just that- spill over the top).
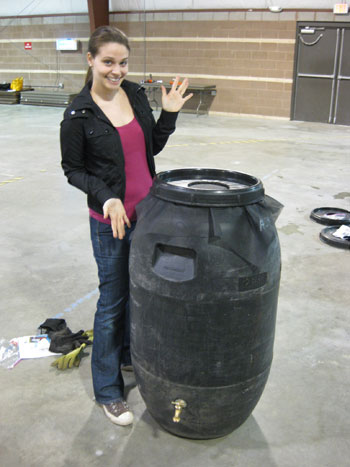
Speaking of the top – the barrels we were provided already had 6″ holes drilled in their lids. So all we had to do was screw the lid on over a tight mesh mosquito screen to keep any standing-water-lovin’ bugs out of our barrel. Here’s Sherry with our finished product:
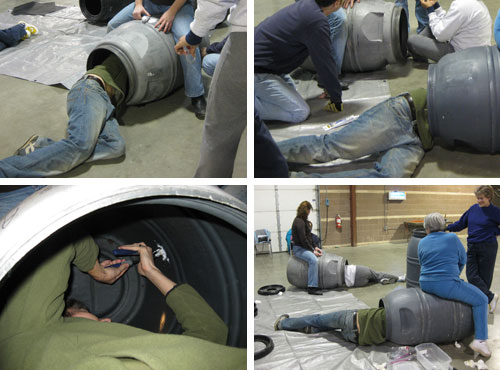
That would’ve been the end of our workshop adventure, but I guess some other people working near us took note of my locknut-tightening skills. Before I knew it I was climbing into not one, not two, but three other barrels to help other barrel-makers ensure that their faucets were secure. And should we be surprised that Sherry seized the opportunity to take more photos of me in those barrels?
Once I finished barrel diving, we got the thing crammed into the backseat of our car and took it home for placement in our backyard. We picked a downspout at the edge of our driveway that was completely hidden from the front of the house, and mostly hidden from the side (let’s be honest, rain barrels don’t scream curb appeal). Luckily the placement will be super convenient for Sherry’s new back garden (stay tuned to see what sorts of edible goodies and purty bloomers she’s planning to grow).
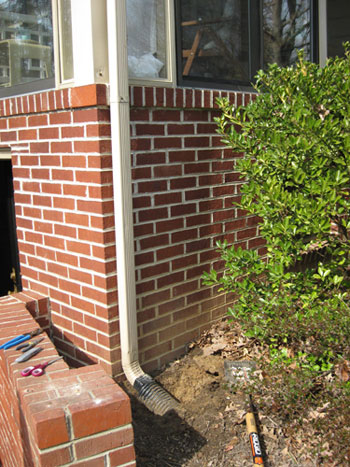
Then we just had to adjust the height of our downspout so it would spill into the top of the barrel. We detached the elbow at the bottom of the spout and dug out the underground plastic tubing that had been in place (and because we didn’t have any fancy metal snips with us, we broke out a box cutter once we figured out our desired height). Here’s Sherry making the cut while I stood by and watched. She’s hardcore. Maybe she was trying to make up for all the barrel-crawling I did?
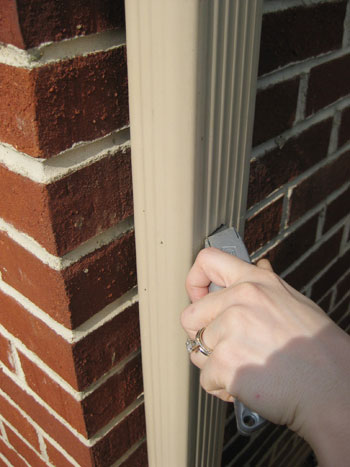
It did the trick, and with the gutter cut to the right height we just reattached the existing end spout and slid the barrel into place underneath it. Voila. Bring on the rain.
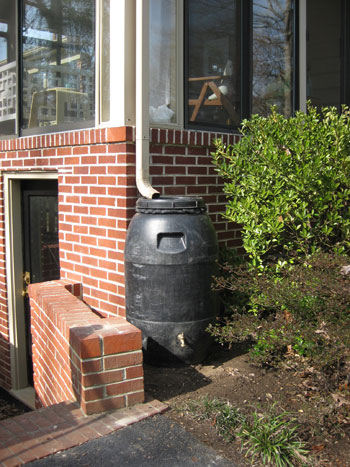
We should note that it’s extremely important that the barrel sits on level ground (you may want to use a shovel to level the ground and even lay some sand to be sure). A full barrel can weight up to 450lbs so you don’t want it tipping over on you. Of course we’re going to have to do a few more rain dances before ours will get that heavy. Bring it on Mother Nature.
Do any of you guys already use rain barrels? Any advice or tips for us newbies?
If you’re in Richmond and are looking to make a barrel of your own, check out upcoming workshops through Chesterfield County ($40) and Tricycle Gardens ($75).

Leave a Reply