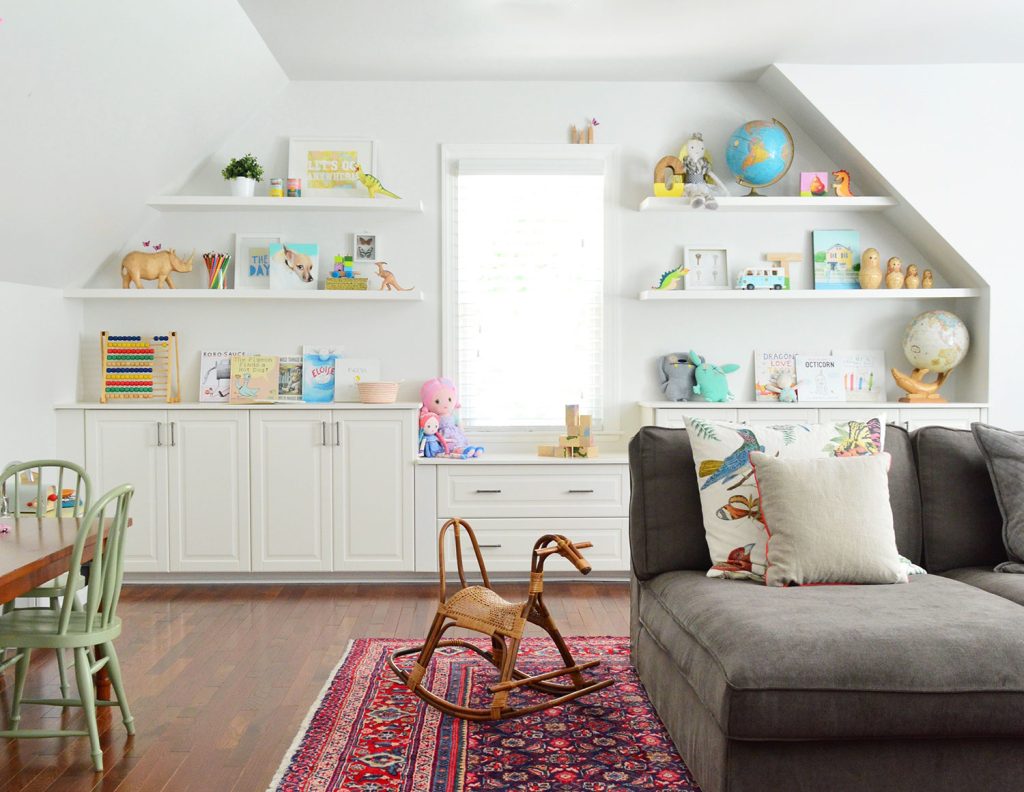
There’s no better kind of storage than built-in storage, especially when you can integrate it with the architecture of a space. So when we finished our attic into a bonus room, we were excited to make use of the recessed niche around the window. Today we’re going to show you how we designed and installed built-in cabinets using stock cabinets. Spoiler: it’s actually an Ikea hack!
This post covers the wall-to-wall, built-in cabinets, but you can also read about how we built the DIY floating shelves too. The two features work together to make a functional feature wall, but it’s a bit much to cover in one tutorial!
Step 1: Plan Your Built-Ins
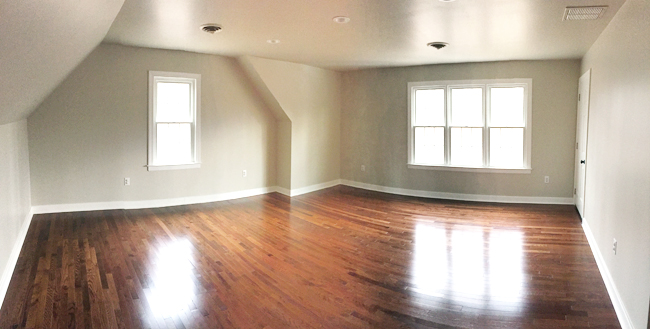
Because this recessed portion of the room was only 17″ deep, we knew we wanted to add some built-in storage.
At first, that recessed space felt like a curveball to symmetry fanatics like us – it’s off-center in the room, it’s only 17″ deep, and it has not one, but two, sloped ceilings. But it was actually its narrow depth that triggered the idea for some sort of built-in. Plus we knew this big blank slate of a room would definitely benefit from some added storage and height / interest on that wall.
We had recently used Ikea’s kitchen planner to plan our laundry room cabinets and had a great experience. So we tried out a few cabinet configurations for this space, and Photoshopped some rough shelf ideas onto them.
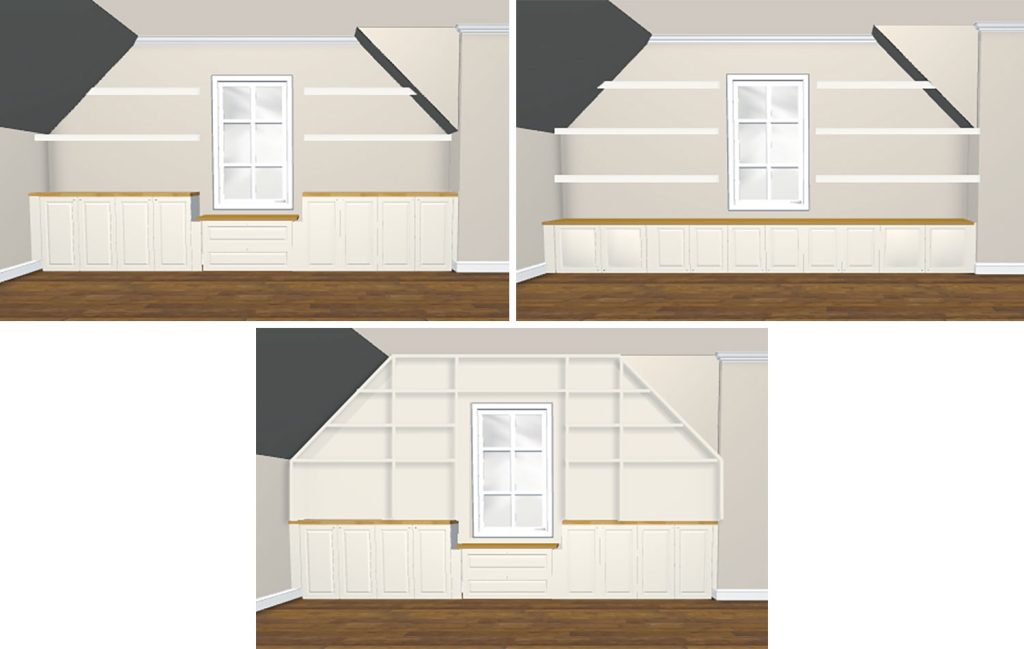
We ultimately decided on four standard 30″ tall base cabinets across the bottom with one 20″ drawer base centered under the window. The proportions felt right and we liked the “window seat” effect it created in the middle. Once we finalized this design in Ikea’s planning tool, it automatically generated a shopping cart we could check out with.
Step 2: Assemble Your Ikea Cabinets
The first step was assembling all of our cabinets boxes. I won’t bore you with those details, but we do have tons of tricks & tips for installing Ikea kitchen cabinets. No need to put on the doors or drawers yet.
This is also a good time to double-check your plan and make sure it’s shaping up the way you expected.
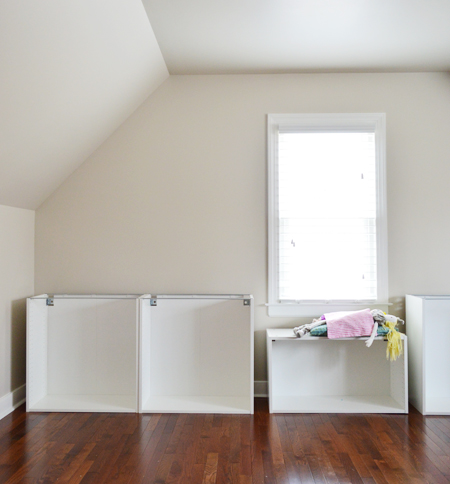
Step 3: Build Cabinet Bases
The standard Ikea legs were too high for the window, so we had to build our own bases. We used a combination of stacked 2×4″ and 1×4″ boards to get the exact right height (see photo below). These bases aren’t actually to hold up the cabinets, though. They’re mostly to give you something to attached your toe kick or baseboard too at the end. But we did like having them under the cabinets just in case. You know, in case some kids decides to stand on these or something.
Step 4: Attach Cabinets To The Wall
Ikea uses a rail system to hang cabinets on the walls. You attach the metal rail to the wall, and then the cabinets hang from it using metal clips. The Ikea instructions will show you exactly how to get the right height for your rail. Just be sure to use a stud finder and a level to hang your rail securely in place.
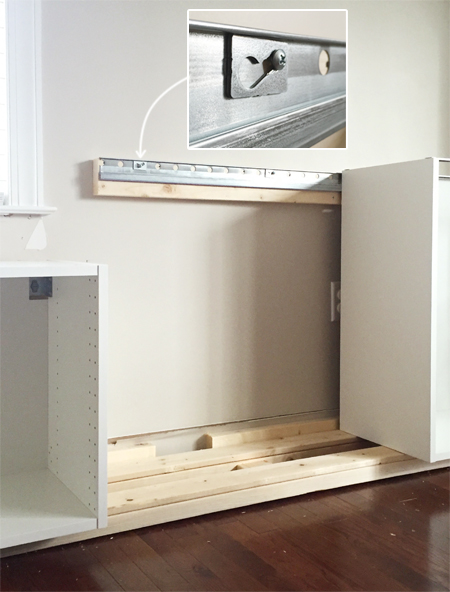
You can also see that before we hung the metal rail, we screwed a 2×4″ into the wall studs behind it. This gave our 12″ cabinets a little bit of extra depth to better fit the 17″ deep space.
Step 5: Add Filler Pieces
With each cabinet hung on the rail (but not locked in yet) we worked on adding filler pieces between each cabinet box. This will help them look like one built-in unit. Because of the size of our space (and because the window is slightly off-center) we ended up with some larger-than-normal gaps to fill. You can also use pieces of pre-primed wood or purchase Ikea’s filler pieces. Cut them to size on a table saw and then clamp them in place. We screwed them together with small screws through each side of the cabinet.
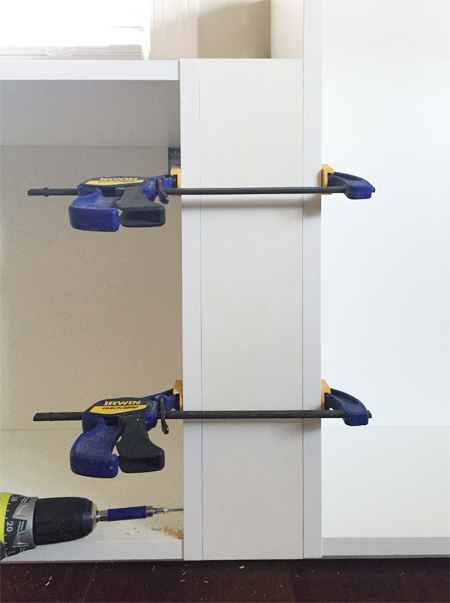
We also had to add a filler piece on either side of the window, since otherwise you’d see the metal rail contraption. Luckily the girl at Ikea saw our plan and suggested we buy two extra filler pieces, so we were all set.
You might think you’re done here, but you actually have a second layer of filler pieces to add still!
Step 6: Add More Filler Pieces
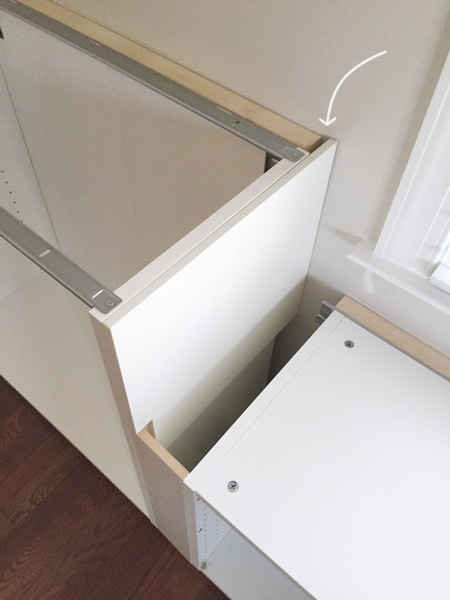
Those filler pieces between the boxes we just added were flush with the cabinet boxes, but not the cabinet doors. So they alone wouldn’t give us the final, custom look we wanted.
Now we needed to add a second layer of wood to mimic the cabinet doors. This part can be a little tricky depending on the style of your doors. These BODBYN doors from Ikea have a slight bevel on the edge, so we actually used a sander to give a similar effect to the edge of our cabinet doors.
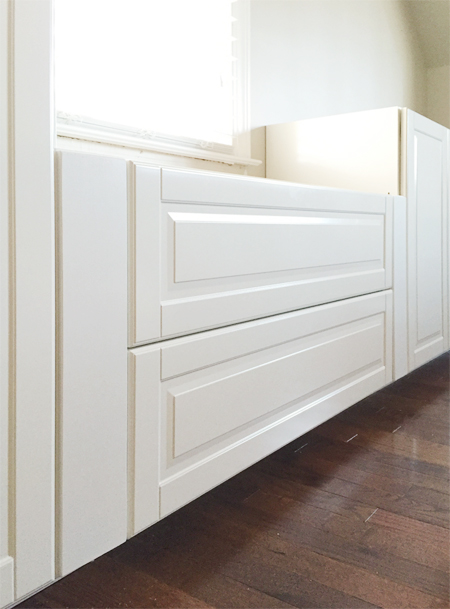
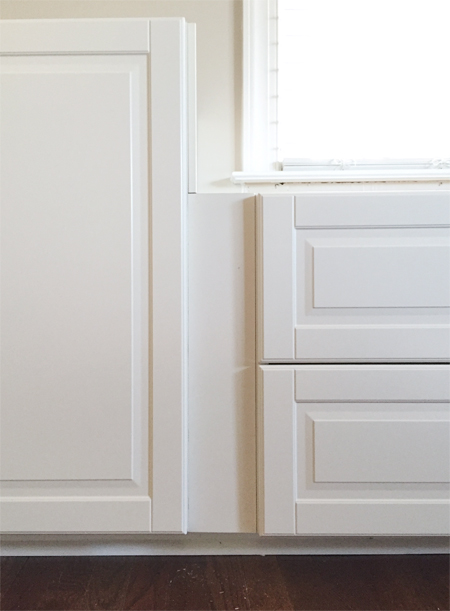
We glued these pieces in place, although we could’ve nailed them in and filled the holes afterward. We painted everything Soft Wood by Valspar at Ace after finding on Pinterest that it’s a close match to the Ikea white used on these particular doors.
Step 7: Add Toekick or Baseboard
It’s hard to see in these photos because our cabinets are relatively low to the ground (blame the low window). But we added baseboard under the cabinets, using those 2×4″ from Step #3 as our surface to nail into. We had to rip the baseboard a bit narrow on our table saw, but you shouldn’t need to do that if yours are a standard height.
Step 8: Add Counters
We considered doing wood counters (as you saw in our photoshopped renderings), but we decided keeping everything white would be best We bought some wood project panels at Lowe’s that would be deep and wide enough to fully cover each section of cabinets, primed them, and then painted them Soft Wool to match.
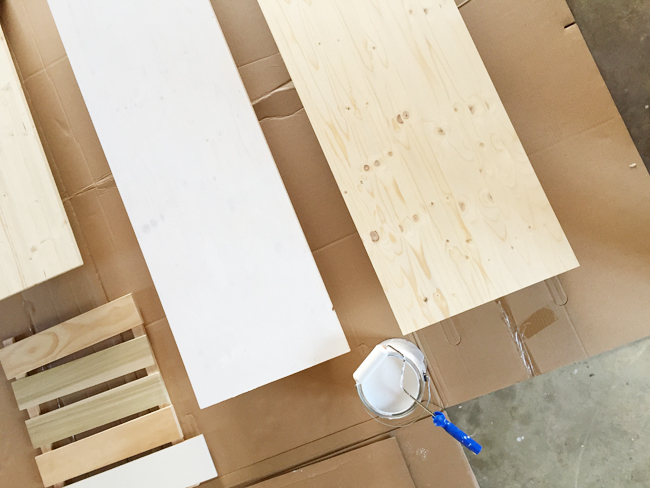
Once they were fully dry, we screwed them in place from the inside the top of each cabinet. We’d suggest letting them cure for a few days before placing anything heavy on them.
Step 9: Add Cabinet Hardware (Optional)
The last step was adding matching pulls to each door and drawer. You can see our tutorial for installing cabinet hardware for a video on how to do this.
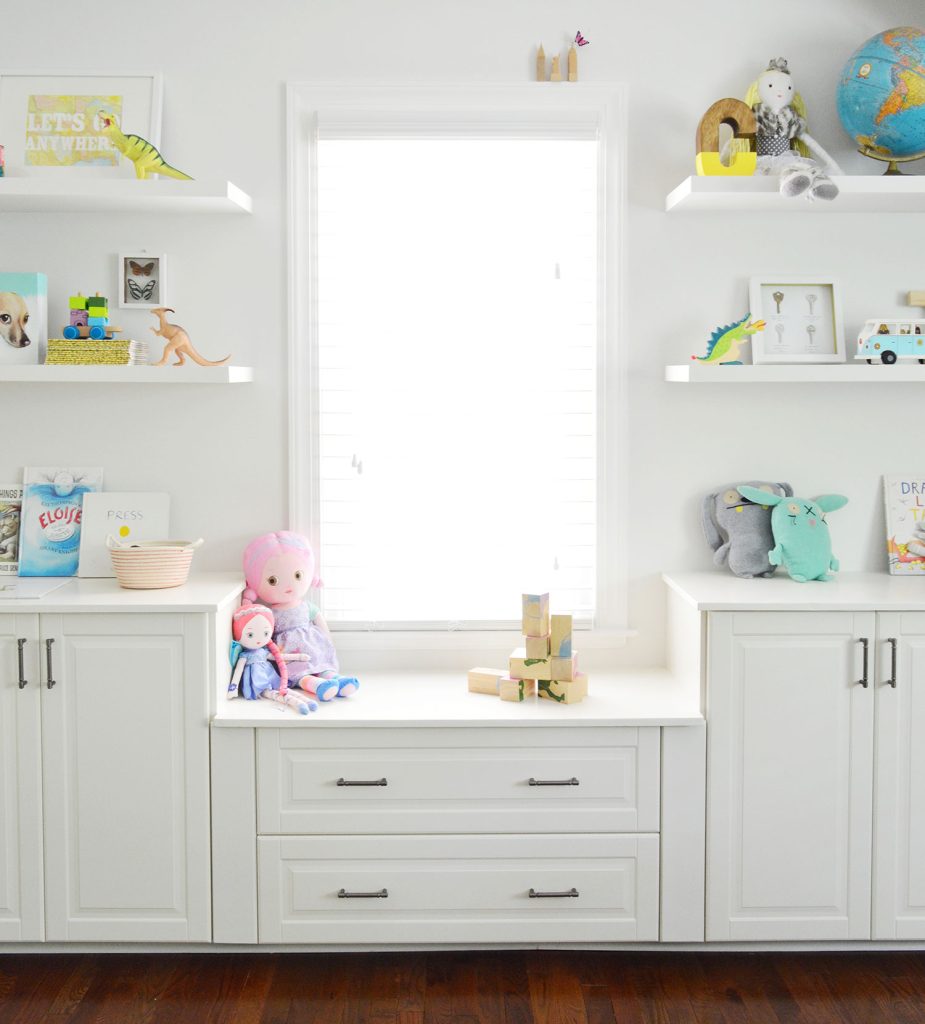
With our built-in cabinet fully complete, we turned our attention to the DIY floating shelves and call this nice finished!
You can read all about how we finished off the rest of this space, including all of the before & after photos of our new bonus room.
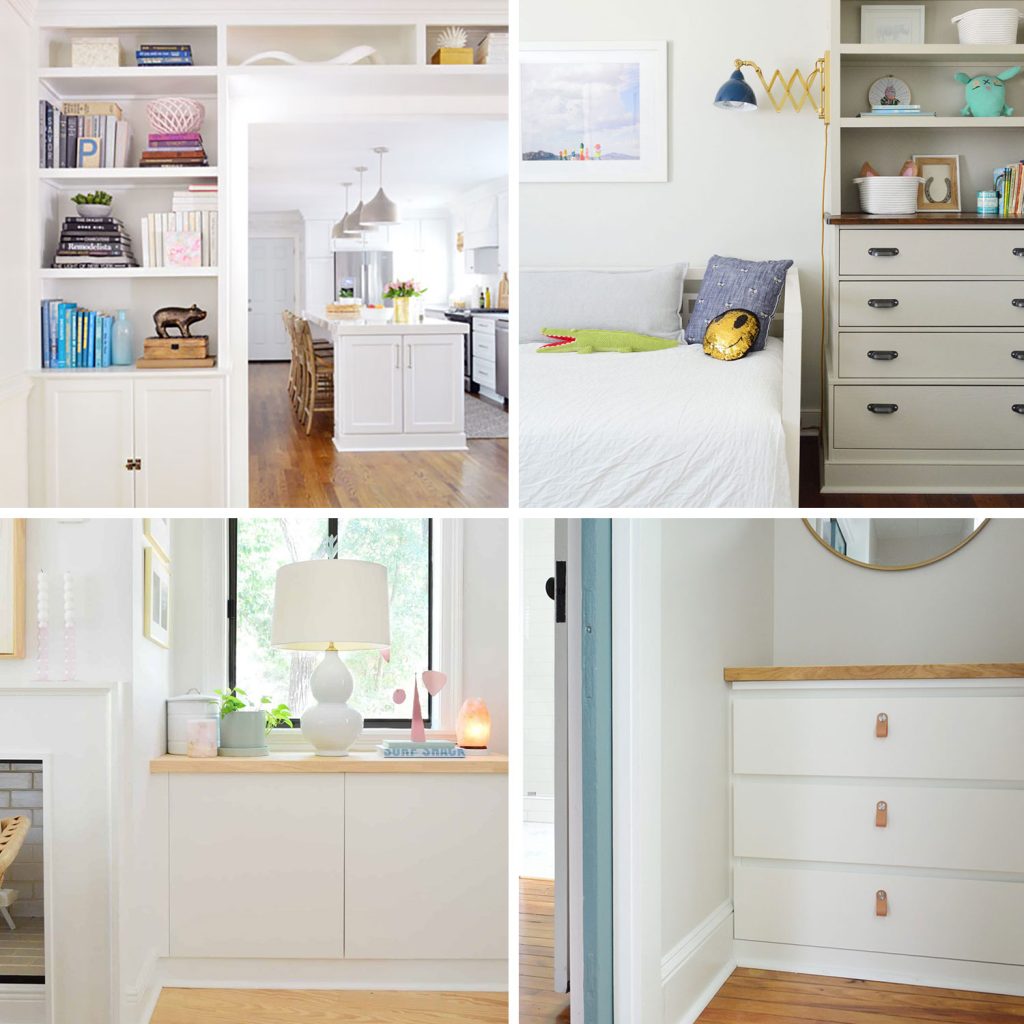
More Built-In Cabinet Projects
We’ve done similar cabinet built-in projects in several spaces, so if you’d get more ideas and inspiration, be sure to check out some of the posts below:
*This post contains affiliate links, so we may earn a small commission when you make a purchase at no additional cost to you.
