Ok, so here’s a bathroom update that’s way overdue. And it’ll literally change the way you look at your bathroom (or any other place that has bad caulk in your house). Let’s do this.

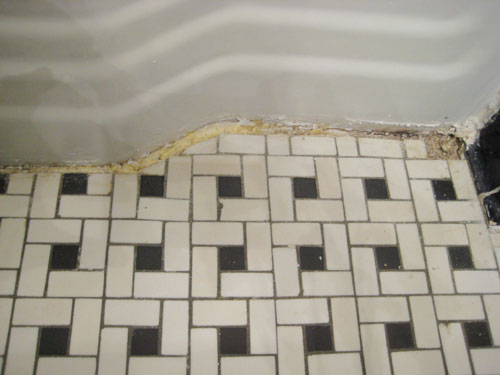
This is what our bathroom looked like when we started this whole mini-overhaul in an attempt to salvage our vintage basketweave tile instead of demoing every last cracked and peeling corner of our bathroom (warning: this ain’t pretty):

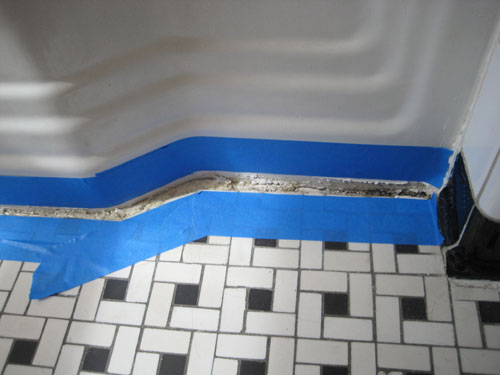
Now for a few more slightly less than pleasant “during” shots in the spirit of sharing the semi-painful process. First, we cut out all the old caulk with a box-cutter (as captured in this tasty photo):
Then we did some serious tile cleaning with the 40% peroxide (purchased at a beauty supply store) that one of our readers recommended (thanks Gimbler!). After we let the peroxide soak in overnight, we scrubbed the heck outta the tiles the next morning and they definitely looked lighter and brighter. So it was on to the next step, which involved taping off all the places that we needed to re-caulk.
The painters tape was another fab tip from a perfectly helpful perfect stranger (thanks Mary!) which resulted in perfectly straight caulk lines that look much improved. The details: caulk, smooth caulk with finger, and quickly remove tape before caulk starts to set. Easy peasy.
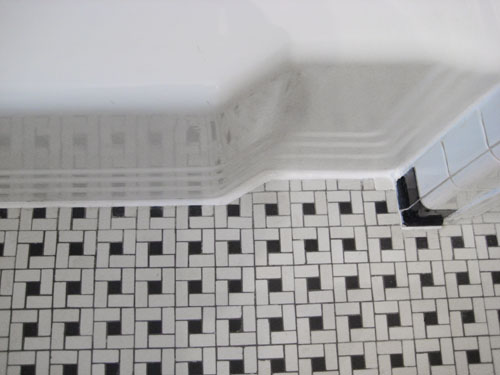
Doesn’t less dingy tile and a clean caulk line make all the difference? It also should be noted that we purchased one replacement tile for the top right hand corner where the tub meets the tile (if you scroll up to the picture where we cut out the caulk, you’ll see that there’s a huge hole where a tile should be). We actually couldn’t find an exact match, but it’s pretty close. Plus the fabric shower curtain hangs down completely obscuring the new caulk line and that tile anyway. But it sure is nice to know that when a guest pulls back the curtain there won’t be a hairy surprise waiting for them anymore.
(I’ll pause while you shudder. Go ahead, it’s ok.)
We also used a little more caulk to totally overhaul our gross-ish drain. Since our tub was reglazed about 8 years ago by the previous owner, the glaze was perfect everywhere except for around the drain. Observe:
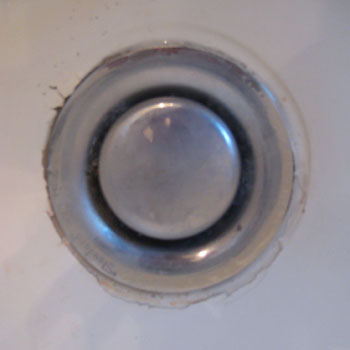
But caulk is like magic in a tube. Look at the difference a little ring of the stuff can make!

And while we were at it, the old bath and shower fixtures had seen better days. They were original to the house (51 years old) and the corroded knobs and leaky faucet just weren’t up to par anymore.
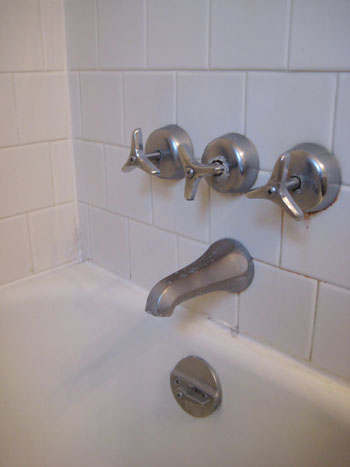
So we switched them. Well, by “we” I mean Mr Rooter. We tried doing it ourselves but the crazy old configuration of the pipes behind the wall made it necessary to call in the experts (who actually needed to use a diamond blade to cut through a 2-inch cement wall to access the old rusty pipes). We’re so glad we knew when to say uncle, because it took two experts over four solid hours to make the change. Luckily they quoted us a price before they discovered the cement wall.
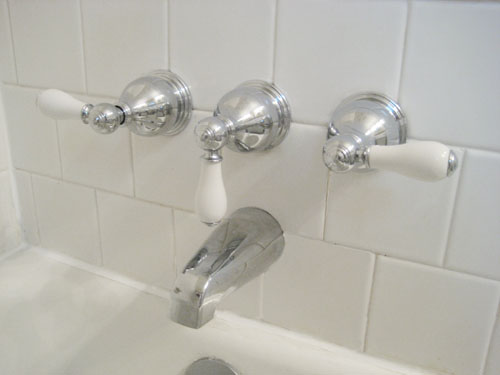
When it came to new fixtures to install, the pickins were slim because we had to match the old three-across configuration of our prior faucets. But thankfully this cute retro-ish set ($136 from Home Depot) looks right at home in our black and white bathroom.
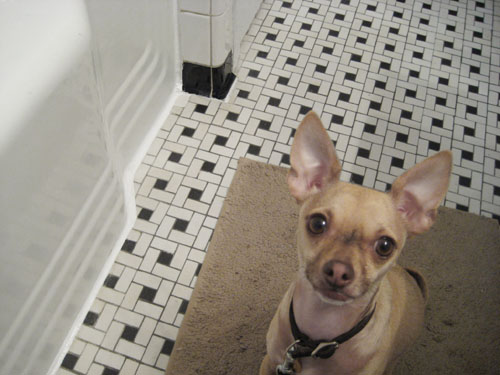
Burger loves the mini-bathroom-overhaul (see that happy gleam in his eyes?) and so do we. Mission Save-The-Basketweave accomplished. Thanks so much for all of your help!
Update: Alas, a few years of use later made it clear that our cracked and stained wall and floor tiles just couldn’t be saved (although the cleaning and caulking tips above definitely tided us over for a while). So we embarked on a full bathroom overhaul in late 2009. Here are those details.

Leave a Reply