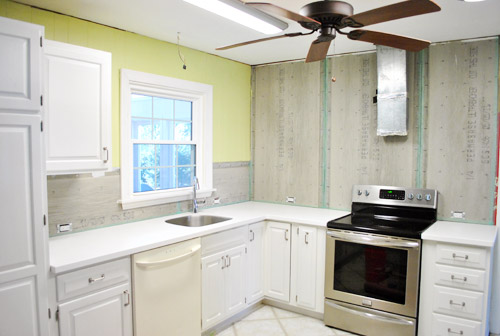
Monday’s backsplash post kinda dove straight into the middle of the project, so we thought while we were back to share our progress we should rewind a smidge to explain a bit more about the process for anyone else out there who wants to tackle something similar. First we had to prep the room. So everything came off the counters.
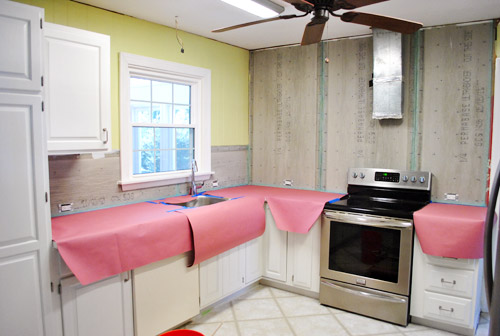
Then down went the rosin paper (from Home Depot). It was recommended by our counter installation guy when we mentioned we were doing a backsplash. It’s basically like brown construction paper, but with an added moisture barrier that keeps any thinset drips from seeping through. We covered each of the counters with cardboard (for extra protection against sharp trowel corners) then taped rosin paper over it, with the painter’s tape going right up to the wall.
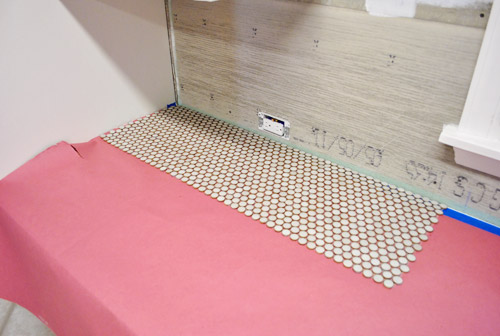
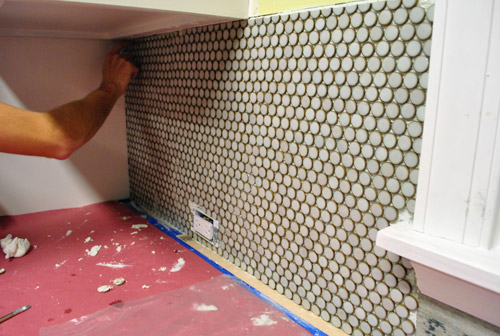
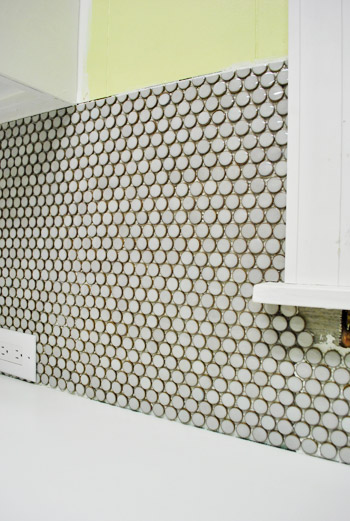
Finally we got to start planning our tile placement. We decided to start in the corner under the microwave because it felt like a nice fairly inconspicuous spot to learn the ropes. And it was basically three sheets wide in that area, so we took it as sign that it’d be an easy way to get our feet wet.
Not knowing how long it would take to make cuts, we didn’t want our whole batch of thinset to dry out while we fumbled with the nippers for an hour (which happened, as you know from Monday’s post). I’m glad we took it slow to start, but we later learned it’s MUCH faster to put up as many full sheets as you can and then just backfill with cut pieces along your edge (even if you have to use some freshly mixed thinset to place those).

The staggered pattern is to help disguise the seams by alternating where they lie. So instead of your eye catching one long horizontal seam, things are mixed up a little so there’s hopefully a more seamless effect once it all gets grouted.
Anyways, now that we were FINALLY ready to put some tile on the wall, I had to mix up the thinset (we got this kind from The Tile Shop). Not gonn lie. This step made us nervous because we ruined a whole bag of grout during our first house’s bathroom project by misreading the label and pouring in too much water. Oops. So we read the bag about ten times and then found this Ask The Builder video on YouTube. And we’re happy to report that we had no trouble getting our thinset to the right consistency.
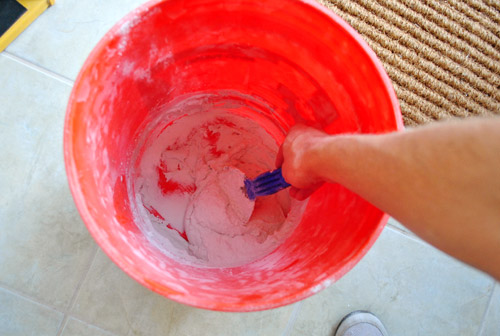
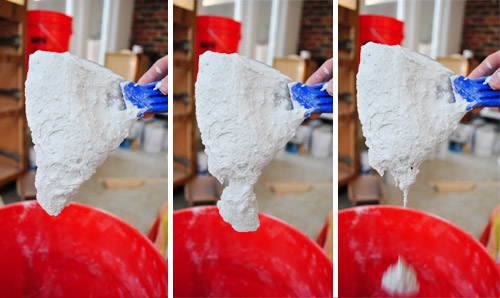
As we’ve heard, the thickness is supposed to be somewhere in the neighborhood of toothpaste or pancake batter. It should hold together, but still be loose enough to spread – and fall slowly off your putty knife like so:
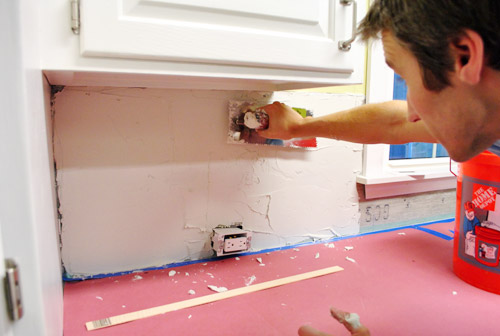
With the thinset mixed, we spread it on the wall using the flat side of the 3/16″ notched trowel (from The Tile Shop). I also used the putty knife sometimes since it fit better in the tight space.
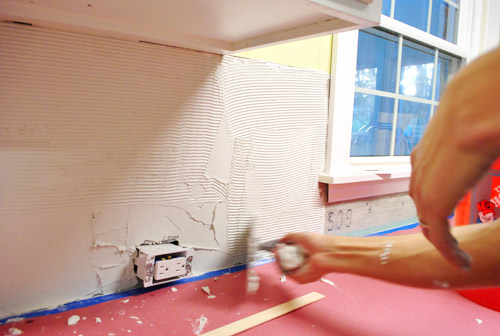
Once it was on and fairly even, we held the notched edge of the trowel at a 45-degree-ish angle and scraped along the thinset, creating little grooves to grab the tiles (we used a small 3/16″ trowel notch since we’ve got small tiles).
And at last, the first tile sheet was pressed into the wall. It was scary and awesome all at the same time.
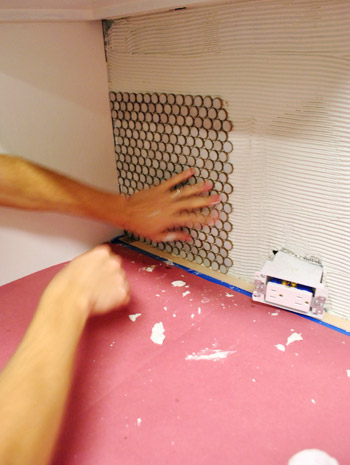
Oh, and we used a veryveryvery thin piece of scrap wood as a spacer against the bottom so that we’d be sure to leave some room between the tile and the counter for caulk (you don’t want tile resting right on your counter, so a tiny smidge of space akin to the spacing between each tile is ideal). So our wood spacer was about as thick as a paint stick if that helps you picture it. Maybe even a little thinner.

These pieces were fairly easy to lay because there was a lot of stuff (counter & cabinets) to help keep things straight. So once we actually started tiling, it didn’t take us too long to get to the point that you saw on Monday (maybe an hour and a half?). We had just spent so much time prepping that we were too spent to continue on into the night…
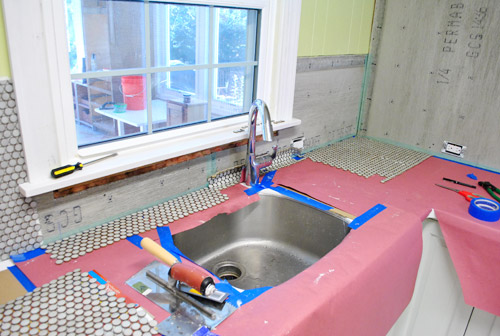
… but the next day we had our mojo back and made our way along the sink wall with renewed energy. We even removed the piece of molding under the window so we wouldn’t have to do any tile cuts around it (we’d just place the molding on top of the finished tile for a seamless look).

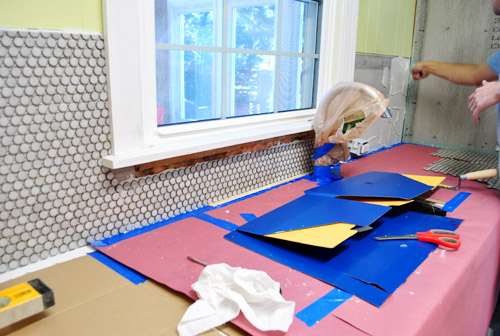
This time we were a bit less type A and didn’t plan out all of our cuts ahead of time… we just removed the full tiles that would interfere with the disposal switch before mixing up thinset and back-filled the rest as we went (popping off half and full tiles and sticking them wherever we needed to fill those in).
So this whole part went pretty quickly, especially in comparison to the day before.
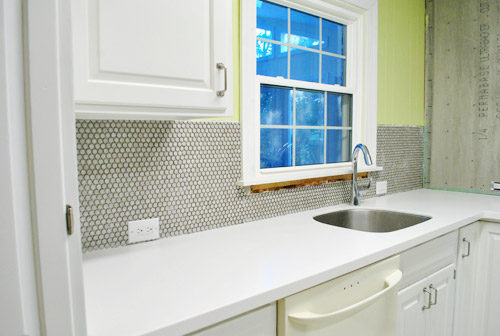
But Clara didn’t give us much of a nap, so we had to call it quits and clean up before we could move our tiling party onto the big back wall. Sigh. At least we got one side done! It’s the easy side, but still. Oh and see how the widow looks off center? Once we add the open shelving to the stove wall there will be 14″ of space on either side of the window so it’ll look nice and balanced again. Note: we’ll share how we’ll be “capping” those 14 inches of tile on either side of the window that won’t be under a cabinet or shelf as soon as we can snap pics to explain things better.

We’re hoping the back wall goes relatively quickly. On the one hand, it’s a huge space to tile. On the other, we’re sort of getting the hang of it now AND the wall is pretty much all full tiles (aka: fewer cuts).

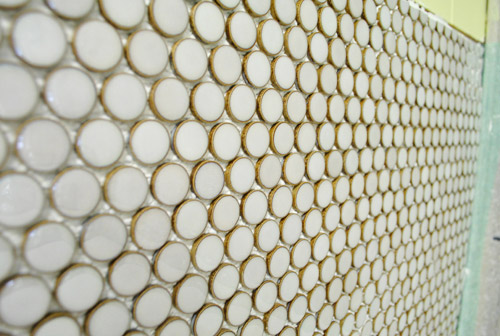
Until then, we’re just enjoying the work we’ve already done. We’re pretty much obsessed with it actually. The weirdest thing is that our favorite thing to do is look at it in the dark. I can’t explain it, but it sort of gleams at night. Like it’s wet. We love that fancy shine. It definitely elevates things like our white Corian counter and our painted cabinets. Can’t wait to grout it and see the finished result. And replace that dishwasher with our stainless guy (just waiting to get the floor down so it runs under it).
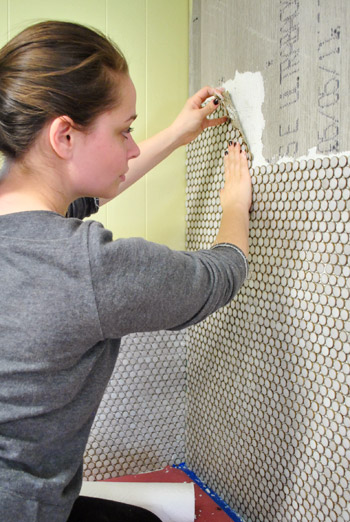
What penny tile lacks in quick application points, it makes up for in looks-good ones. We read so many things online about folks having issues lining them up and hiding seams but ours seem to be pretty easy to slide around in the thinset until we like how it’s all lining up.
So we just stand there and keep noodling until we get nice even rows. So as tedious as it can be, the result is 100% worth the finished result in our humble opinion.
In writing this post I also realize we mentioned that we’d make another video and completely spaced on that. Next post for sure! We wanted to show you how we spread and scrape the thinset and set (and scooch around) the tile. Good thing we still have an entire wall to do. Haha.
But wait, you don’t think we stopped there, do ya? Late last night we got a chance to start some of the back wall. Slowly but surely is the name of the game here (we wish we could snap our fingers and be done, but… we tried and there was still a whole wall to tile). Our goal is to be completely finished by the end of this weekend. We’ll just inch along through the weekend and hopefully be back with some wide shots of a fully-tiled-monty post on Monday! Look how serious Sherry is about it. Hah.
Anyone else doing tile stuff? We went into this project not knowing if it would take us three weeks or three days, so I’d say that we’re pretty excited if we get to share a completed tile job around a week after starting it. Not too bad for just stealing evenings and the occasional nap time to chip away at it. So if you’re wondering if you can do it, penny tile can be slow going, but it’s definitely not the hardest thing we’ve tackled. It’s probably not even in the top ten actually. So… you can do it.

Leave a Reply