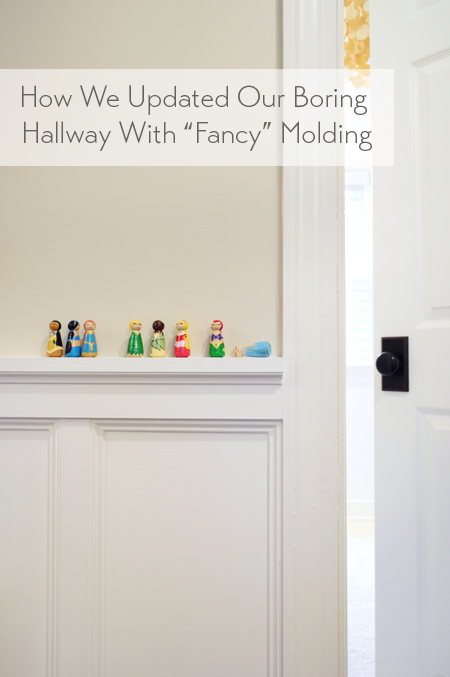
Our upstairs hallway recently got the wainscot treatment, and it’s kind of like the debonair older cousin to the DIY board & batten from our last house. Kind of a board & batten meets picture-frame molding look. Let’s just say, if our hallways were the Lindsay Lohans from The Parent Trap, this one would be the fancier-sounding English one (who I sometimes imagine grew up to live a less chaotic life than the American one).
The Easy Approach To Installing DIY Wainscoting
This DIY project began as one of those no-brainer tasks that we didn’t expect to spread much beyond the confines of a weekend. We planned to just repeat the board & batten look from our last house. We’ve always loved how that molding turned out and how easy it was (plus it’s the project that spawned the love triangle that is me, Sherry, and our nail gun). Here’s a flashback to Sherry getting some quality time with it back in 2013.
UPDATE: We’ve since moved on to this battery-operated nailgun because it doesn’t require an air compressor. It’s cheaper, easier, and more nimble to use. But we still remember our first love fondly.
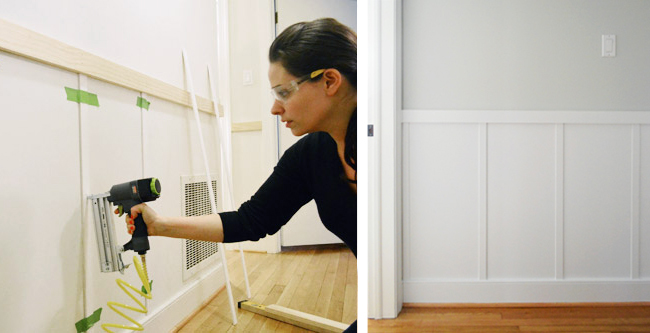
You can see our old board & batten tutorial for a more detailed step-by-step on the original wainscoting, but the gist is that we used vertical lattice pieces (spaced 16″ apart, where all the wall studs are) along with a horizontal 1 x 3″ pine board across the top to create a chair rail of sorts. Then you touch up cracks with caulk, add some primer and paint, and you’re done.
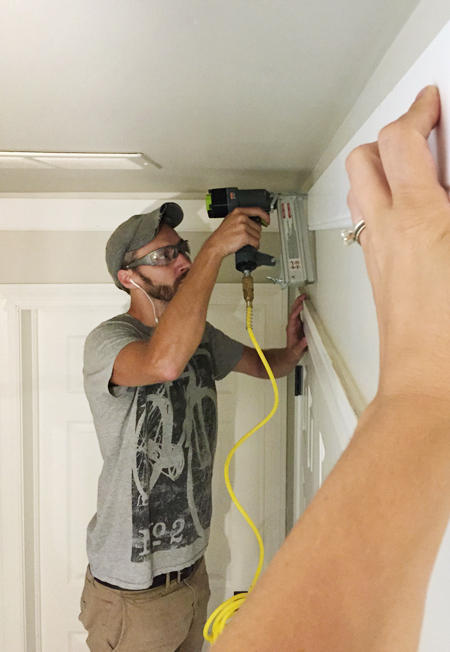
This time around, things started off great. We bought the wood! We readied the caulk gun! We filled the air compressor! Heck, we even installed crown molding around the ceilings too (using baseboard underneath it to give it a chunkier look, like the crown that’s already in a bunch of other rooms).
But when we were done this time, we were kinda “meh” about it. We weren’t sure exactly why, but it didn’t seem to be working the same magic.
Upgrading The Board & Batten
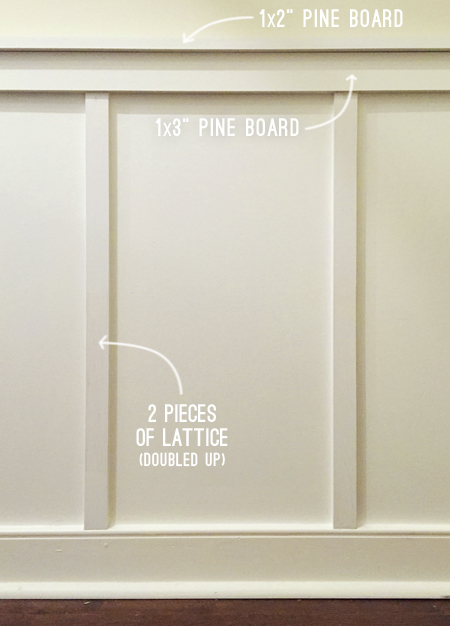
We slept on it for a while and then made two adjustments:
- We doubled up the thickness of the vertical batten by nailing a second layer of lattice on them
- We added a top “ledge” or “cap rail” that’s often paired with wainscoting by nailing a 1×2″ pine board atop the 1×3″ top rail which helped the whole thing feel weightier and more substantial.
We definitely liked it more with chunkier battens the addition of a top ledge, but we decided to percolate on it a little more before calling it done. And sure enough, a few weeks later it struck us that the crisp clean lines that worked so well next to the flat slab doors of our last home (which complemented it’s mid-century ranch aesthetic) weren’t playing as nicely with the more detailed six-paneled doors in our colonial. Well, duh. Fortunately, there was a pretty simple solution. More cowbell molding.
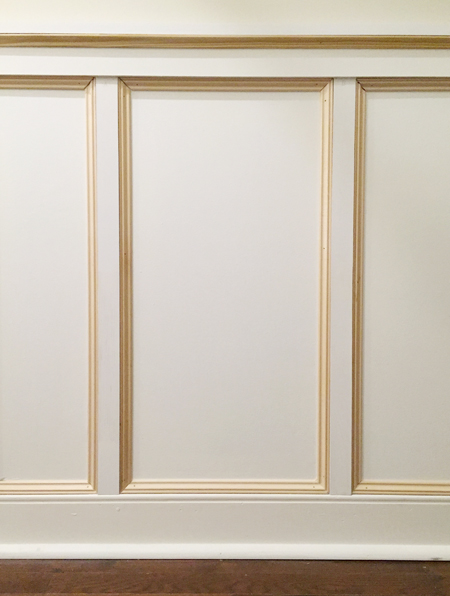
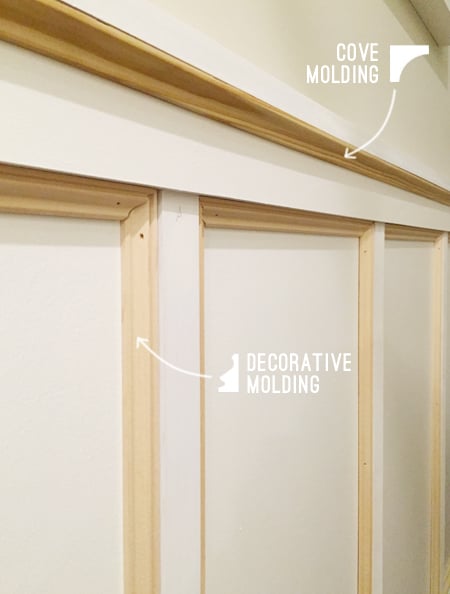
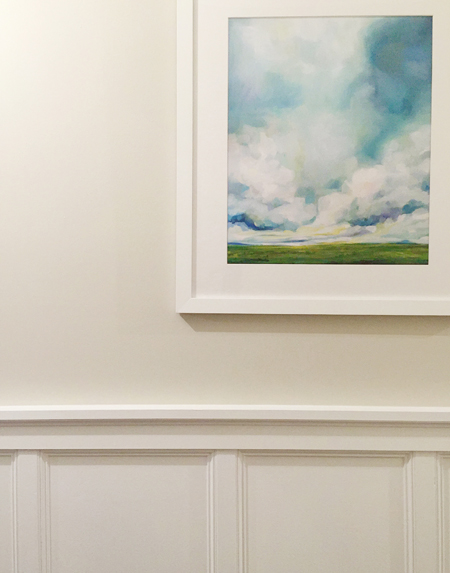
We bought some decorative shoe molding at Home Depot that fit nicely within the panels we had already created, giving it a more intricate profile. To install it, we just held up strips along the inside edges of each panel’s four sides, marked the ends, and then made miter cuts on a 45-degree angle so the pieces could be nailed into place like a picture frame. We didn’t use any construction adhesive behind the boards, because we found the finishing nails were enough last time.We also opted to add some cove molding under the ledge, which also gave it a more traditional look.
NOTE: We didn’t use any wood glue or construction adhesive behind the boards, because we found the finishing nails were enough to hold everything to the drywall. Apart from the top rail and cap rail pieces, all of the wood we used is relatively light, so we were free to space our battens evenly without having to worry about finding studs in the wall. But we did use our favorite stud finder to make sure those top rail pieces were securely held up.
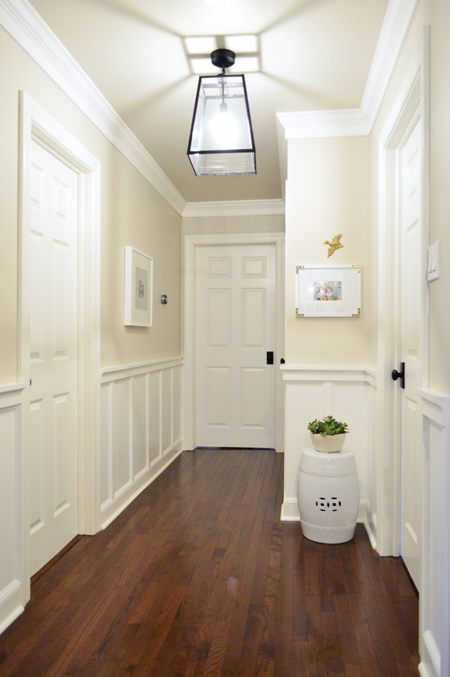
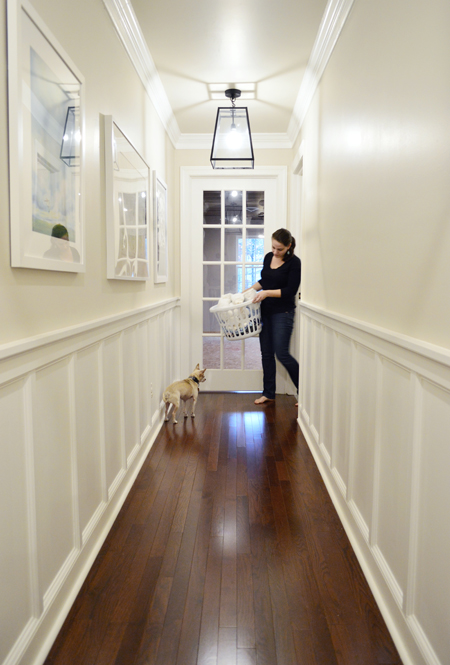
The Final Result
The project was easy, but somewhat tedious because of the size of our hallway. But it could easily be knocked out in a day or two for smaller spaces like bathrooms or dining rooms. So we’re gonna fast forward through all the miter cutting, nailing, caulking seams, filling nail holes, priming, and painting and – VOILA! Cue the (caulk-covered) high-fives.
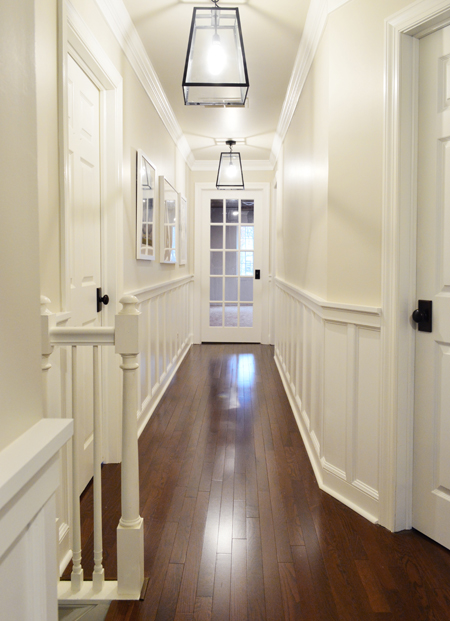
UPDATE! We’ve finally transitioned our entire house to LED lights (they save tons of energy & money, and they’re a lazy person’s best friend because you never have to change them). For anyone wondering, these are our favorite interior LEDs. Their glow is warm & natural (not weird/blue like some of the others we’ve tried) and they’re actually the ones you see glowing in these pics (they’re extremely similar to regular bulbs, but they use around 90% less energy).
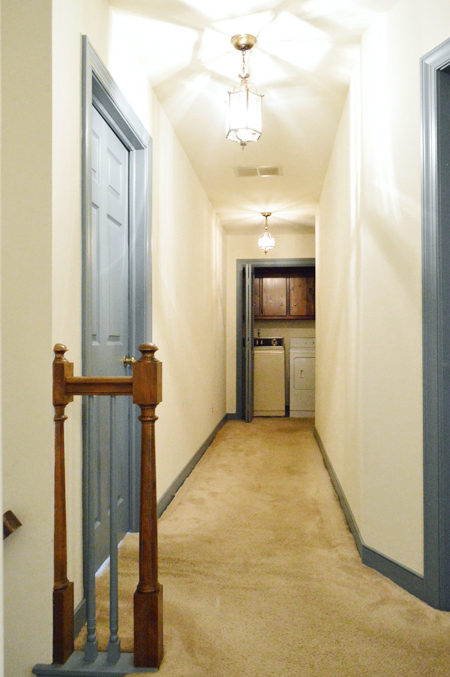
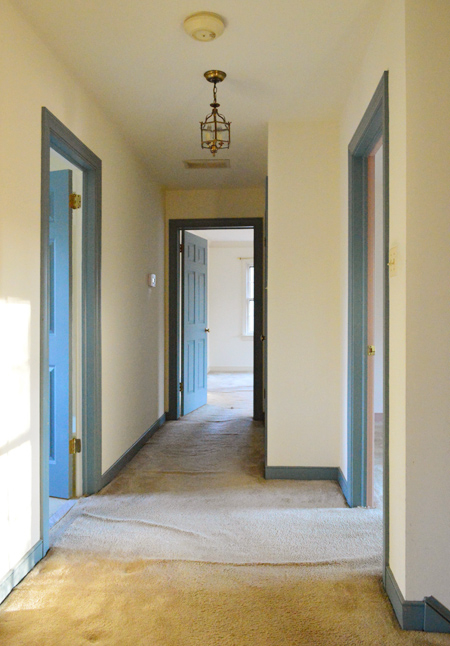
It’s certainly a far cry from the space we first laid eyes on. We can hardly even remember our washer & dryer being there (you can see how we reconfigured those here).
We’re still playing around with art and stuff. We’re learning that too much stuff on the walls in here can feel a little busy, so we’ve chosen a few select spots to hang some temporary frames to help us get a sense of where we might like things to go before deciding on what exactly makes the cut. Brass bird is making a strong case for himself.
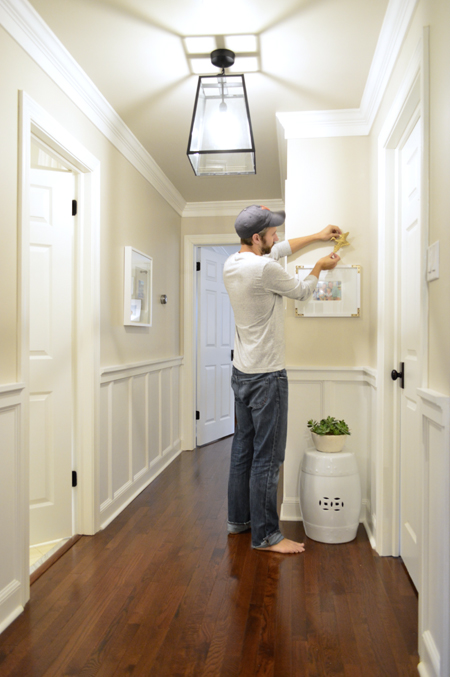
The drum stool is just placeholder too (we might grab a tall basket or some other small kid-friendly furniture piece) but our house has an abundance of drum stools and faux succulents, so… when in Rome.
Even without the finalized art and stuff, we’re pretty psyched about how far this hallway has come.
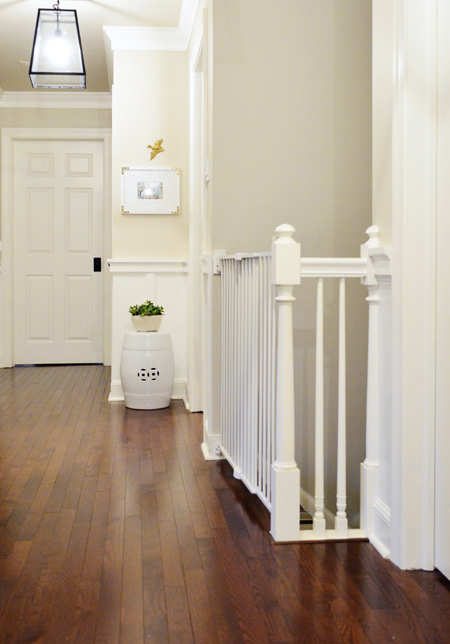
Oh and we popped off the baby gate at the top of the stairs for the photos above (we have one of those because, well, toddlers) but here’s how it looks when it’s on. It’s nothing fancy – just a basic white metal one we found at Babies R’ Us – but we like that it sort of mimics the railing.
The only other thing we’ll probably add at some point is a runner on the floor, but we haven’t found one that we like enough to bring home with us yet. And apparently, we look at the floor a lot (Burger included).
In the end, being patient with this project and being willing to adjust and fine-tune things instead of rushing to cross it off the to-do list ended up getting us from “meh” to “that new Missy Elliott song” (as in, we really like it).
We’re also finding ourselves leaning into our home’s traditional style a little more recently too, which has been an interesting observation as we look ahead to some future projects (picture frame molding like this would’ve been another good option for traditional-looking DIY molding) . We’re also super behind on holiday decorating this year, but we’re hoping to share some shots of the house all fest-ified once it gets there. Soon, I hope.
SOURCES: Wall color: Edgecomb Gray by Benjamin Moore | Trim & wainscoting color: Simply White by Benjamin Moore | Framed print: Emily Jeffords | Brass bird: secondhand | Pendant lights: World Market | Wooden pegs: HethrFethr on Etsy | Ceramic garden stool: Amazon | Faux succulent: HomeGoods (source links may include affiliates)
