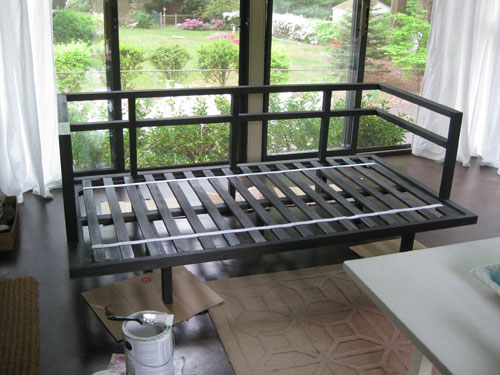
You guys may remember the sunroom quickchange that occurred a few months back when we turned our former third bedroom (which once housed a West Elm daybed and a desk) into Clara’s nursery. Being work-with-what-you-have people, we brought the daybed from that old bedroom of yore out into the sunroom, and we mentioned that someday we would hopefully get around to priming and painting it white for a more balanced look (since it’s about a foot away from our other already-white West Elm daybed). We actually didn’t think it looked too bad when it was dark since it worked with the metal framing on the glass doors that surround the room…

… but now that it’s primed and painted it definitely feels more balanced to us. You know we’re not huge everything-must-match people, but we thought since both daybeds had different pillows and a different design (one is a lot less intricate) that keeping them in the same white palette would keep the L-shaped arrangement from feeling too off-balance. Plus we have more tricks up our sleeves to add a ton of layered pattern, color and interest in future phases of this project (so the daybeds will serve as a nice calm foundation for the space). Stay tuned!

Of course it also helps that the trees are green again and we added some pops of color to each daybed (in the form of a few already-owned pillows that were displaced from the guest bedroom which we’ve since transitioned into our home office/guest bedroom/playroom). Oh and in case you’re wondering, the two floral pillows were a gift from a family member (we believe from Bed Bath & Beyond) and the larger blue pillow on the other daybed is from Marshall’s (snagged for $6 a while back).
And for anyone who’d like to know how we went about priming and painting our daybed, here’s the play by play. First we removed the mattress and the linens and placed all four feet on squares of cardboard:
Then we used Kilz oil-based primer (to keep the wood stain from bleeding through and ruining our finish) that we applied as thinly and evenly as possible with a brush. Note: to anyone who doesn’t paint nearly every weekend, you might want to toss down a drop cloth to safeguard the rug/floor against drips. We’re just cocky little painters who make do with the cardboard-under-the-feet-method, but it has taken us years of painting our hearts out to get there. Oh and if your wood surface is glossy (covered in polyurethane or polycrilic) you’ll need to sand it first to cut the gloss and help the paint adhere. Luckily our daybed was a very matte finish (dry and absorbent feeling, sort of the opposite of glossy) so we didn’t need to sand.

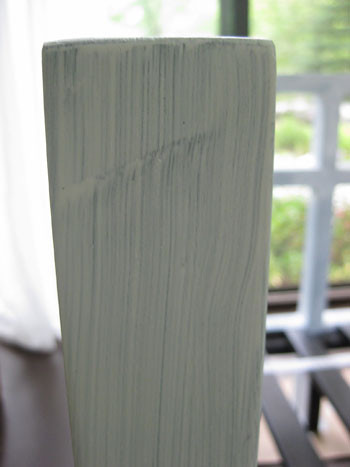
Usually only one coat of primer is necessary since you’re not trying to completely cover the piece and block out all of the black color, you’re just laying the foundation so the latex paint that you apply over it will stick well and that will block the color. It’s in primer’s nature to go on rather roughly (so never expect a perfect looking white effect when you’re done) and our best tip to you would be a nice even and thin application. It’s the people who try to load it on thickly for that matte look who run into tons of drying and bubbling problems later. Brush strokes are ok with primer- they’re practically unavoidable actually! In fact we snapped this close up photo to show you how one thin and even application of primer with a paint brush will most likely look. Then it’s time for paint.
The day after we primed (just to give it time to cure up and dry) we applied two thin and even coats of white paint about an hour apart. We used Freshaire No-VOC semi-gloss latex paint in their stock off-the-shelf white color. And we actually used a small foam roller to apply the paint for a smooth “machine produced” look. This way it would match the other daybed’s look instead of having the painted quality that a paintbrush can produce when you use it to apply those thin and even coats of paint (neither a 2″ angled brush or a foam roller are bad choices for applying paint, so it’s really up to you to choose what you feel most comfortable with and whether you want the glossy hand-painted look or the smooth machine-made look – kind of like Ikea furniture).
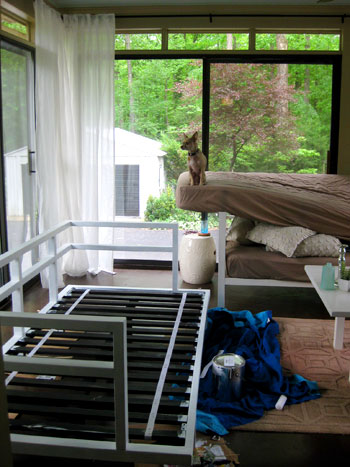
Again, a thin and even application of the latex paint is key. Pop quiz: how many times have I said thin and even in this post? I apologize, but it’s super important. It really is the difference between a terrible result and a great one. That and ample drying time between and after coats, which is why we leave a day between primer and paint, at least an hour between paint applications, and 3-6 full days before putting things on the painted item and using it again. In this case we let our daybed dry for a full week before loading the mattress and the linens back on and moving it back into place. We just hate risking any creases or dings from being too impatient. So we lived with the daybed looking a little chaotic for a while, but Burger seemed to love his new lookout tower. Sometimes I swear our dog is a cat.
And after things were all put together again it looked like it had always been white:

Plus we’re happy to report that the color of our painted daybed looks a lot like that of our already-white daybed, so they really work well together. We’re not super neurotic when it comes to our white tones coordinating perfectly, so we didn’t do anything like bring home white swatches and hold them up to the white daybed to get the perfect match, but that’s definitely something that you can do if you want your painted piece to perfectly match something that you already own. Our similar white tones were just kind of a happy accident.
And although Burger’s perch on the displaced mattress is gone, he seems pretty happy with the result. We just love how light and fresh the room feels thanks to all that glass, the airy white furnishings, those pops of green and blue, and the breezy white sheers.

So that’s part one of phase one, and the theme of this phase is all about working with what we already have. Happily the cost for moving the daybed in and repainting it was zero dollars (since the primer and paint was already on hand along with the daybed that was freed up by the creation of our nursery). But we also had a dresser and a large mirror that were displaced from the guest bedroom when we converted that into an office about a month after finishing the nursery makeover. And we also needed a small wooden bookcase in the office (for Clara’s toys) so we swapped the one that used to live in the sunroom (along with the mirror above it)…
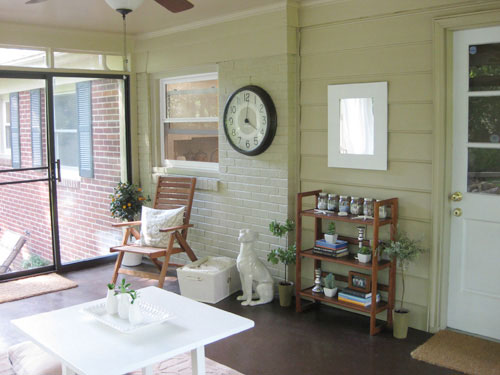
… with the dresser and mirror from the former guest bedroom.
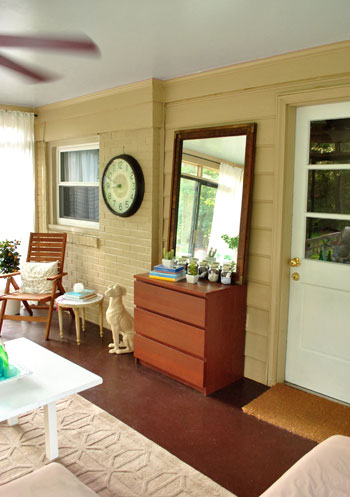
Everyone wins! The larger mirror and dresser provide lots of storage and reflect even more sunlight (along with our leafy green view) while the old sunroom bookcase can now be used to store lots of toys for Clara (the footprint of the bookcase is a lot smaller, so it works in the new office while the dresser never could). But again, this is just stage one of the sunroom switcheroo – so we have a lot more up our sleeves for this room in the pattern and color department! Hold tight for our next phase of the project.
But what about you guys? Have you ever moved a dresser or a daybed out of the bedroom and into a living area in your home? Have you painted something to help it fit in – or stand out? Spill it.
Psst- For more furniture painting tips and tricks, check out this very very very thorough tutorial. And happy painting!

Leave a Reply