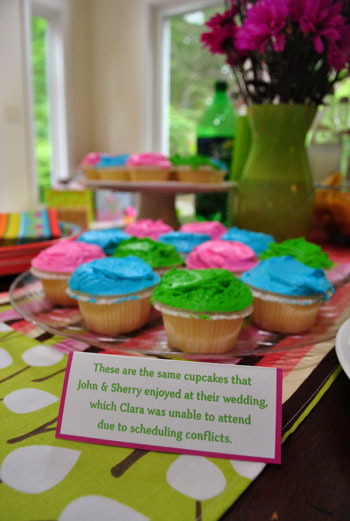
I’m not a runner, but I can make one. I used to run track and cross country in middle school and high school. I actually ran a 5:09 mile once (with the help of some downhill portions of a course and the fact that I was like 80 lbs). It happened once and never again (I usually clocked in between 6:20 and 7:10). But those days are gone (due partially to an ankle injury but mostly to laziness). Now I only run when I’m being chased. Or when I lose track of the baby. But making a runner? That I can do. You guys actually got a sneak peek of my recent runner creation in this picture from Clara’s party:

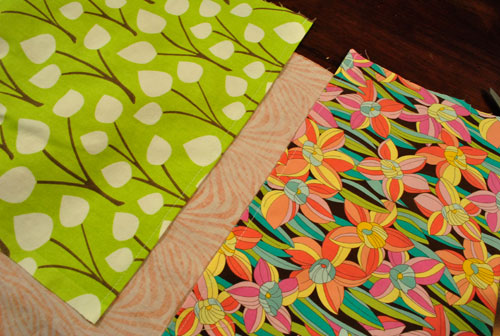
And let me tell you, it was child’s play compared to my big quilt project (nothing like a little confidence-building quick & easy sewing project to get your sew-mentum up). Yes, I just made a sewing pun for my mom. Happy birthday Momma (it’s tomorrow)! Anyway, here’s how it went. First I sorted through all of the leftover fabrics from Clara’s weekly photo project and picked four that I liked together (for a sort of cheerful and happy-go-lucky mixed & matched effect).
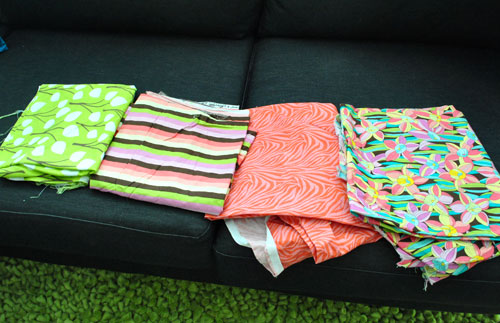
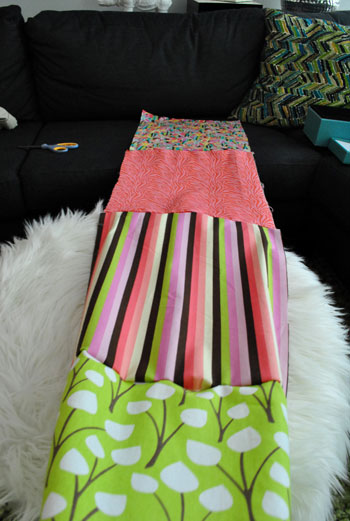
Then I found a runner that I already owned (from Target a while back) and folded it into quarters so I would have an idea of the size of each of the four squares of fabric that I should cut out (so that when sewn together they would equal the approximate width and length of the runner that I already had). I left about an inch of overhang on all sides to account for seams, so it looked a little something like this:

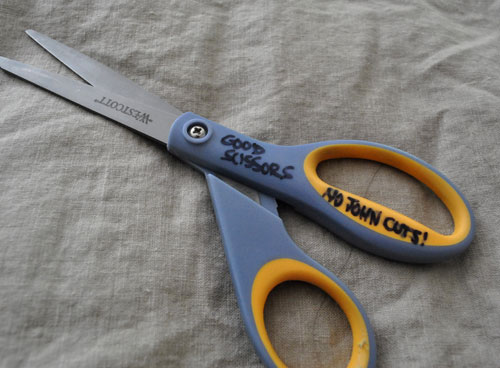
And for some reason I like to over-share, so I’ll point out how insane I am about my “good scissors.” I actually wrote this message on them with Sharpie because I was sick of John using the good sharp ones to do something crazy like trim a thick branch outside or slice open some crazy-thick plastic package. Do you like how it specifically says “no John cuts”? I think it’s hilarious. That’s like Kate Gosselin level micro-managing right there. But it works. John won’t touch these scissors anymore. And I love you for that babe.
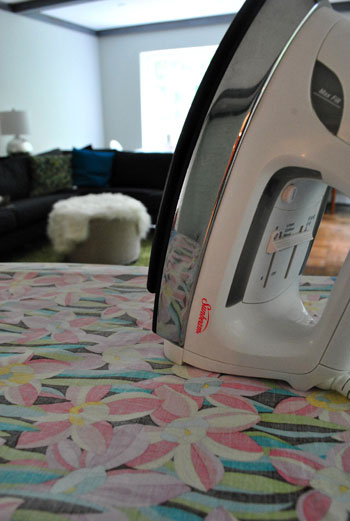
Anyway, next I ironed all of my four fabric rectangles so they weren’t all junky and wrinkled looking (they were already washed, btw, which is important to combat shrinkage – because nobody likes shrinkage).
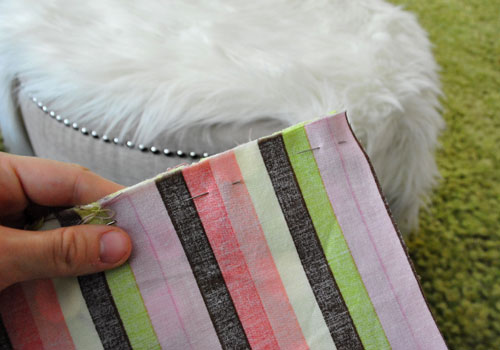
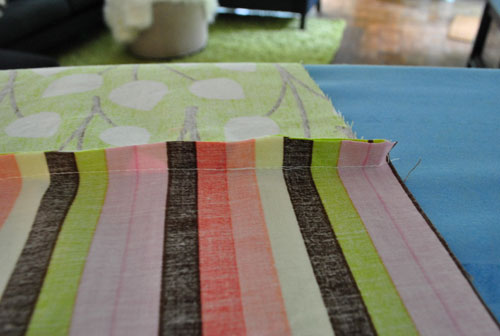
Then I pinned each section together with the bad side facing out (which would create invisible seams – which are my favorite since they’re harder to mess up). Oh and to all of those who gave me the tip about pinning it perpendicular- I love it. I just somehow forgot so I’ll have to try that next time.

With it all pinned together it looked a little questionable for a while, but I (surprisingly) had faith that when I ironed and sewed those seams they’d look a lot less ganked up then they looked at the pinning stage of the game:
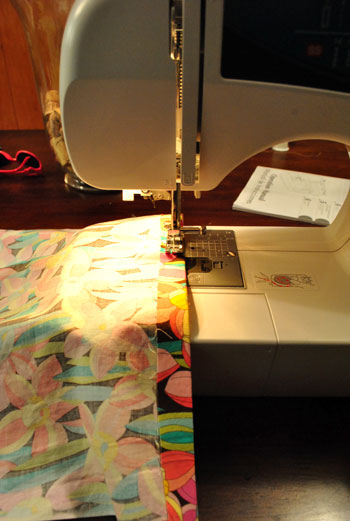
And sure enough, after a little bit of sewing things were looking a lot more promising. Who ever would have thought that me + sewing machine = something looking better than it did before. I’m telling you, this is serious growth for me as a person. I would have defined my relationship with sewing machines as tumultuous before this month. But times they are a changing. I might even have a tiny crush on Oh Brother.
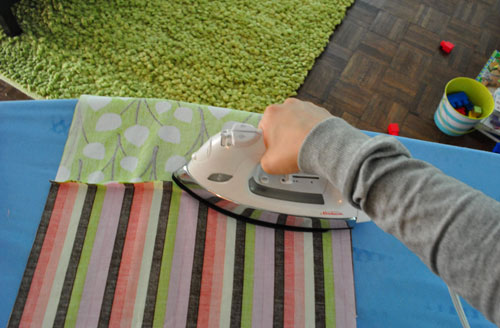
Anyway, then it was time to iron down those seams from the back so they would lay nice and flat and look good from the front (as opposed to looking all bunched from the front like a big ol’ runner wedgie going on under the surface).
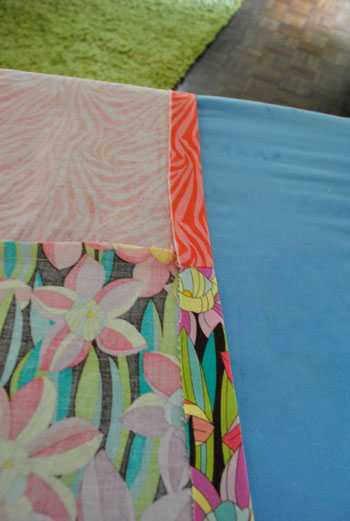
Then I ironed the outside seams on each end of the runner down to create the finished seams that would be seen from the front. I went straight to ironing because I was feeling gutsy (and didn’t feel like pinning the entire outside edge since the baby was about to wake up from her nap any minute and I was feeling all jumpy and why-the-heck-not about it)…
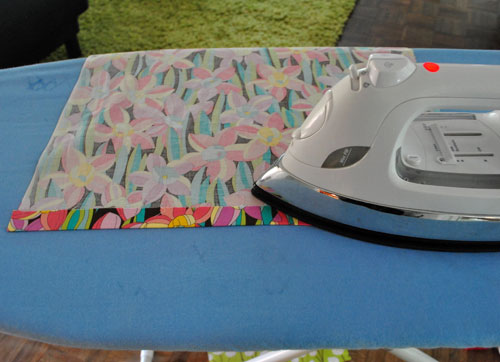
… and then sewed those two seams (these seams would show, which still kind of scares me but it wasn’t a big deal in the end- I just tried to go slow and steady and keep things nice and straight).
In about five minutes I had a nice tailored looking seam on both ends of my runner (without any pin usage – saweet). Then I had to deal with the unhemmed sides of the whole thing.
So I ironed them down too. I have to admit that not pinning felt good. Like I found some sort of shortcut to the next level in the video game of sewing.
Then I just slowly and carefully stitched around my ironed edges to create a nice neat hem around the outside of the rest of the runner. Aside from my bobbin running out halfway through (which pisses me off every time, I’m not gonna lie), it wasn’t annoying or frustrating. I was almost – dare I say it? – enjoying the process.
Cue the collective gasp.
Anyway, after making out with turning off my sewing machine and removing my freshly completed runner, I just ironed the whole thing again, just to make sure it was nice and tailored looking. Houston, we have a runner:
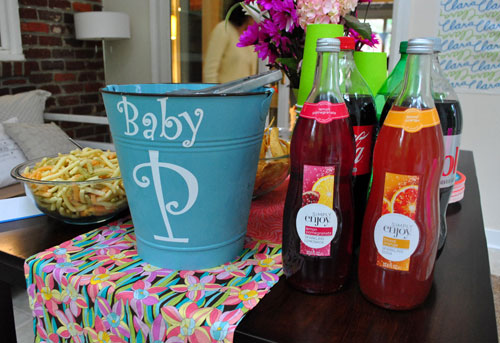
I hope to use it at lots of Clara parties to come. And probably for a bunch of other parties too- it’s just really happy and festive. It even looks kind of Easter-ish so it could work for a fun little egg dying party or something. Oh and the total cost = zero bucks (thanks to already having the fabric on hand). As for how long it took, I knocked it out in about 45 minutes to an hour. So it’s perfect for any beginners out there who want to kill me because they think I’m getting good at sewing. I’m not. I’m not even junior varsity. I’m the water boy of sewing. I don’t know the right terms for things, I make tons of mistakes as I go, but I’m telling you – just messing around until you end up with something you like is a surprisingly effective approach thus far. So take it as a sign that if a cursed sewing-machines-revolt-in-my-presence person like me can tackle some simple projects, you can do it too. Probably much better than I can.
Psst- Our baby-proofing adventures continue over on BabyCenter today. Can you handle the excitement?

Leave a Reply