
Furniture Upgrades & Building Stuff
Check out a ton of furniture upgrades and tips for things like Ikea hacks and other simple projects to update your home on a budget. Find detailed instructions for building stuff and making your space more organized and upgraded.
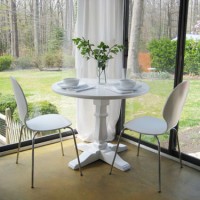
How To Make (& Paint) A Pedestal Table
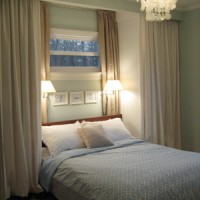
Adding Ikea Wardrobes For A Built-In Bed Nook & More Storage
- « Previous Page
- 1
- …
- 11
- 12
- 13