Outside
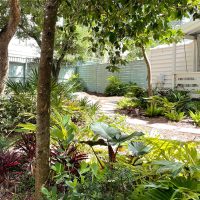
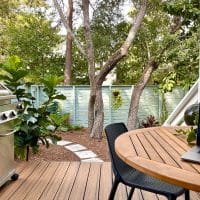
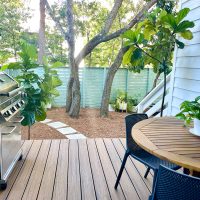
Here are a bunch of outside ideas for fixing up your home's curb appeal and updating your outdoors! From laying a paver patio and building a deck to adding a pergola around a garage or carport (or redoing your landscaping and painting your front door) there's lots to see.

5 Ways To Upgrade S’mores – Including Savory S’mores!

Hosting An Outdoor Movie Night – All Of The Equipment You Need For Under $200
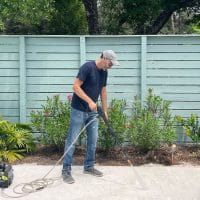
How To Use A Pressure Washer: A Beginner’s Guide

How To Make A DIY Trellis
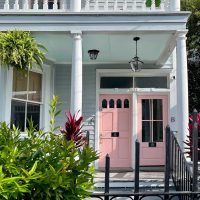
The 12 Best Haint Blue Paint Colors
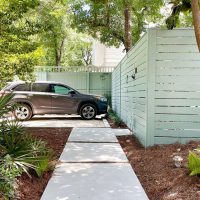
Adding Poured Concrete Walkways & A Driveway

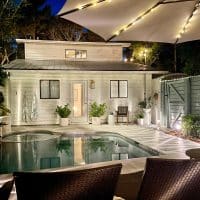
How We Doubled The Size (And Function!) Of Our Backyard Pool Area
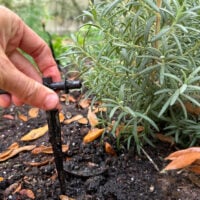
How To Protect Plants From Freezing
Adding Outdoor Storage
The Best Outdoor Solar Lights
Our New Kitchen Porch
- 1
- 2
- 3
- …
- 16
- Next Page »