Decorating
Here are a bunch of decorating tips and tricks to upgrade any home and makeover rooms on a budget. From curtain hanging tips to what kind of rug to get (and how to mix patterns) there's a lot of info to discover.
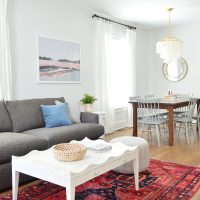
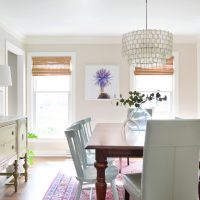
Our Living Rooms & Dining Room Makeovers At The Duplex!
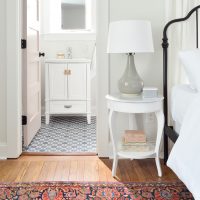
Our Airbnb Bedroom and Bathroom Makeovers
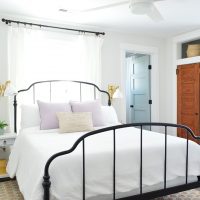
Our Airbnb Makeover! Bedroom & Bathroom Before & Afters
When You Shouldn’t Hang Curtains In A Room
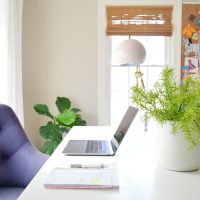
The Easiest House Plants & The Best Faux Plants I’ve Found

A Light & Airy Living Room (That’s Still Livable!)
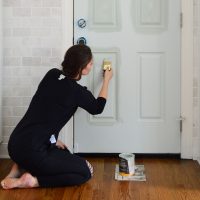
The Best Front Door Paint & Tips For Painting A Door
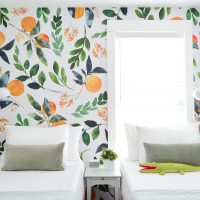
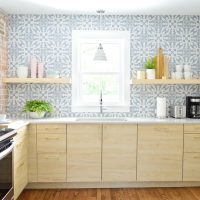
How To Hang A Peel-And-Stick Wall Mural
Our Duplex Makeover Progress

Holiday Decorating At Our House & The Beach House

Our Furniture Is Officially For Sale!
- « Previous Page
- 1
- …
- 3
- 4
- 5
- 6
- 7
- …
- 34
- Next Page »