The other day I was working away in the office and Sherry breezed in and stole some paper from the printer. I didn’t think much of it… until a few minutes later when I walked into the kitchen to find this. Well, this and Sherry grinning at me and batting her eyelashes.
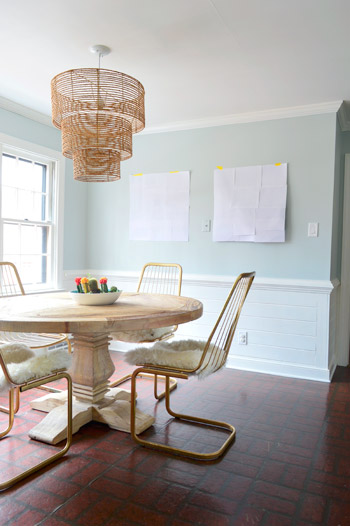
I soon learned that these large succulent photographs that she’d been eying for some time from West Elm had gone on sale (boo, but it looks like they’re back to full price now). It’s more than we typically spend on art, but they’re very large (almost 30″ wide and tall) and the price included the big glass frame – so Sherry took the 20% markdown as a sign from the succulent photography gods that two of these should come to live with us. I actually really liked them too, so I was easily convinced. We’ve been wanting to slowly amass more large-scale art over time (other than this yard sale painted canvas that Sherry DIYed and these bike prints I framed, we really don’t have much) so it’s nice to balance out some cheaper homemade stuff with some custom framed professional prints.

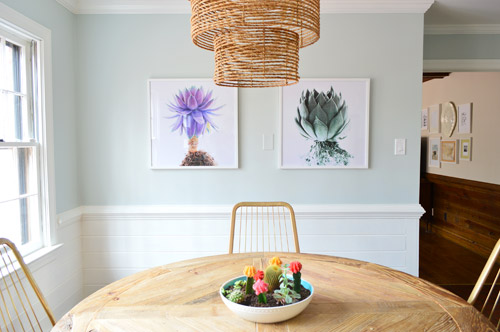
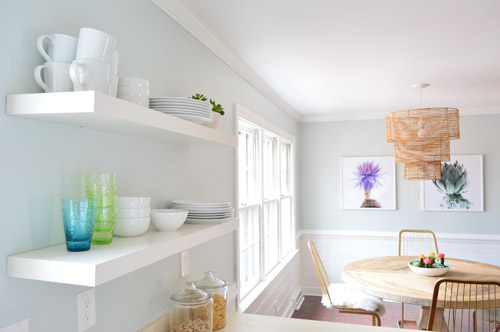
Fast forward a week or so, and that big empty wall in our kitchen is no longer empty.
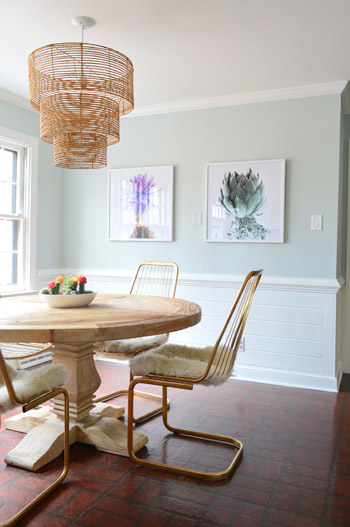
Here’s a much less glare-y view from the other side of our two new additions.
That’s the abridged version of the story. The complete version starts with a reminder that this is what the wall looked like to start with. As in, it had that big awesome non-working intercom in the way.

Although I had sort of grown to love this ugly non-functioning hunk of faux wood grain & dials… it was time to say goodbye. Luckily it only took a few loosened screws to detach it from the wall.

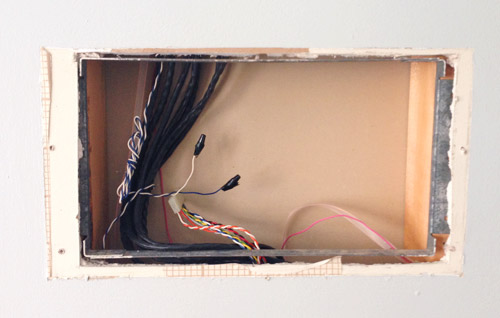
We hoped that we’d just find a tiny patchable hole with a couple of wires sticking out, but instead, we found this. For a few good seconds I was pretty certain it was a bomb and I’d be in trouble if I let this bus slow down.

But since it was not actually explosive (and since I’m most definitely not Academy Award winning actress Sandra Bullock) it was pretty easy to defuse, er, detach. With the power off, I was able to unhook the two power cords (blue and white) and the mess of other connectors that I believe weave through our house to the other rooms with intercoms (again, none of which really work).
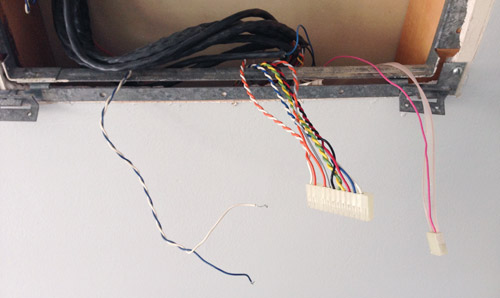
Seeing as this wall is on the demolition list down the line (for when we eventually open the kitchen up to the living room), we opted for a temporary solution for now. Translation: we didn’t call in an electrician just yet. The intercom only shares a breaker with the light in our wet bar, which we never use, so we opted to cap and tape the intercom power wires, flip off that breaker, and call it a day. The next time I’m at the hardware store I’m going to look for a big flat metal plate that I can screw in to cover things up. Obviously it’s not a permanent solution, but it’ll do for now.
But the radio wasn’t our only eyesore. We also had a phone jack nearby that wasn’t in use. I did lots of googling and found a range of theories/instructions on how to disconnect one of these. The general consensus was (1) you don’t have to worry about getting zapped by a phone wire unless the phone is actively ringing or in use and (2) you usually can just cut the wires and stuff them back into the wall.
I was a little wary of both, but I was able to disconnect the four pairs of wires from the jack with nary a shock. Rather than leave them totally lose and exposed, I capped them with wire nuts just to be thorough. I capped the matching colored wires together after looking behind another already-capped phone jack in our living room and seeing that someone before me had done the same thing on that one.
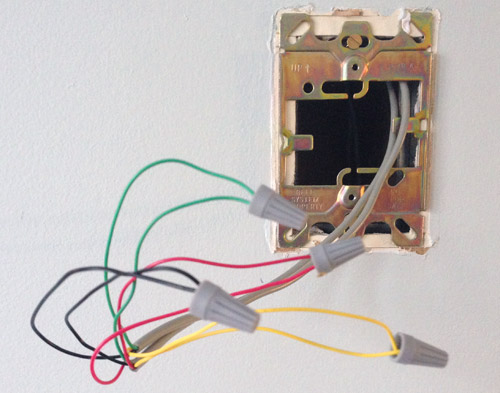
With those wires capped, I pushed them back into the box and tested the phone (still worked!). Then I stepped back to admire those two gaping holes. Gorgeous, no?
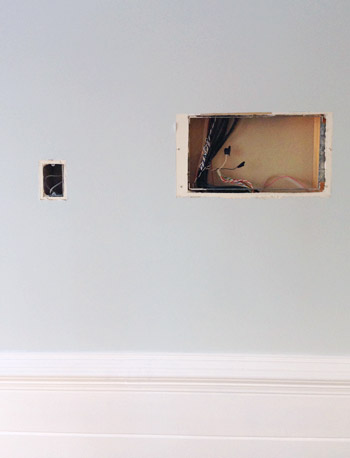
Well, they now look like this. Notice how I didn’t show any photos of drywall patching? It’s because we haven’t done any. Again, since this wall’s days are numbered we decided not to bother patching either hole (plus this leaves my temporary wiring fixes available for the electrician in the future if we want to get them handled by a pro). So for now, we just put a blank cover on the phone jack (and painted it to match the wall). And the big radio hole, well, it’s behind the green succulent. Sort of like hiding an old medicine cabinet hole behind a new mirror. But I’m hoping that big metal plate cover that I mentioned grabbing the next time we’re at Home Depot will make it a little more… temporarily legit?

I do have a bit of DIYer shame for not following through completely with those two holes, but at the same time I felt kind of silly paying for an electrician now (or carefully patching the drywall) just to tear it out later. So instead I’m just enjoying the new view.
Oh and from this shot you can see that we chose to center the art on the table and the chandelier, as opposed to centering it on the wall (we tried it both ways and it looked a little wonky when they didn’t line up with the table or the chandelier).
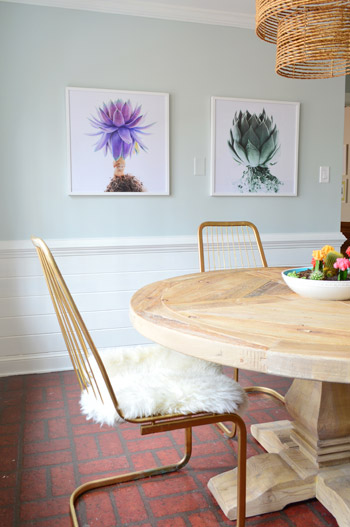
Can you guess which one is Clara’s favorite?
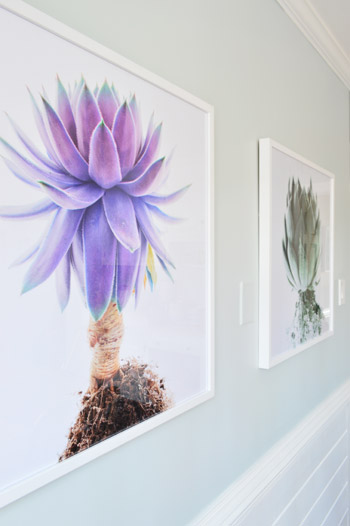
Yup, that purple one on the left.
We like that they add a little more color, but aren’t too crazy or busy (especially since we’re hoping to add some window treatments which might have more color and pattern). And since this wall won’t always be here, we’re certain they could work in a ton of other rooms in the future (like the dining room over a buffet, the office over a desk, etc).
I think I may have to send Sherry to a Succulents Anonymous meeting soon though. The photo below doesn’t even include the terrarium she just made.
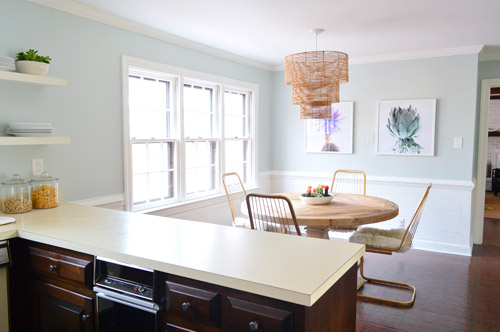
Man that last picture makes me want to do something about those counters right this second (well, those and that trash compactor). We just want to make a bit more progress in the nursery before we give those Ardex concrete tutorials a shot. And those floors. We’re coming for you, floors. Be afraid. Be very afraid.
Too bad we can’t just hide them behind a frame.

Leave a Reply