Get on the floor. Seriously, wood, get out of those boxes and do your thing.
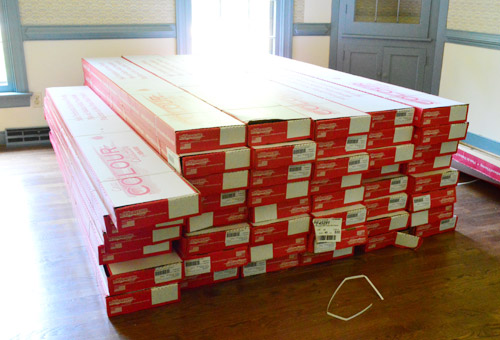
Oh how I wish it were that easy. Turns out laying oak flooring takes some serious time. But man oh man is it gorgeous when it’s down. So it turns out wood-floor-laying, my friends, is time well spent (picture me saying that as confidently as Ron Swanson says “turkey can never beat cow”).
Don’t mind the dusty little path emerging from Clara’s room. We still have a few more spots to sweep…
As we mentioned here, we decided to go with solid oak hardwoods for the four bedrooms and the hallway upstairs since many rooms downstairs (plus the stairs) have nice medium toned oak hardwoods already (pretty similar to the hardwoods in our first house that ended up being super dog/kid friendly). But there was a pretty sizable speed bump when it came to getting them in. The issue? Our subfloor:
Particle board subfloors aren’t always great under hardwoods – especially when you buy nail-in flooring like we did. Some folks install right over it without any issues while other folks have big problems down the line. Because it’s so unpredictable, hardwood manufacturers void the warranty if you install them that way – which was definitely not a risk we were willing to take. According to our initial research, we were left with three not-so-hot options.
- Return the meant-to-be-nailed flooring and buy a meant-to-be-floated floor instead. But after falling hard for the one we picked and our adventure getting it home, we weren’t eager to take it back. Especially since none of the floating options were as close of a match to our existing wood stairs and hardwoods downstairs.
- Remove the particle board subfloor to (hopefully) reveal plywood underneath. This would’ve been time-intensive (the particle board was laid under all of the door jambs and everything) and it would’ve lowered the level of the floor (making door heights and transitions into the bathrooms weird). It would also cause us to lose the sound deadening effect that this particle board was installed to create in the first place. And we definitely didn’t want a loud and echo-ey floor upstairs.
- Install plywood right over the particle board. This was most the promising option, except that it too would’ve been time intensive, would’ve raised the floors (requiring us to cut down all of the doors and live with a noticeably high top step of the stairs). It would also carry an extra material cost.
But as we talked everything through with the Lumber Liquidators guy, he suggested a fourth option: an underlayment called Elastilon.
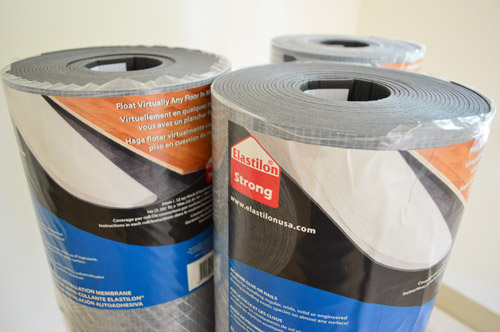
We were nervous about it at first, but after learning more about it, it felt like a great solution. Apparently it’s technology that was designed over a decade ago in Europe, primarily to help people install hardwoods over un-nailable surfaces like concrete or even tile. It’s like typical underlayment, but it’s also adhesive so your wood sticks to it like a giant glue mat instead of being nailed down. We were iffy about it at first, but after finding some very positive reviews of the stuff and watching an installation video or two that showed it to be a pretty easy process, we were pretty much sold. Here were some of the things we loved about it (in addition to solving our little particle board issue):
- It has a lifetime warranty, and is guaranteed to last as long as the hardwoods
- It’s elastic, so it stretches along with your boards during seasonal changes in temperature (this helps to prevent cracking, gapping, or warping)
- We only needed an exacto knife to install it, which saved us the expense of buying or repeatedly renting a nailer (although we were a little sad not to get to try one)
- It’s non-toxic, has no-VOCs, and no odor – which is great considering it’s an adhesive product
The main downside to it is the price, since it was about $100 more per roll than the good sound deadening underlayment that we’d planned to use. But given our other options, we just had to suck it up and shell out some extra dough. In the end we spent about $500 more than we expected, but we saved money by not needing a nailer, got 10% off our entire order, and dodged a hefty 4K installation charge by laying the flooring ourselves, so it wasn’t too bad.
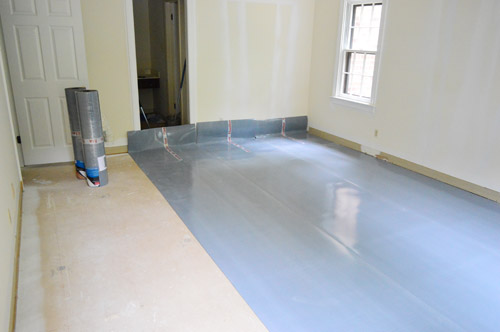
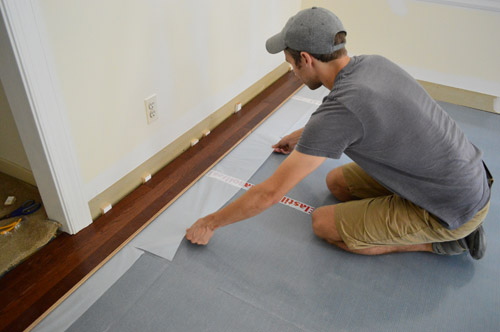
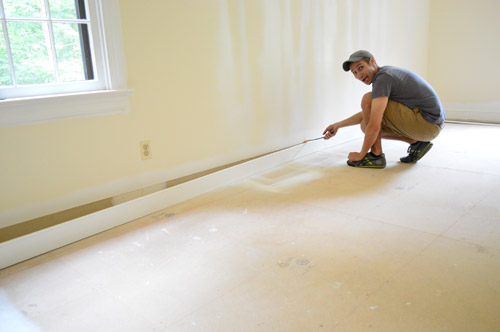
As we had heard, getting started with the Elastilon took some getting used to – but once we found our groove it was a pretty swift and easy process. With our floors clean and dry, we rolled out the Elastilon, leaving a little extra flap along the wall on one side of the room per the instructions.
Then you peel the protective plastic off that excess tab and cut off the remaining sticky underlayment (the black part) with a utility knife.
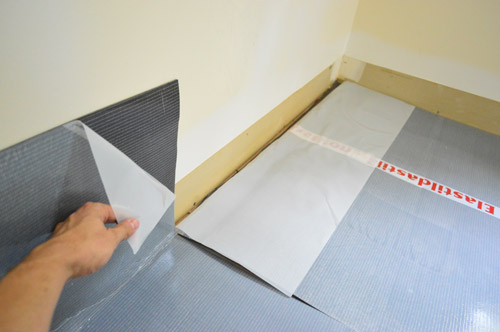
The extra rectangle of sticky stuff can be set aside, and the little flap of plastic becomes very important as you start to lay your first row…
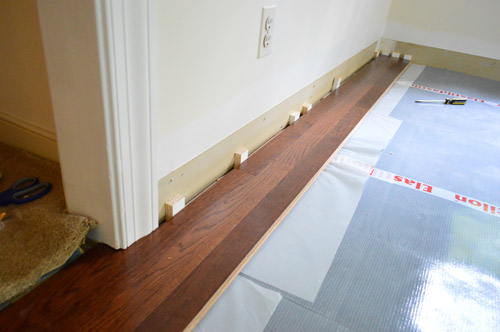
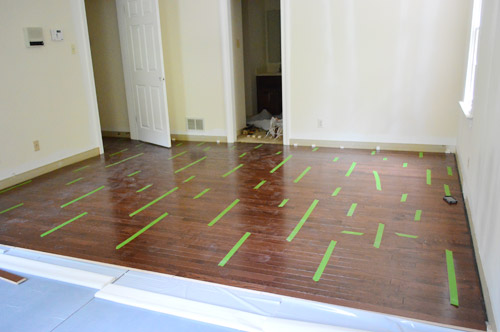
Laying the first row is a tricky step, since it sets the tone for how straight your entire floor will be. And you can’t always trust your drywall to be straight. So we started building our floor using some of the longest, straightest boards we could find to help overcome any curves in the wall. Oh, and those are scrap wood spacers against the wall that help leave an expansion gap around the edge (for when changes in temperature may make the floor expand).
Another thing that helped us feel more confident about our first row being straight was laying it across as long of a wall as possible. For us, this meant taking our first row all the way out into the hallway. Which also meant rough-setting a lot of boards before anything was actually ever stuck down – just to make sure they didn’t look wonky.
Once we felt good about our first few rows being straight, it was time to permanently secure them in place. Here’s where that extra flap of plastic comes in handy. You pull on it slowly so that it exposes the sticky Elastilon beneath the floor boards, so the bottom of the boards can be joined to the underlayment, permanently holding them in place.
Once those boards touch the Elastilon, boy are they stuck. It takes a good yank (and sometimes even a pry) to get them loose. So that makes us feel good about the long term hold of this stuff!
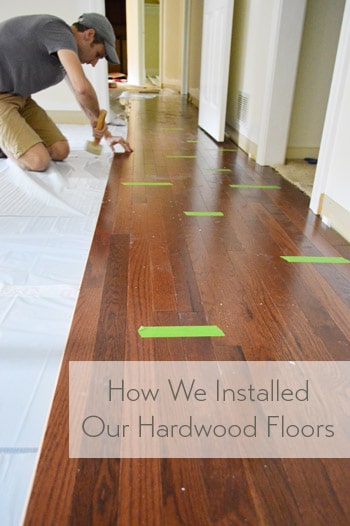
From there, it was pretty much the same process – lay a couple rows, bang them in tightly, peel back the plastic so they’re secured, and move on. Laying the boards was just like any floor – the boards have a tongue and groove that slide together, and we used a rubber mallet to tap them snugly into place.
We also used a bit of wood glue on the groove at the end of each plank as suggested, just to further secure everything.
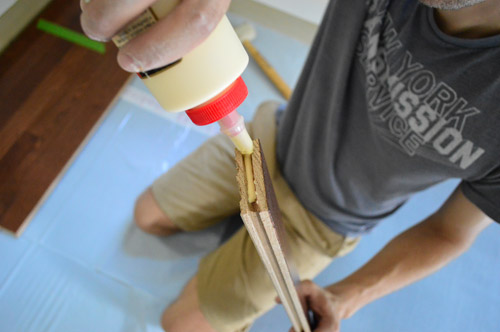
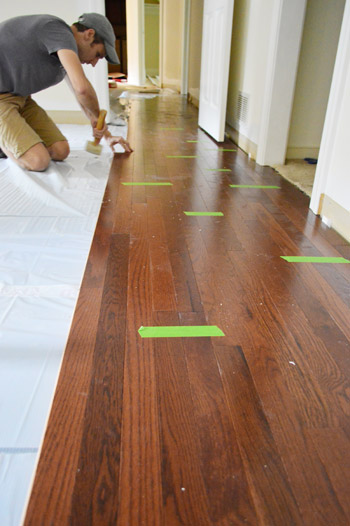
Oh and we periodically taped the boards together, which was also recommended – just to discourage slipping or shifting during the install. If there are two of you working on this project, one person might grab boards, run a bead of glue along the end grove (seen above), and hand them to the other person who’s clicking them in and hammering them into place. The person on glue duty can also pull the Elastilon every few rows and toss down some tape as you go. That’s the grove that Sherry and I got into (and every few hours we switched jobs to keep from getting too sore/tired).
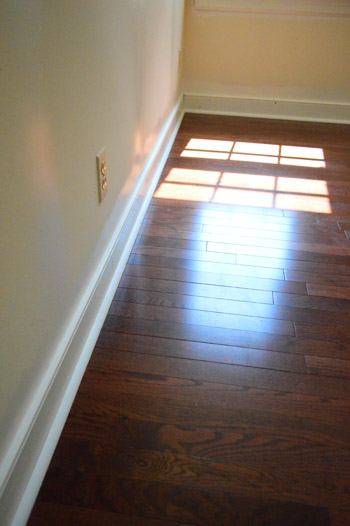
The result? A super tight gap-less floor that will still flex with fluctuations in temperature without cracking or warping – and it should outlast us. Huzzah!
Except… as simple as the process was, it still was not a quick process. I think our bedroom took us 10 hours to tackle together (across two days) while my parents watched Clara. Granted it was the largest room and it was our first one, but boy did it not inspire much confidence in how quickly this could get done.
As is the DIY way, there are always little curve balls. For example, we originally had hoped to not have to remove our baseboards. But when we looked at things more closely, losing 3/4″ of the baseboard behind the floor made them look dorky-short. And we learned that neither quarter round alone (nor baseboards alone) would cover the expansion gap that our hardwoods required in order to keep the warranty in tact. So we pried all of our baseboards up and resigned ourselves to later having to reinstall them with quarter round. Le sigh. At least they’re already painted so we’ll just have a few small touch ups to take care of.
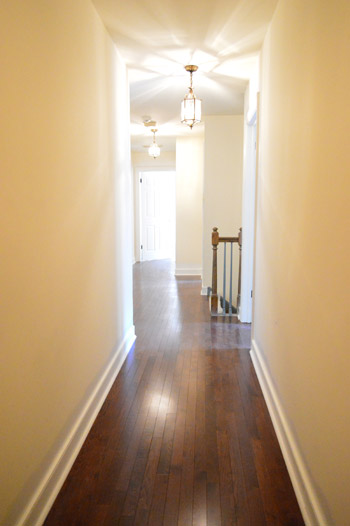
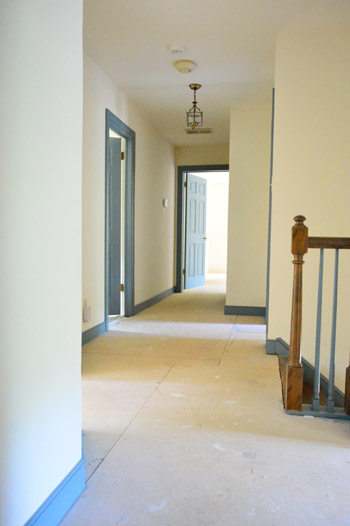
The good news is that we made lots of progress over the long weekend and yesterday evening we finally finished. We even got around to adding the baseboards back and placing the quarter round in most of the rooms already. The floors are looking awesome and feeling super solid.

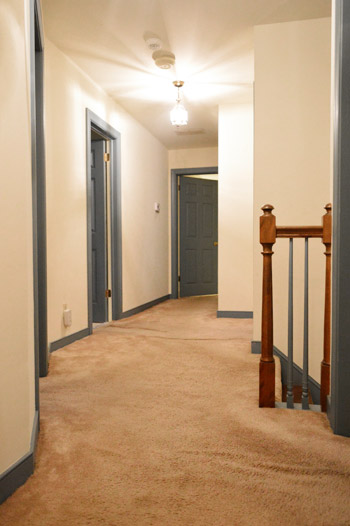
So much better than the carpet.
One of my favorite things about the new floor is that it runs seamlessly through all four bedrooms and down the long hall, so there are no transitions where it meets any doorways (except for the two tiled bathrooms of course). It’s definitely a nice clean look not to start and stop it in each bedroom or have a seam or threshold where it meets the hallway.
As for our timeline, we’re moving in this Saturday and Sunday, so we eked these floors out just in time. All that’s left on the agenda is to finish packing and get all moved in this weekend. Now if only we could stop seeing planks of wood floating in front of our eyes when we close them at night. Seriously, we’re both having dreams about laying rows and rows and rows…
PS- Here’s a follow up post about how we dealt with tricky installation issues like transitions, angled walls, door jambs, how the wood met the top of the stairs, etc.

Leave a Reply