Oh man, backsplash-ing is 50% scary and 50% suuuuuper excitiiiiiiiiinnnnnggg! Sorry, got carried away there. Maybe it’s 90% super exciting and 10% eeeks. Anyway, we began wrestling with it a few days ago and it’s taking a bit longer than expected (we spent nearly three hours just figuring out how to cut it, prepping our work space, and mixing up thinset before ever getting started). But by the end of the day (after Clara had gone to bed) we had accomplished this:
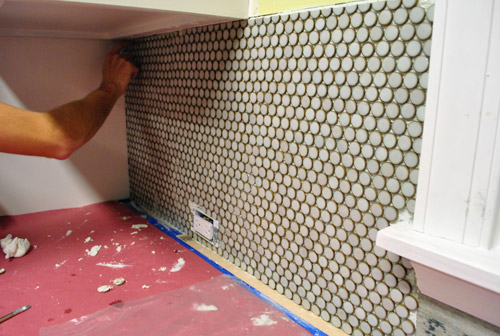
Isn’t it awesome? Well, at least the beginning of awesome. I keep doing awkward things like stroking it and saying “oh yeah” and then blushing and backing away slowly. There’s plenty about the process to share, but for now we’ll just give you a look at our preferred cutting method and how we got there and elaborate about what we learn as we go (since we have the rest of this wall and the entire oven wall – all the way to the ceiling – to do).
First we tried some tile nippers at Home Depot that worked great on our test tile sheet (we brought one with us to try things out in the store). But once we got home with it, it was giving us results like this when trying to cut each penny tile in half:
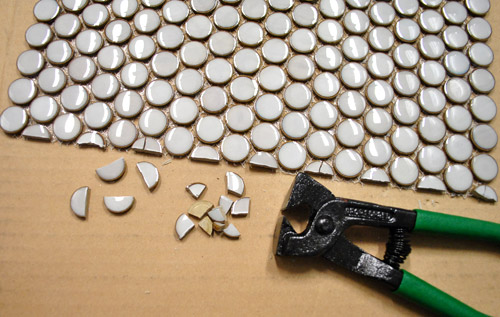
Ugh. See all the cracked and uneven tiles still on the sheet? Not good.
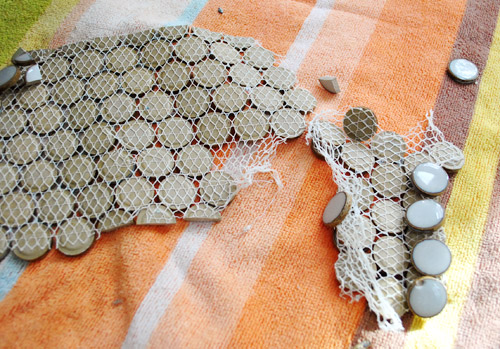
Since that didn’t seem to be working, we turned to the wet saw. John is usually a big fan of the wet saw, but the wet saw wasn’t a fan of the penny tile. Specifically the mesh that held the penny tile together in a big sheet.
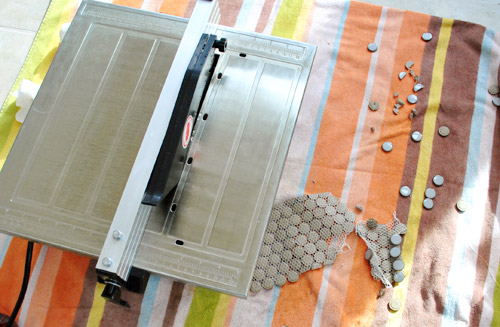
The water from the wet saw (even without using much water at all) caused the mesh to break apart, so it wasn’t working for us (even though we’d heard others have success with this method – so maybe it depends on the type of mesh that the tile manufacturer uses).
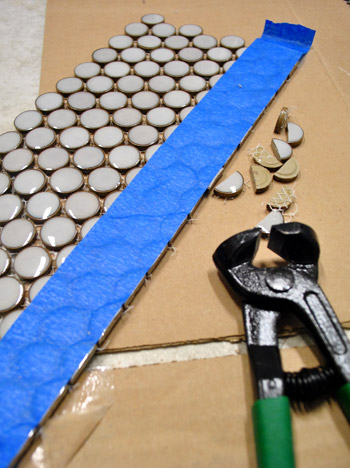
So we decided to give the nippers another shot (at least the sheets were staying intact when using them). After some trial and error, we landed on this pretty reliable technique for our tiles (though it may not work for other types of penny tile since things like thickness probably vary):
For those who can’t watch the video, here are the highlights (although seeing it in action whenever you can will probably paint the best picture):
- We used a piece of blue painter’s tape to mark our cut line, which seemed to also discourage the tile from cracking when snipped
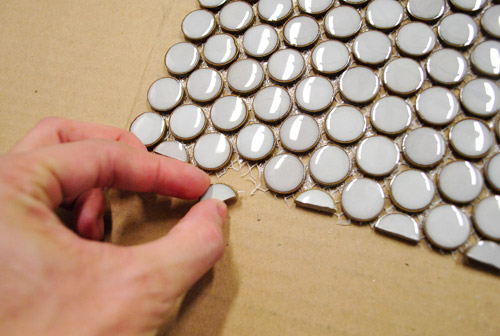
- We made sure the nippers were as centered as possible on the tile to be cut (if they’re too close to one edge of the tile it had a much stronger chance of shattering)
- We squeezed gently with the nippers at first (sort of like flexing your hand a few times) and gradually squeezed harder and harder until it broke. This seemed to score things or somehow prep them for a cleaner cut.
- It wasn’t a flawless method, but it had a MUCH higher success rate than anything else.
- When one tile shatters, you can just pull it off the mesh and replace it with a non-shattered one, so we did a lot of this (we called it back-filling). Once you add thinset you can stick missing tiles back into those spots and it looks great (obviously you have to pay attention to spacing them to make sure they fit in without being too close or too far from the surrounding tiles but it’s not too hard and you can step back a few feet to check your work).
- The thinset is “open” for about 30 minutes, which means you can tweak things for a fair amount of time if you notice anything that doesn’t line up, needs to be shifted, etc. Then it starts to harden and things are pretty much set for the long haul.
- It took us about 2 hours to do this much of the wall (after spending around 3 hours refining our cutting method, pre-cutting all the squares to fit this section of the wall, prepping our workspace, etc).
So that’s what we’ve learned so far. We’ll be back with more thinset info like step by step pics of us spreading it and fitting the tiles together in a staggered pattern to avoid seams (just wanted to be sure we had our method down before pausing to take photos of that stuff). But now that we’re straight we’ll get that done during our next tile sesh. This is definitely going to be one of those we’ll-share-photos-and-more-details-as-we-go-and-it’ll-be-real-time-so-it-won’t-be-in-30-minutes-like-on-HGTV things, but we can’t wait to make our way around the room and share all the pics (and more videos) as we go! Here’s hoping that big wall o’ tile over the stove isn’t too much of a doozy…
Psst- Check out another adventure in tiling from our first house’s bathroom here.

Leave a Reply