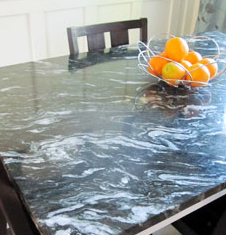
Amanda and Ben didn’t just build their own dining table. They built it out of STEEL. Yep. Check out how here.
[ Read More ]
Home Decorating & DIY Tutorials
Amanda and Ben didn’t just build their own dining table. They built it out of STEEL. Yep. Check out how here.
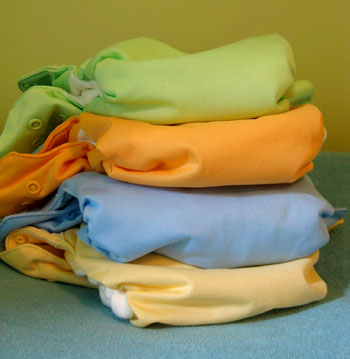
And now for a post that’s a bit more “living” than straight up “home improvement” related. When people ask what question we get here at YHL most often, they’re probably expecting it to be about paint or demo. Not so. It is, without a doubt, some iteration of the following: How are you liking cloth diapers? How many do you have? What brand are they? Did you get the kind with the liners/inserts? Do they work? Does Clara like them? Are they difficult? Do you regret it? Is it annoying to wash them? Do they really get clean? Are there times when you don’t use them and opt for disposables? How long will they last?
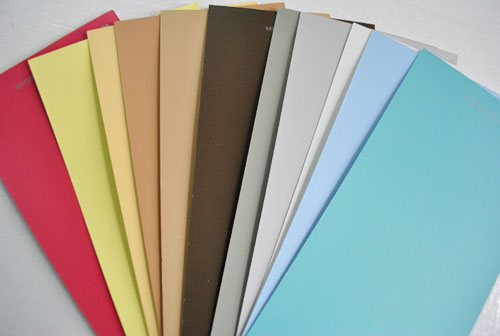
A paint chip can be more than just a color sample! We took a look at some of the big brands who go above and beyond when it comes to their chips.
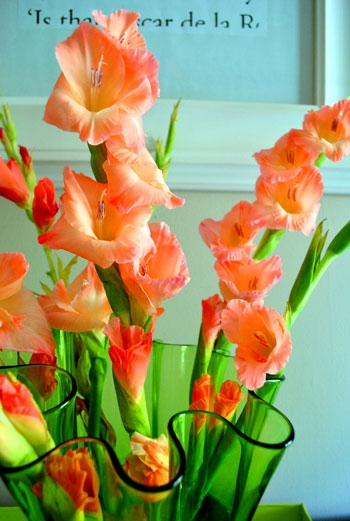
As most of you know, every month we like to enjoy one inexpensive- and sometimes free- bouquet to keep things feeling fresh around here (the idea actually stemmed from a super sweet Christmas present from the hubs a while back). And since July was our anniversary month, we decided to honor that fact with some gladiolus stems that we snagged for a song at the grocery store a few weeks back (just $2.39 for the entire bouquet!). What do gladiolus stems have to do with our anniversary? Well, three years ago we whipped up garden themed favors for our backyard wedding. We just picked up simple brown mini paper bags at Target and dropped a
Both Lindsay and Amanda were inspired to make their own version of some of our favorite Crate & Barrel artwork. Two different techniques but equally great results.
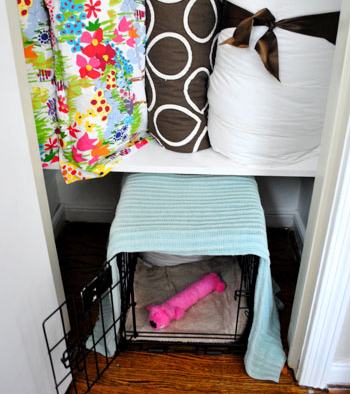
Our closet was warring with itself as both home to Burger’s crate and storage for all of our guest linens. Read here to see how we made peace in the space.
ATG Stores has just about everything you could need in your house, and one person’s gonna have $150 to find just what they need. Enter here through August 4th.
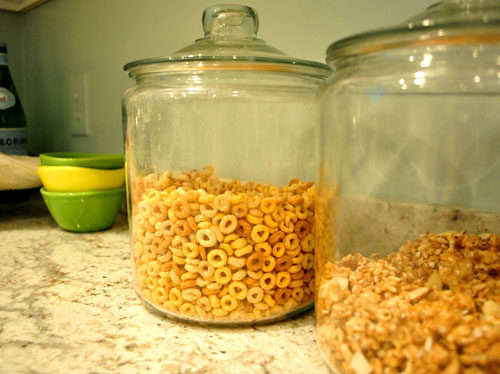
Sometimes it’s the little things that can make any house feel like a happy home. Here are five of our favorite little things that make our days just a little bit sweeter. 1. Our shower radio – it makes it feel more like a mini escape and helps us conserve water because we have a two song limit. 2. Large glass cereal jars – they’re so much more charming than pouring from the box- plus we always know when we’re running low. 3. Fresh flowers and green leafy plants – they purify the air and inject a nice dose of natural texture- plus it’s nice to fill a house with life, both figuratively and literally.