You down with ORB? Yeah you know me.
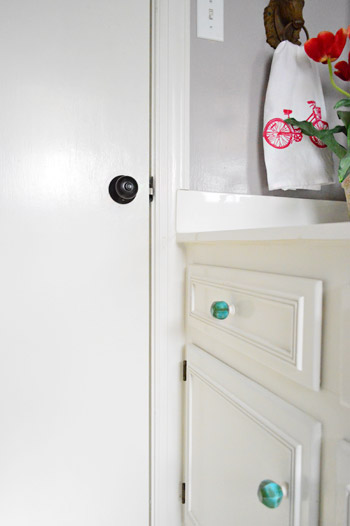
The deed has been done. After years (yes nearly two years!) of planning to upgrade every last old brass door knob in our entire house, we finally got ‘er done. Strike up the band! I can’t hear you. Can I at least get some cow bell?
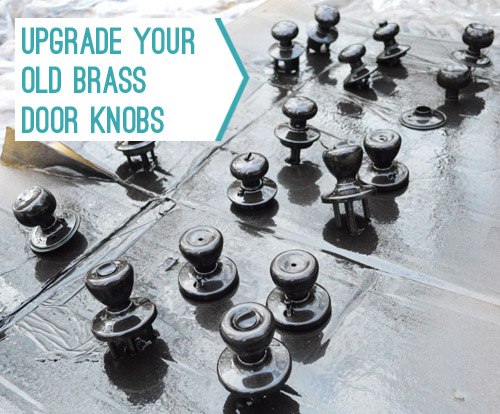
Yup, we removed 19 knobs with the intent of oil-rubbed bronzing (aka: ORBing) those babies. First we tried this method with a few exterior knobs, handles, and even a doorknocker a while back, just to see how they would hold up before doing the whole shebang (and I’m not gonna lie, I didn’t really have energy for the whole shebang up front). Baby steps.
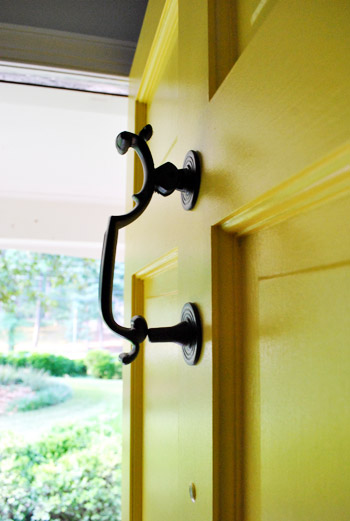
We figured that since those exterior knobs/handles/knockers still look great after a year and a half of being exposed to the elements (remember we did an update on them here?), that bodes well for all 18 (yes 18!) of the interior knobs that we finally got around to removing and ORBing. But we’re so happy with the results! Totally worth the trouble.
Here are the steps we followed:
- we removed all 18 knobs with a screwdriver, being careful to keep them paired up (we didn’t want to forget what went with what when we had to reinstall them)
- using super high grit paper (400) we sanded every last knob to rough them up so the paint would stick (if you see small scratches don’t worry, they’ll be covered with paint- but you definitely want to use high grit paper because low grit can leave deep/big scratches that show through)
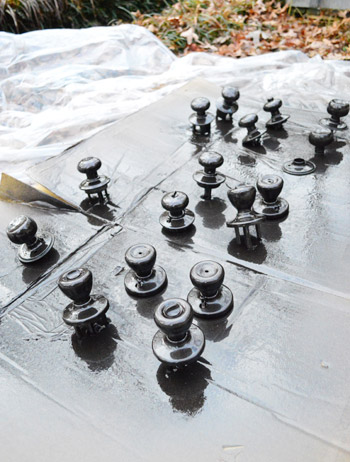
- then I wiped down each knob with liquid deglosser like this and laid them all out on a piece of cardboard (with them facing up, not lying on their sides – which sometimes meant piercing through the cardboard with their back parts to make them stand up).

- I used Universal All-Surface Spray Paint by Rostoleum in the oil-rubbed bronze finish. This has a built-in primer and sticks extremely well to things – especially metal – so if you’re contemplating using another brand, you might need to spring for a separate primer to apply first if it’s not already included.
- When it came to how I sprayed, I just misted everything from all angles. To avoid nasty drips and runny paint, doing several light coats with about 10 minutes of drying time between them was the charm. Mine were so thin it took five coats and I kept the can moving around the whole time – like you’d mist your mane with Aqua-Net. I also squatted on the ground from all sides to be sure I got all of the exposed parts of the knob completely covered.
- We let everything dry for a full 48 hours before reinstalling them (didn’t want to mark up the finish while wrestling them back into place). After 12 hours outside on a nice day (you don’t want to spray when it’s too cold – check the can for temperature guidelines) we brought them inside to the sunroom so they could continue curing for the rest of the time since it gets too cold outside at night for the paint to dry properly outside.
When it comes to a time breakdown, it took about thirty minutes to remove all the knobs, about two hours to sand and degloss them all, and about an hour to spray paint them. Then after 48 hours of drying time we reinstalled them in all in about half an hour. So the total time spent for what look like new ORB doors = 3 hours and 30 minutes (plus a few passive days of drying time).
And it only took one can of spray paint (actually less than that, since we were using an already-open leftover can). So that’s a lot cheaper than the $185 (!!!) we would have spent at Home Depot buying the exact same knobs in their oil-rubbed bronze finish. Our verdict: so happy with them. Wish we did this about two years sooner. Seriously it wasn’t even that big of a project (in our heads we kept putting it off because messing with every door in the house feels intimidating, but honestly you just remove a few screws, note which ones go together, and they’re all back in a few days later).
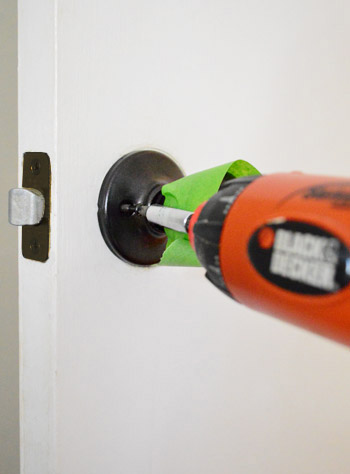
Oh and here’s an installation tip for ya: we found that using some painter’s tape while re-installng them kept us from scratching the newly applied finish (then just remove the tape when you’re done and it’s all good).
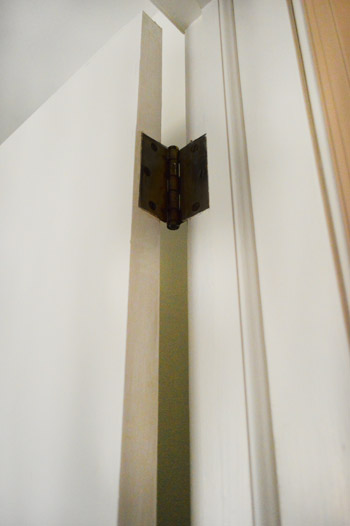
As for our door hinges, many of them already look ORBed (they’re old and darkened and not bright and shiny brass like the knobs were) or are painted over in white like the door from the previous owners, so we don’t have bright brass hinges clashing with the dark knobs or anything. But if you do you could probably switch them out for a few bucks per door. ORBed doorknobs are muuuch more expensive to buy than hinges or door plates, which is the good news (so I probably wouldn’t attempt to spray paint hinges like the doorknobs, since I’d worry all that grinding over time would make the paint peel and scrape off).
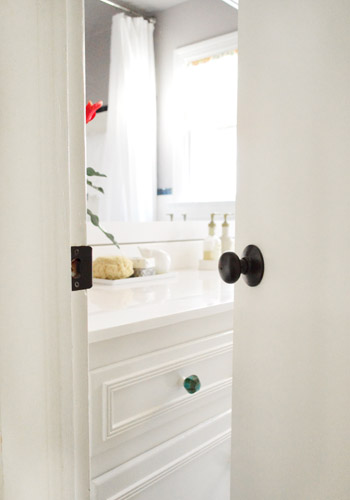
And as for the latch strike plates, a few of those already look ORBed like the hinges (just from darkening over time, which for some reason didn’t seem to happen to the shiiiiny brass knobs themselves) but a few were still brassy and bright, like this one:
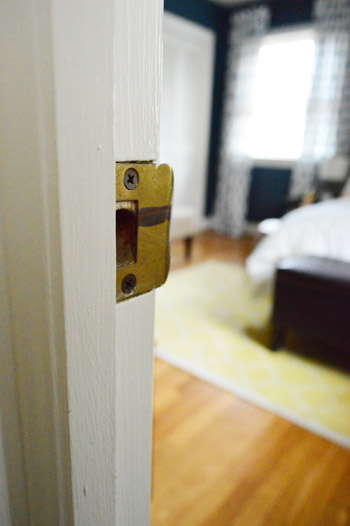
…so we picked four of them up from Home Depot for $5 total (they’re a whole lot cheaper than knobs!). Our reasoning for buying new ones to replace any super brassy ones that stood out instead of spray painting them ORB as well, was because the latch bangs against them a lot, so we thought they might scratch over time (whereas the knobs themselves don’t grind against anything else that’s metal, which must by why they hold up so well – even when they’re outside).
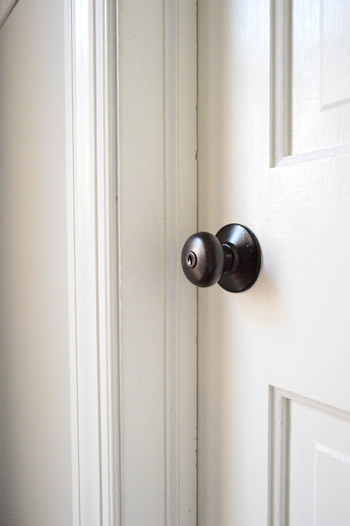
So there it is. A “dude get on that already” project that has been in the making for a long arse time. Feels pretty good to check that off! And just as I suspected, every single room/closet that we put them back on looked a little posher and less “ew, eighties brass”-ish than it did before. Hooray for small upgrades that make your whole house feel a little more crisp, new, and loved. What have you guys been checking off your to-do list? Does it involve paint? Sandpaper? A whole lotta procrastination beforehand?
Update – Wanna know where we got something in our house or what paint colors we used? Just click on this button:

*This post contains affiliate links to items we have purchased and love*

Leave a Reply