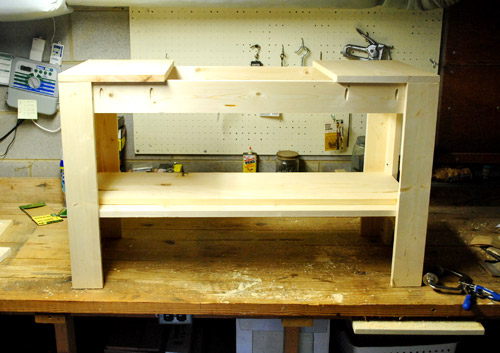
After victoriously completing the two end sections of our three-piece DIYed console table (explained here), I turned my attention to the middle portion. You may recall that this piece will be entirely hidden between the other two (and sandwiched between the back of the sectional and the wall) so I could’ve gotten away with a very simple platform on which to lay the long tabletop that will span across all three pieces that we’re planning to make out of our already-around reclaimed pallet wood. But we figured that would just be wasted space, so we took the less simple route of creating some hidden storage in the middle piece. Allow my sketch to explain:
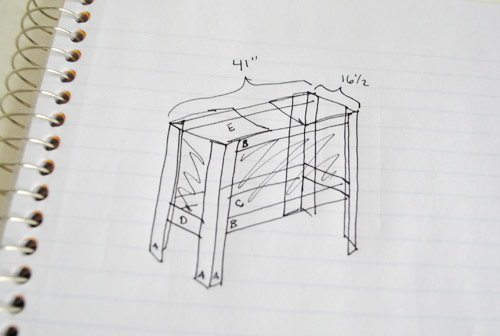
Who am I kidding, my sketching skills haven’t improved so allow me to explain instead. Basically the piece is a 41″ long table with an opening in the middle of the top. Under that is a platform shelf that will act as the bottom of the storage “area.” We considered building sides out of wood to enclose the entire storage “box” (where I’ve “shaded” on the sketch) but to save money and keep the weight of the piece down, we’ve decided to just staple taut fabric around those four sides instead (again, since no one’s gonna see it). Basically it’ll be a fabric box with a strong wooden frame and a solid wooden bottom.
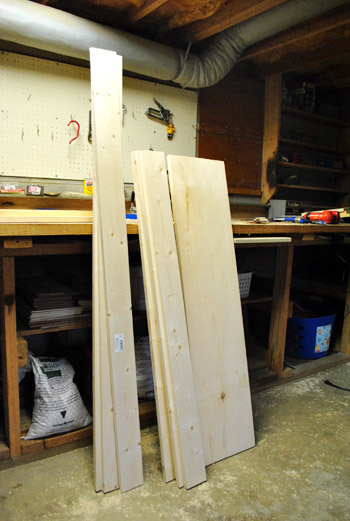
Maybe this will make more sense once you see it being built. Here are my supplies – a bunch of 1 x 4″ boards and one 1 x 12″ board. We had a lot cut at Home Depot again, but didn’t worry about getting them cut nearly as precisely (since I can easily cut 1 x 4″s with my miter saw at home).
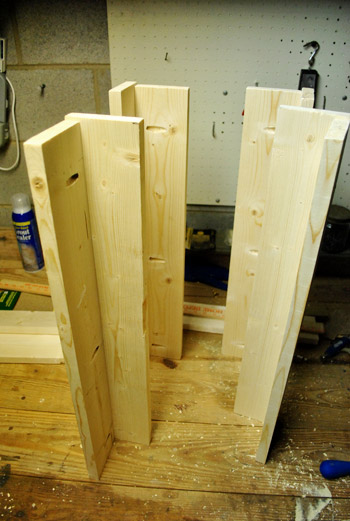
First up was the process of creating four 24″ tall legs. I of course was reminded that cutting a 48″ piece of wood doesn’t leave you with two precise 24″ pieces (notice the uneven tops). The width of the saw blade leaves you with one that’s more like 23 7/8ths. But I managed to work around it, so don’t worry about that for now.
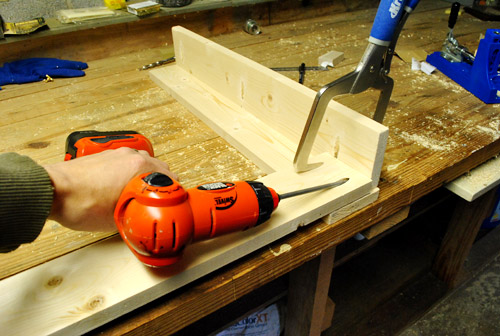
Then I added a long rail at the top to connect two legs together (I lined it up with the 24″ leg, not the slightly shorter one, which ensured that it would be level and the right height when it was complete). Again, all of this was done with my beloved Kreg Jig, which I also used to make the other two sides of the console table that I shared on Monday.
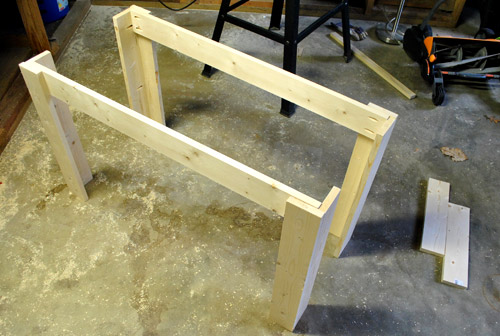
Next I used those two shorter boards (seen on the floor of the picture above) to connect these two pieces. These pieces would also become the support for the bottom shelf.
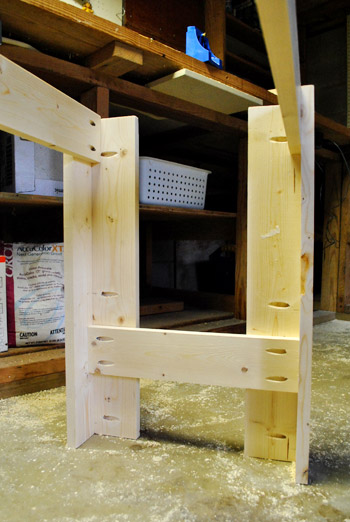
I sorta forgot to photograph the next step (boo me), but it was creating that lower shelf. To save money I just laid two 1 x 4s flat across the piece (resting on the support shown above). Obviously this didn’t fully fill the 16″ space, which is where that 1 x 12″ that I purchased came in handy. I just laid it on top of the newly attached 1 x 4″s (centered on top of them) to create a nice solid shelf.
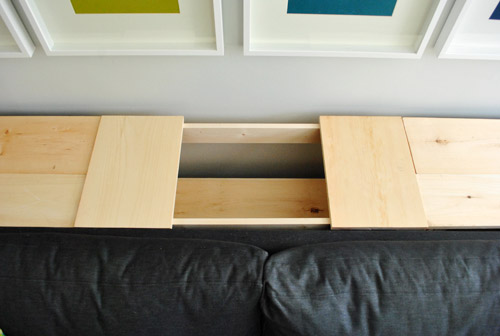
You can sort of see what I’m talking about in the finished pic below:
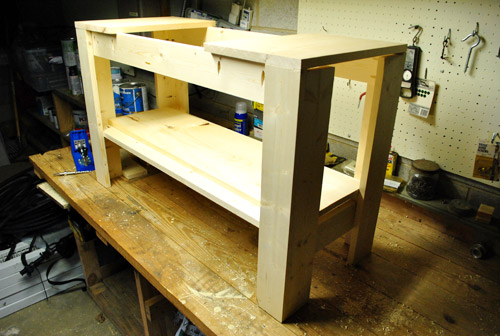
As for the top, it’s just some of that 1 x 12″ that I had leftover from building the two end pieces. I affixed it to the top on either side – leaving the hole in the middle that we wanted.
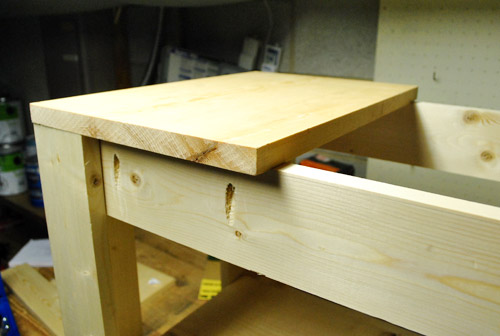
Not the prettiest piece in the world, but once we get the fabric stapled to the sides to enclose the storage “bin,” it’ll do the trick (heck we might even drop some storage baskets in there for some separation/organization). And it doesn’t have to be that pretty since we’ll be adding our long reclaimed pallet “counter” on top of all three consoles (with a small and flush lift-off-able piece to access the storage compartment whenever we’d like).
I know it’s really hard to envision how we’ll make the rustic countertop – and how we’ll keep that top-entry storage area accessible from above – so we’ll share those details when we tackle it along with lots of photos (we’re still not 100% set on a specific plan of attack) .
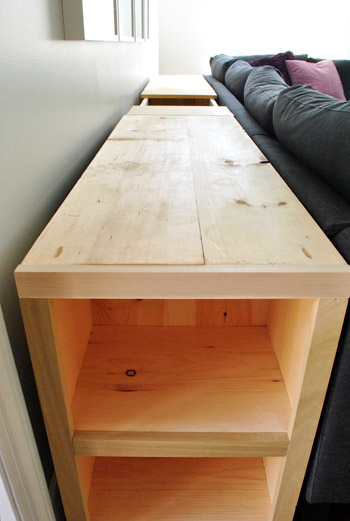
Oh yeah and obviously we’ve moved all of the pieces into the room (even though they still need to be stained and countertopped):
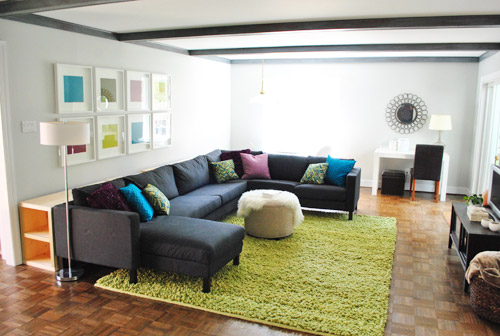
Admittedly it was a bit jarring to see everything shifted like that. But after one night living that way, it felt like a big improvement. The relationship between the sectional and the too-small-just-for-now media cabinet seemed cozier and sitting 17″ closer to our pretty small TV certainly made it easier to read subtitles and weather forecasts. Plus when we finally ditch the awkwardly placed floor lamp on the end of the sofa and bring in two chunky table lamps on either side of our huge console table it’ll feel even more balanced and connected to both the wall and the sofa. They’ll help us bridge things and add function and some height on either side of our big frame grid, which should be really nice. And you know Sherry’s already on a serious lamp hunt. She’s crazy like that.
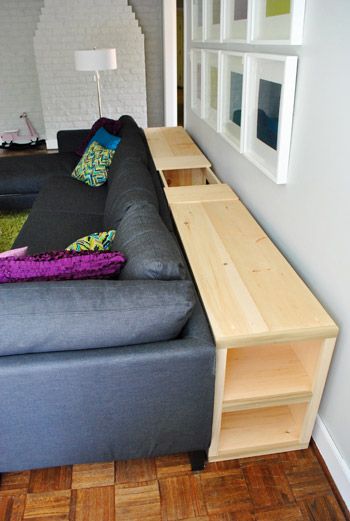
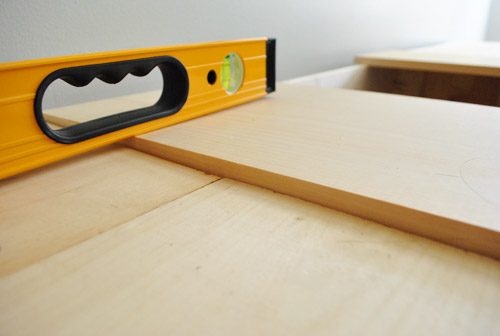
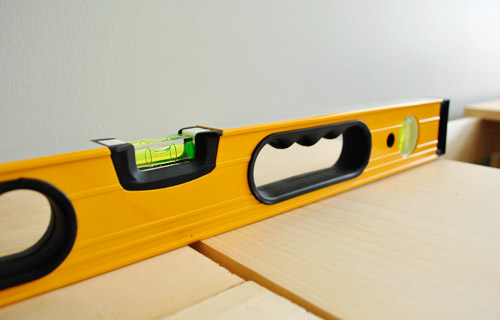
But there was one let down to the whole thing. It’s not level. Not because of the way I built it, but because of the room. The floor in there is a bit “wavy” at points. We noticed it from our very first walk through of the house, but our inspector assured us that there’s nothing structural to fear – just a little settling (which is apparently why they installed parquet, instead of less “flexible” and forgiving hardwood planks). So even though they’ve made my console adventure more challenging, at least Clara has figured out one plus to the situation: it makes playing with her ball a lot less work (she found a “magic spot” on the rug where her ball always comes back to her, no matter which direction she rolls it):
So I knew going into this that expecting a piece of furniture spanning 140″ (almost 12 feet!) of uneven floor might be asking for trouble. Luckily it wasn’t too bad. There was mainly just this one spot where two of the pieces didn’t line up.
Enter these little fellas to the rescue:
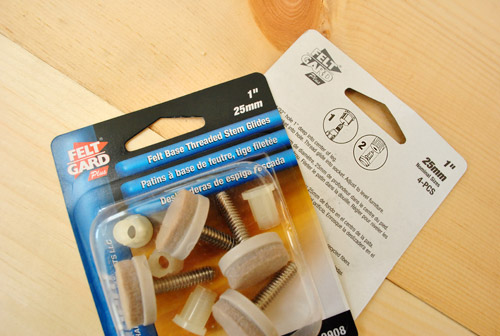
They’re basically like those adjustable feet you find on appliances. I opted for them over felt pads alone because the ability to tweak the height by spinning each foot ’til everything was perfectly level would be invaluably time-saving.
Installing them was pretty straightforward. Just drill a big hole in the bottom to fit the plastic guide and then screw the foot in. Since the hole was so big (nearly 3/8ths of an inch) I worked up from a small pilot hole to the big kahuna (which even required me breaking out my bigger drill) so I wouldn’t crack the wood.
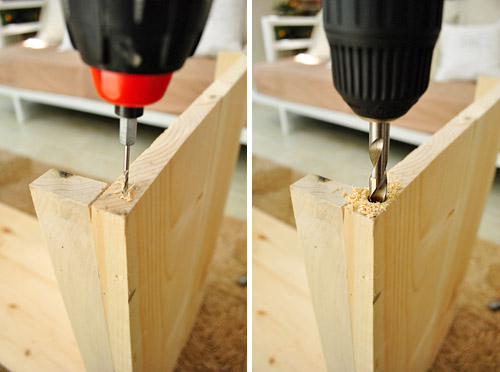
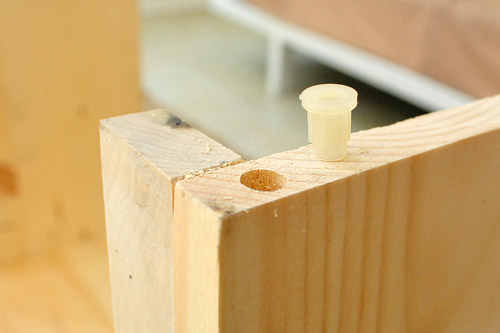
I also realized that using an even bigger drill bit to make the opening at the top a bit wider would allow the top lip of the plastic guide to sit flush in the wood. So with the padded leg screwed in it looked something like this:
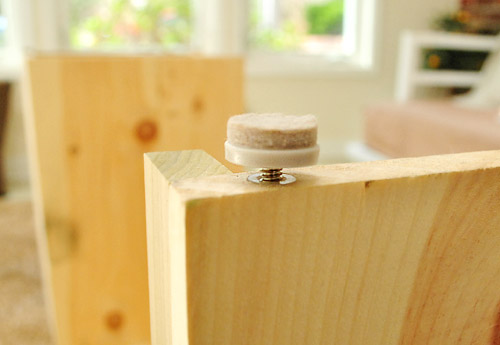
After adding these to most of the corners (and couple of flat felt pads to others that needed less of a lift), I eventually achieved what I was going for: LEVELNESS! (or is it levelocity? leveliciousness?)
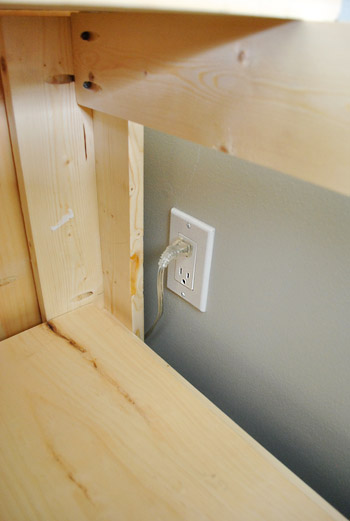
I have to admit that I was a bit nervous that getting it level would be impossible, so I was pumped when it happened – and relatively quickly. Plus this wasn’t the only time that luck was on my side. We also realized that we serendipitously built this center piece so that we still have access to the wall outlet behind Karl (which will be imperative once we buy table lamps for the console). Gotta love happy accidents.
It means we’ll have to be a bit creative when it comes to stapling the fabric sides on, which we still plan to do so we don’t lose remotes or baby toys down that crack between the wall and the console (thanks to the baseboard that keeps them from being perfectly flush- but that smidge of space is imperative for lamp cords anyway, so it’ll all work out in the end).
But we’ll cross that bridge – and the staining and top building bridges – when we come to them. You know we’ll take a ton of photos to share too. For now I’m just basking in the glorious totally-level situation we have going on now. Ahhhh….

Leave a Reply