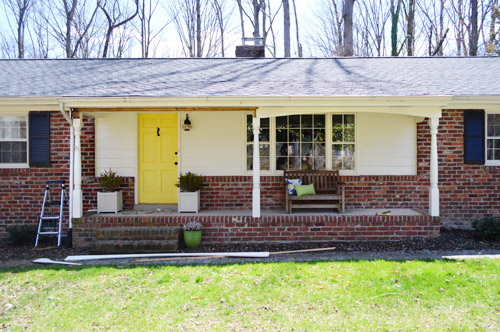
We’ve been talking about streamlining (buh-bye scallop) and beefing up the porch (namely those columns) ever since we moved in back in 2010. And it’s finally warming up enough for us to tackle an outdoor project after a long winter – seriously, we were still getting snow a few weeks ago.
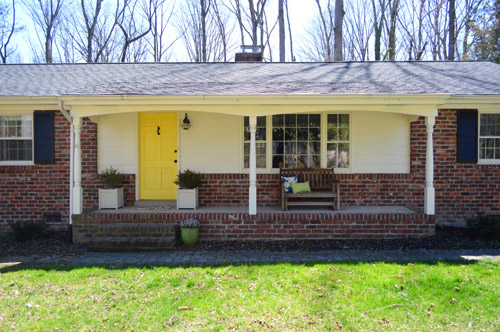
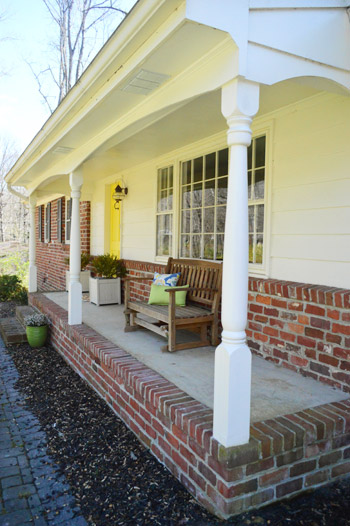
Most of the ranches in our neighborhood either have chunky square columns or a more traditional colonial style. We prefer the former, but inherited the latter. Along with a curved scallop header that isn’t exactly our style either.
Our first house had an issue with a scalloped header too, which Sherry tackled back in 2008 (one of her most exhausting projects to date – which she recounts here). She ran into some challenges when some metal flashing didn’t want to give up the ghost – and thanks to the fact that she wasn’t quite tall enough to make the task easy (she did this by herself as a surprise for me while I was at work one day). But we loved the more updated, clean-lined look that it gave our first house. So it was finally time to get on it here…
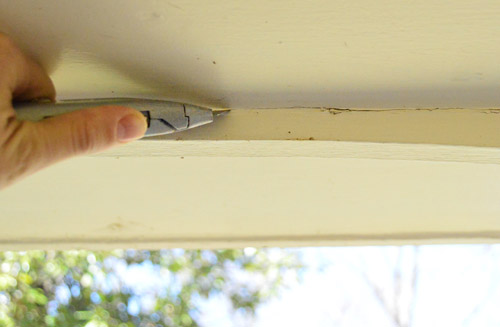
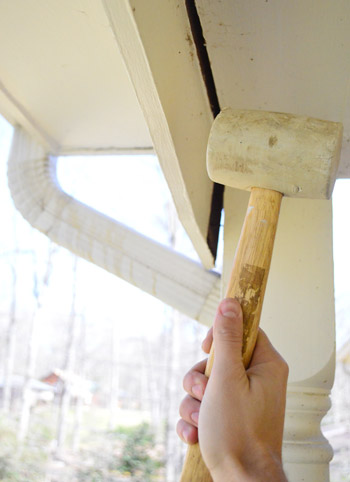
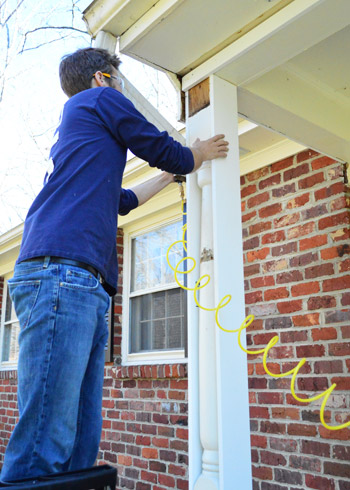
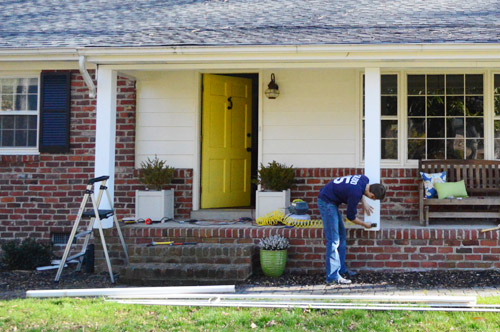
Of course this porch is a whole new beast (no metal flashing, a lot more wood trim and stuff to deal with, and columns that we’ll be altering this time). So before we started hammering away at things, I ran a utility knife across the seams to “encourage” the paint the break in the right spot – not crack, peel or flake off in areas that we didn’t want it to. This is always a good idea before demoing surfaces that have been painted together – especially with lots of thick layers of exterior paint.
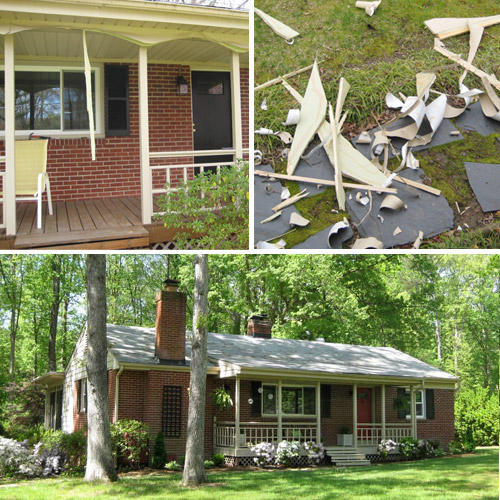
I was fully prepared for our demo process to be exhausting, considering the horror stories that Sherry told me about her last attempt at scallops, so I was cautiously optimistic when a few whacks with a rubber mallet easily loosened the scalloped header while Sherry watched with bated breath.
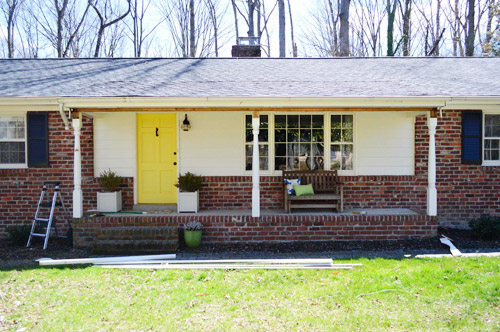
Thankfully, once things were loose, we were able to quickly pry that part of the curved scallop off with a crowbar.

Not too pretty looking yet, but at least the demo wasn’t too bad:
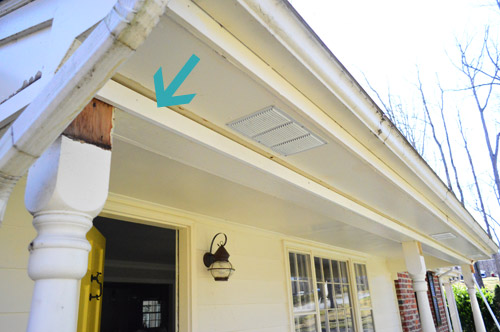
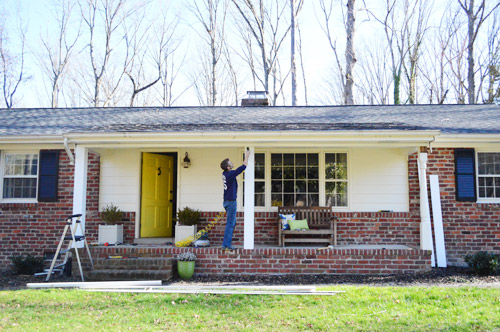
The combo of not having metal flashing to contend with AND my height being available (along with 4 hands, which are always better than 2) helped things work in our favor for sure this time. Soon enough all of the scallops were gone and we were already feeling better about things. Now we just had to put a new straight header (along with those boxed our columns) together.
We started off by nailing and gluing a simple pre-primed piece of 1 x 3″ pine where the scallops had been. Curvy header out. Crisp, straight header in.
That was the easy (slash boring) part. This is where the fun began – boxing out the columns.
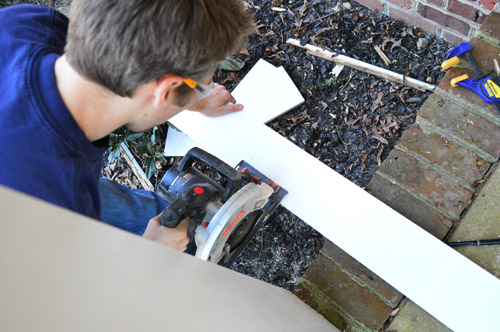
Rather than go through the trouble of removing the existing columns, we decided to achieve our more modern, chunky square column look by just “boxing” them in on all sides with some pre-primed pine boards – which is faster and easier (not to mention cheaper). Our columns were a few inches shy of 8 feet tall, so we had to trim each board first (thanks circular saw!).
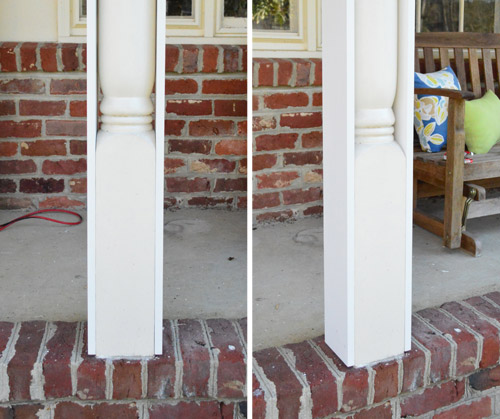
Here you can see what one column looks like with two sides of the box added. Our columns were exactly as wide as a 1 x 6″ board (we will now pause to thank the home improvement gods for that awesome discovery) so it didn’t require any additional cutting besides trimming the length, as shown above.
We attached them with some heavy duty wood glue followed by a few 2″ nails into the bottom and top (where the new boards rested flat against the square part of the old columns). We also added a few screws to keep them extra secure for the long haul.

Since adding those two 1 x 6″ boards essentially made our columns wider, we had to use 1 x 8″ boards for the other two sides. That sounds confusing, but it made them end up as 8″ x 8″ squares since the sides of the boards overlapped (this very rough Sherry-sketch should hopefully make sense of the overlapping concept that I’m trying to explain).
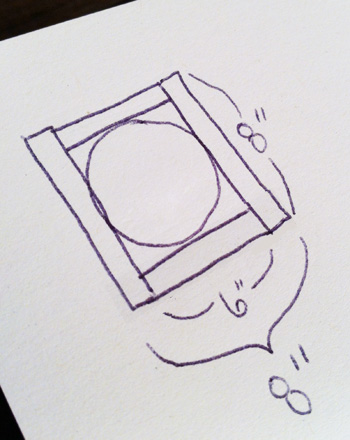
Well, actually they’re around 7.5″ square since 8″ boards are never really 8″ (they’re more like 7.5″ wide). But you get the idea.
As for physically boxing the columns out, two things really helped: our nail gun, and Sherry’s hands. Obviously the nail gun made things go faster and this whole project is ideally a two person job (although once we had things secured in a few places Sherry could step back and snap some fantastic photos like this one).
The process actually went fairly fast, just not fast enough for us to finish before Clara came home from her afternoon with Grammy & Tom Tom. So our progress got cut short a bit – but you can at least see where we’re headed. Oh but see how the header looks a little thin compared to the newly boxed out columns? We have plans to beef that up under the roofline so it’s nice and balanced. Stay tuned…
So here’s our remaining to-do list:
- get that last column boxed in
- add a chunkier header piece to visually balance the columns
- get all of those seams caulked (don’t want any moisture getting in there)
- paint everything so it’s seamless
So we hope to be back with some true before and afters once we knock those things out. In the meantime, you can also check out this little loot-related craft that Sherry whipped up for Clara (and Will Bower) over on Young House Life.
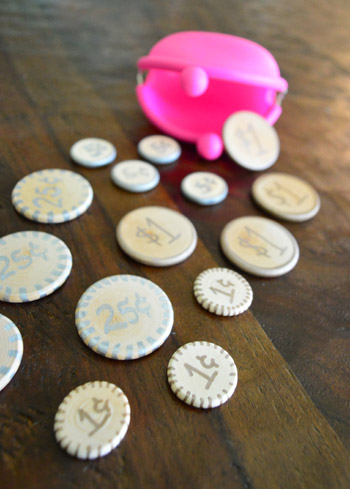
Anyone else moving on to outdoor projects finally? What’s on your spring DIY agenda? New flower beds? A patio upgrade? Mulch galore? Or are you making fake money? Be careful that it’s not too realistic (don’t wanna end up in trouble…).

Leave a Reply