They say inspiration can come from anywhere and Sheena’s story definitely had us smiling. Here’s her letter:
Hey John and Sherry (and Clara and Burger too!) I just wanted to write to thank you for some unintended inspiration you gave me recently. After reading about Clara’s dollhouse, I fell in love with the pattern on the fabric-sample-turned-rug in the tiny room and I just had to replicate it. So I did – with a plain rug, some foam insulation, paint, and a sponge brush. Think “Honey, I Shrunk the Kids” in reverse and decor style! :)

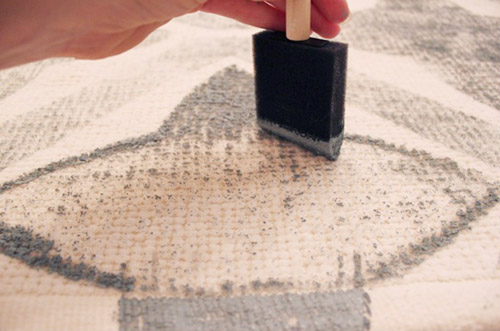
I used a 3/4 inch thick piece of insulation styrofoam to make a stamp and stamped the design over the entire rug. You could probably use a thick piece of cardboard or a piece of packing styrofoam as well. To give myself something to hold onto while I stamped, I glued a wood block to the back of the stamp and two folded pieces of cardboard to the outer square
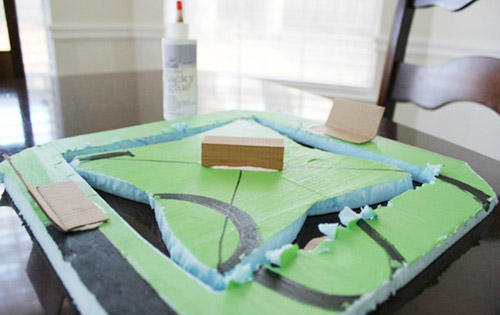
So, starting with the outside square of my design, I brushed a coat of paint (Valspar’s Secluded Garden) onto the foam using a small foam brush. Then I stamped the very center of the rug, which I measured for and found beforehand.
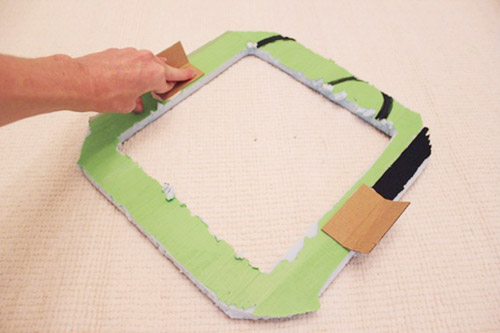
I worked my way out and around the entire rug until I had a basic lattice design.
. 
Next I grabbed the inside of my design and stamped it inside each square.
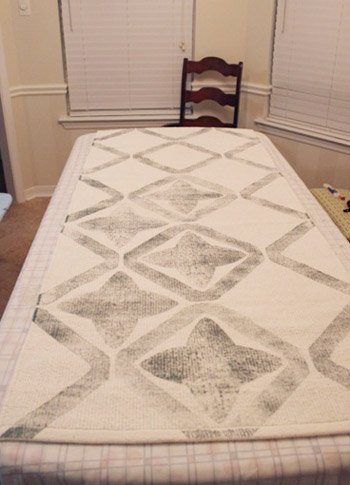
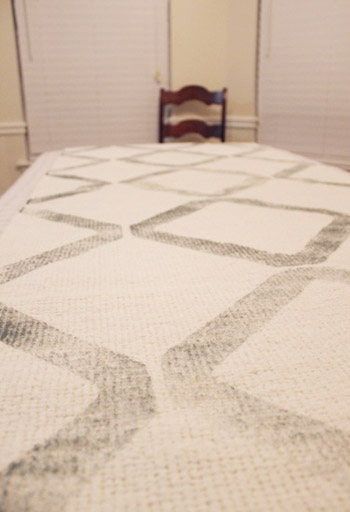
After I was done stamping, I filled in the design by sponging on paint using my foam brush.
I let it dry for 24 hours before I laid it down for fear that if I didn’t I’d be tracking paint all over our house.
But wait! There are two sides to every story, including this one…
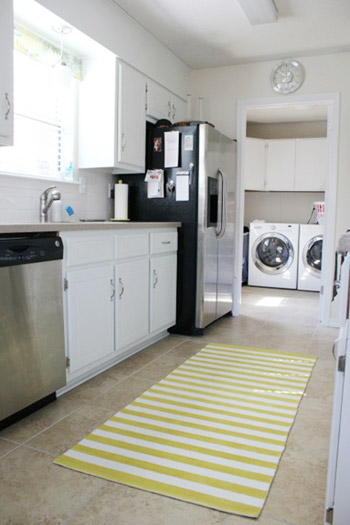
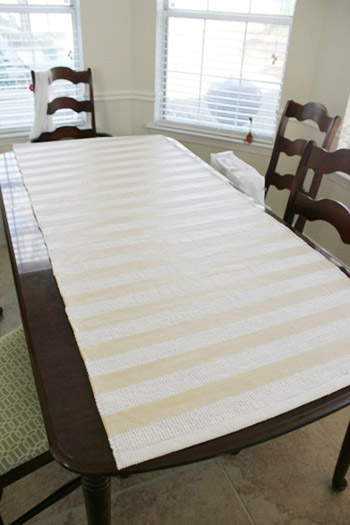
I used two-inch wide masking tape to create the stripes on the other side of my stamped rug, then I carefully took the rug outside and gave it a couple of coats of spray paint. I noticed that the spray paint preserved the texture of the rug much more than the sponged on latex paint did.
The cost?
- Rug: $20
- Paint: $6 (two sample-sized jars)
- Foam: already had
- Foam brush: already had
- Tape: $4 (used only about 1/8 of the roll)
- Spray Paint: $4 (used one leftover can and half of another)
- Grand total for the entire project: $34
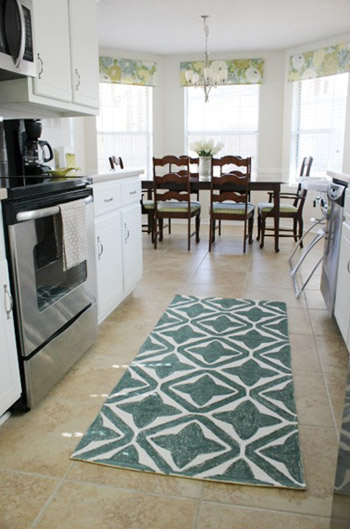
Thirty-four dollars for a reversible rug that we can flip depending on our mood, that can be easily washed, that adds some much need pattern and color into our kitchen, and that gives our dish-washin’ footsies a soft place to land. Not bad, I’d say! – Sheena
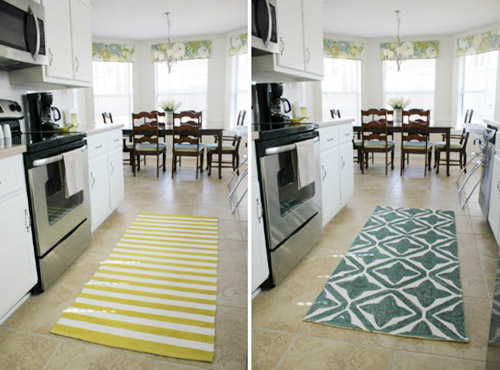
So how cool is it to see a swatch of dollhouse fabric blown up into a real-life rug? And the whole reversible thing is great (the yellow stripes are Sherry’s favorite). If you’d like to read more about how Sheena knocked this out, here’s her full tutorial on the stamped side and her how-to on the striped side. And a big thanks to Sheena for sharing the goods!

Cara Barbieri says
I love the rug!!! I have the same paint color on the wall in my guest bedroom and it is dreamy. It looks great on the rug too.
Bloggingservices says
Great inspirational post. I really impressed by this post.
Bella says
the stripey side kinda reminds me of the rug in your first kitchen i think
Kelly Jordan says
To see Bean in Love AND Young House Love together in one post just makes me so happy!
I love this rug project – esp. since it is reversible! So smart! One of those “why didn’t I think of that” kinda things :o)
Emma says
Hi, John & Sherry!Thanks for sharing the project.
I love the rugs!!!!
I have been looking for the perfect rug and not finding it, maybe now I’ll make it!
I love you guys!!Hahahahahaha
Kyle ( http://plushrugs.com ) says
This is such a cool project. If a rug can tie a room together, a custom painted rug can do exponentially more being as it can match your decor precisely. I love how you used 2 very different designs giving it great versatility.
-Kyle
PlushRugs