Installing drywall doesn’t have to be intimidating and, in fact, you can do it all by yourself! I was able to do our entire laundry room (including the ceiling) in one day AND without an extra set of hands. So today I’ll show you how and the secret weapon that made it all possible.
Drywall Installation Tools & Materials
Here’s what you’ll want to have on hand if, some of it is optional depending on the difficulty of your job:
- Drywall, we used 4 x 8′ UltraLight Sheetrock
- Drywall lift (we rented ours for $40!)
- An electric drill, in hindsight I wish I’d gotten a drywall screw gun
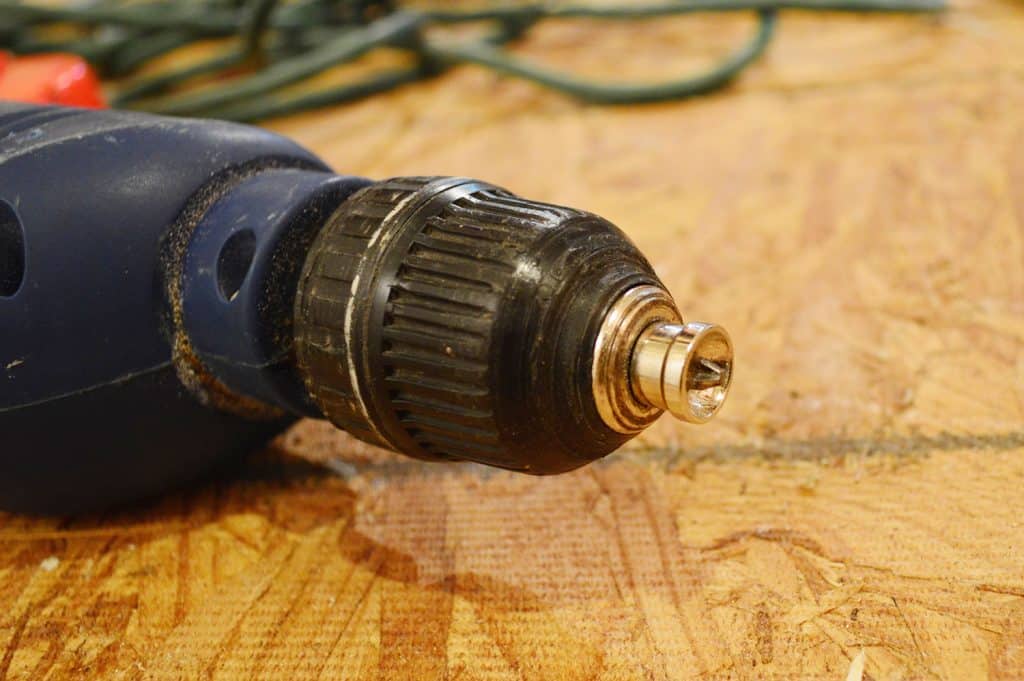
- Drywall setting drill bit (to countersink heads into the drywall)
- Coarse-thread drywall screws (I did 2″ on the ceiling, 1 5/8″ on the walls)
- Measuring tape
- Chalk line
- Utility knife
- Straight edge like a metal yardstick
- Drywall saw
- Hole saw drill bit (optional)
- Pencil or marker
- Step ladder
As you saw in our last post, I picked up the drywall along with my other big supplies when I rented the $19 Home Depot truck. I got fourteen 4 x 8′ sheets of UltraLight Sheetrock since the whole “ultra light” thing sounded helpful and it was well-reviewed.
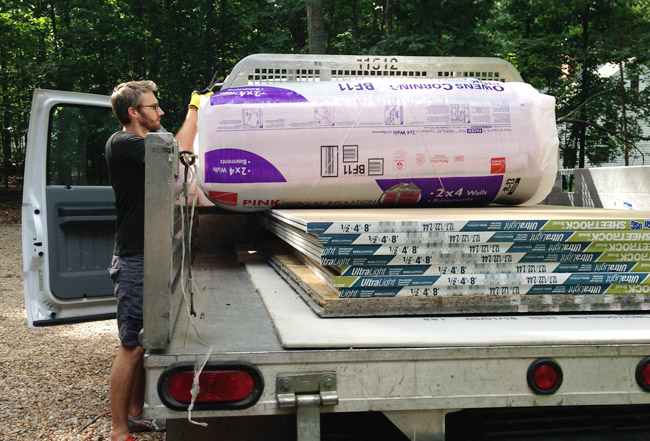
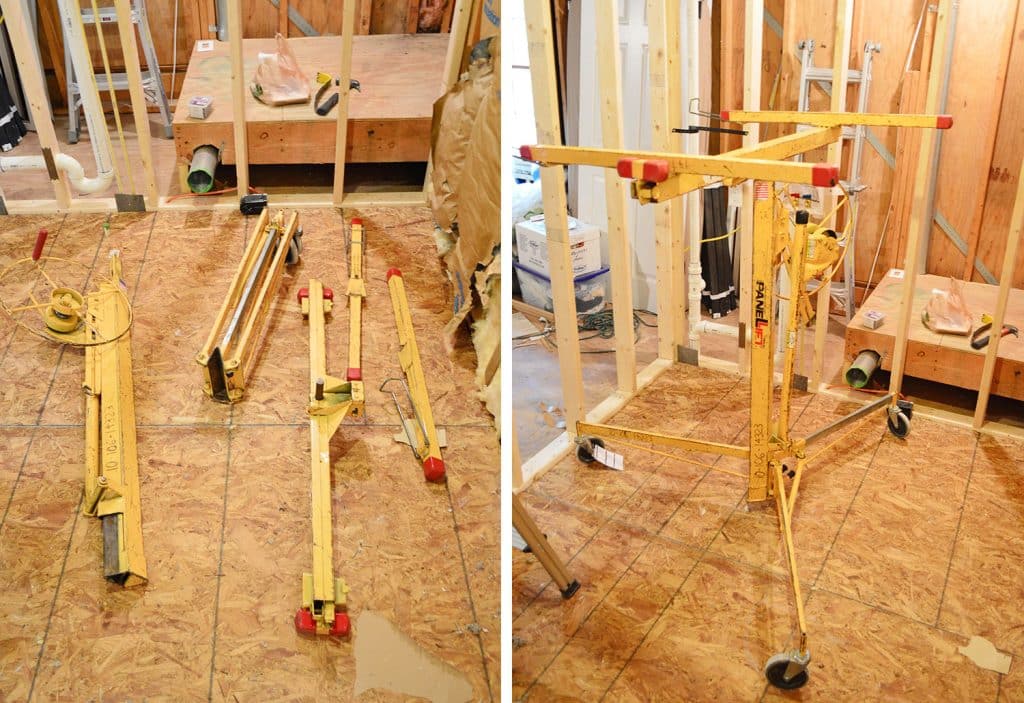
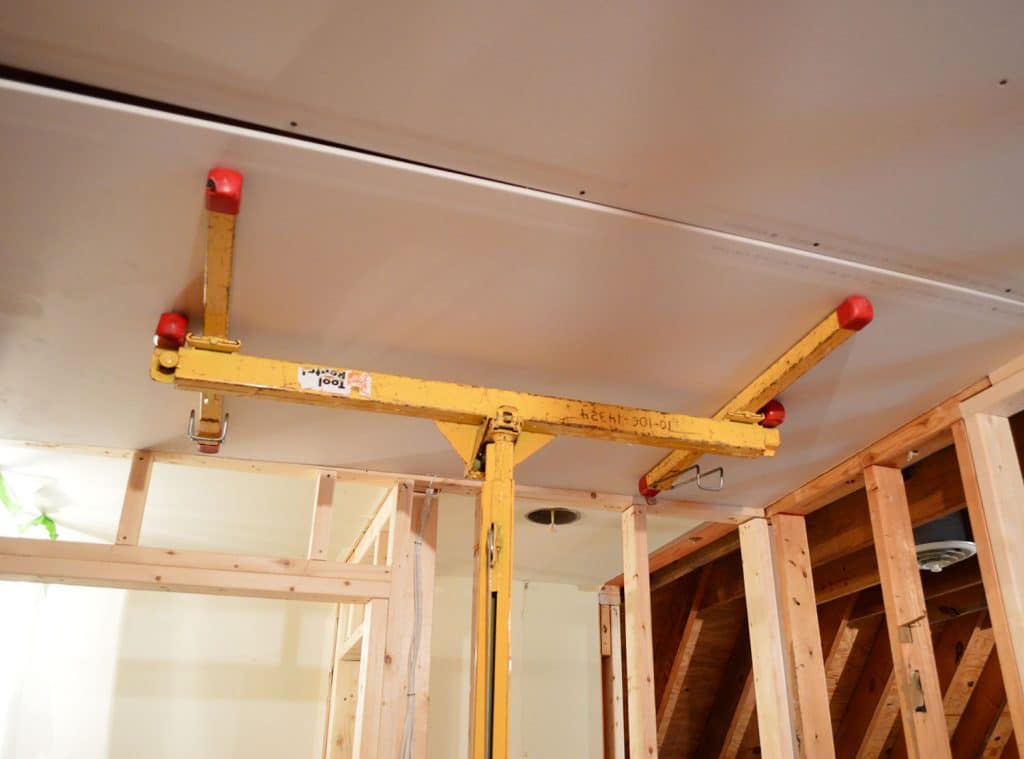
The lightweight thing was a bit of an over-promise. It’s lighter than traditional stuff, but still not something you can hold in place with one hand while the other screws it into the studs. So I rented this drywall lift from Home Depot to help with the job. It was $40 for 24 hours and the pieces easily fit in our car.
Hanging Drywall On The Ceiling
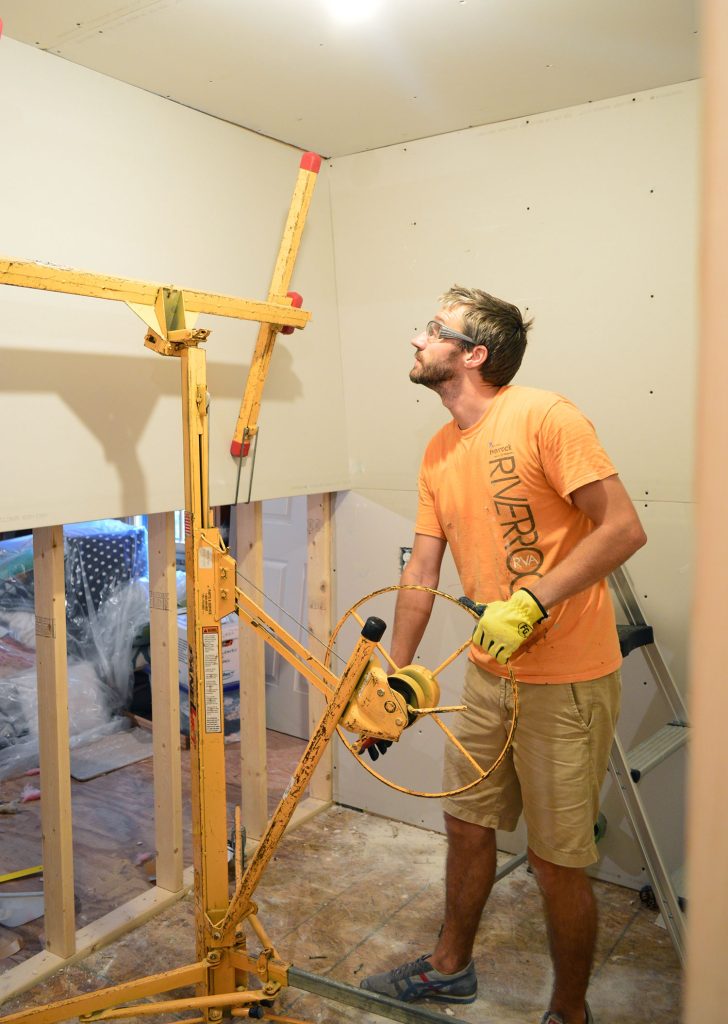
The drywall lift was a total lifesaver (and a backsaver). I could place a piece of drywall on it (once it was cut to size) and then crank it up into place with the spin of a wheel.
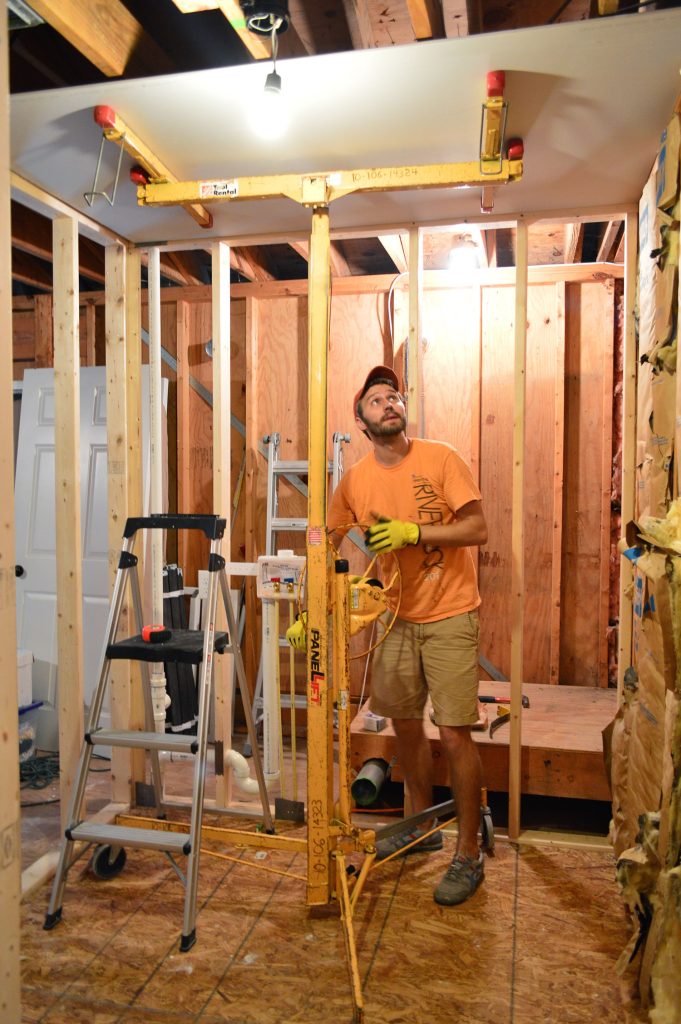
Then with the lift holding it in place, I was free to screw it into the wall studs or ceiling joists without having to worry about my arms (or a human helper’s arms) getting tired.
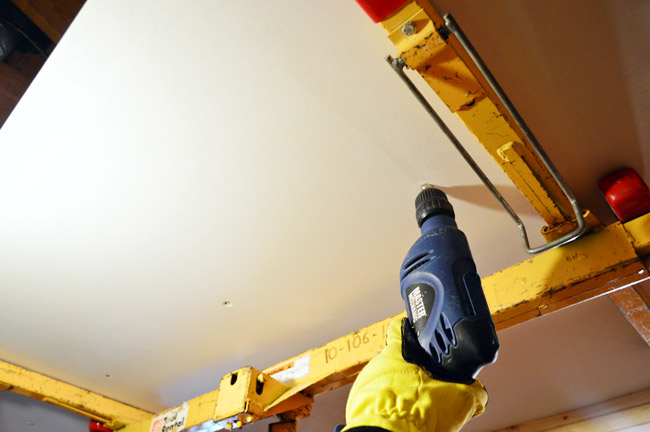
I used coarse-thread drywall screws (2″ on the ceiling, 1 5/8″ on the walls) and a special drywall setting drill bit, which makes sure the head of the screw gets counter-sunk into the drywall. In hindsight, I kinda wish I had splurged on a drywall screw gun because this step would have gone a lot faster.
The hanging process wasn’t really all that complicated – cut it to fit the pre-measured area, carry it upstairs, use the lift to get it into place, and screw it in.
Cutting The Drywall Sheets To Size
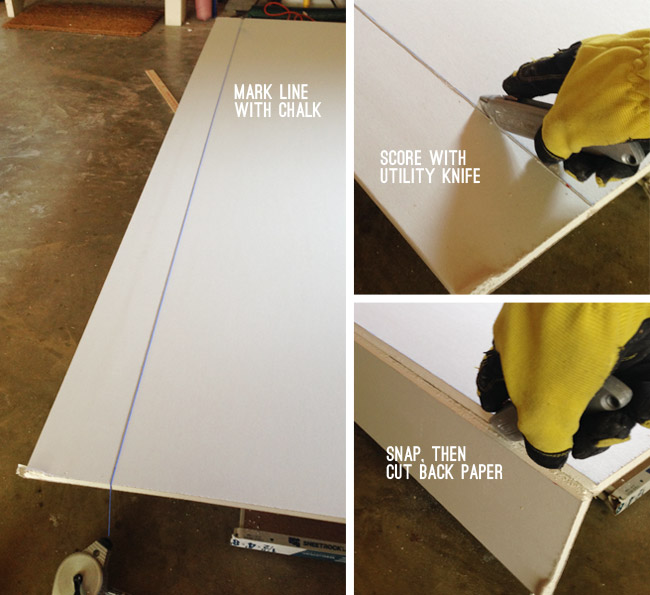
When a full sheet didn’t fit in a particular spot, I’d use a utility knife to score and break the drywall to size. Once I took my measurement, I marked my cut with a chalk line and then used a straight edge to score the line with my utility knife. Once you’re through the top layer of paper, you can run your knife along that ridge again without the straight edge, and it’s pretty easy to snap the piece along your line. Then you just have to cut the back layer of paper.
We also had to cut around various obstacles like light switches, vents, etc. For those I relied on a variety of tricks to ensure perfect hole placement.
Cutting Holes For Vents And Outlet Boxes
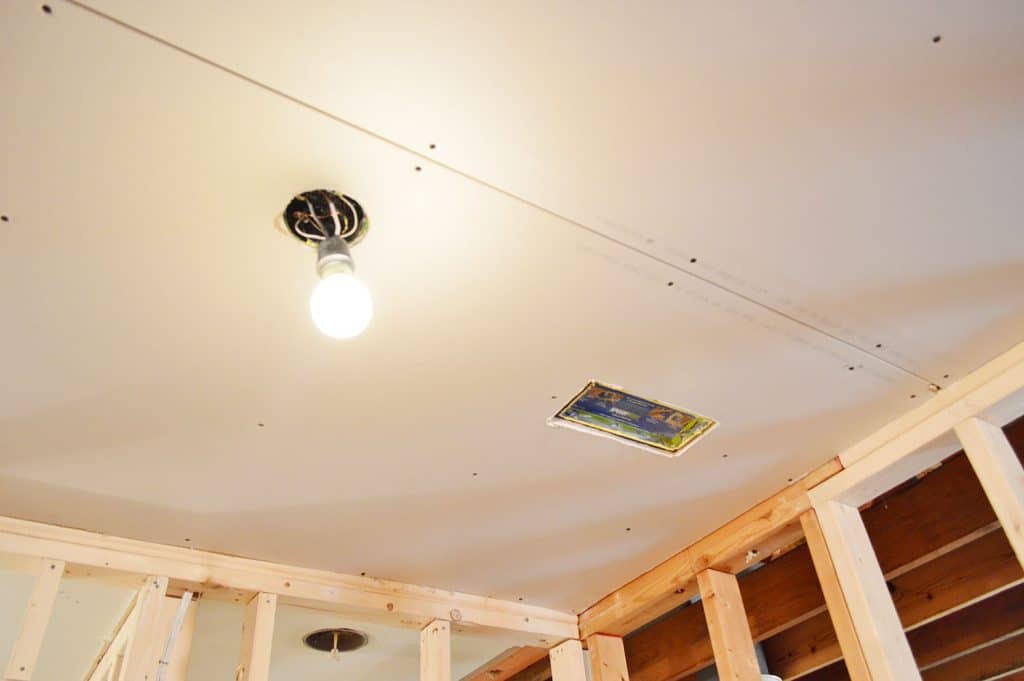
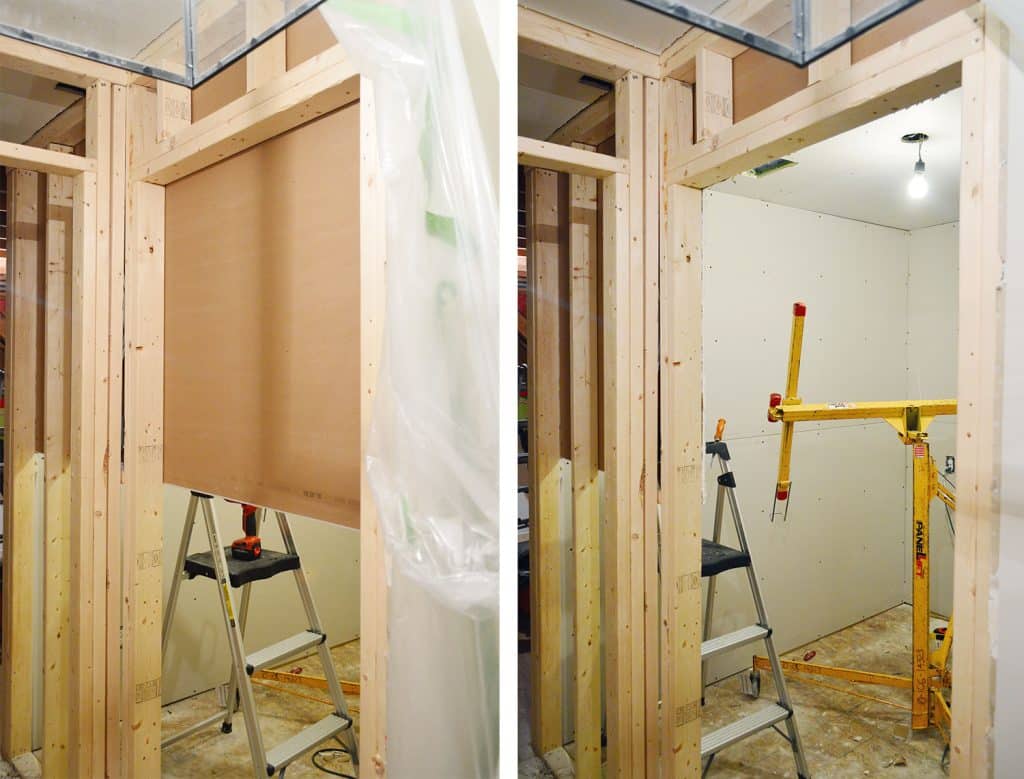
Since I had started with the ceiling, one of my first obstacles was the electrical box for our ceiling light. To mark its location, I dabbed some spare paint on the edge…
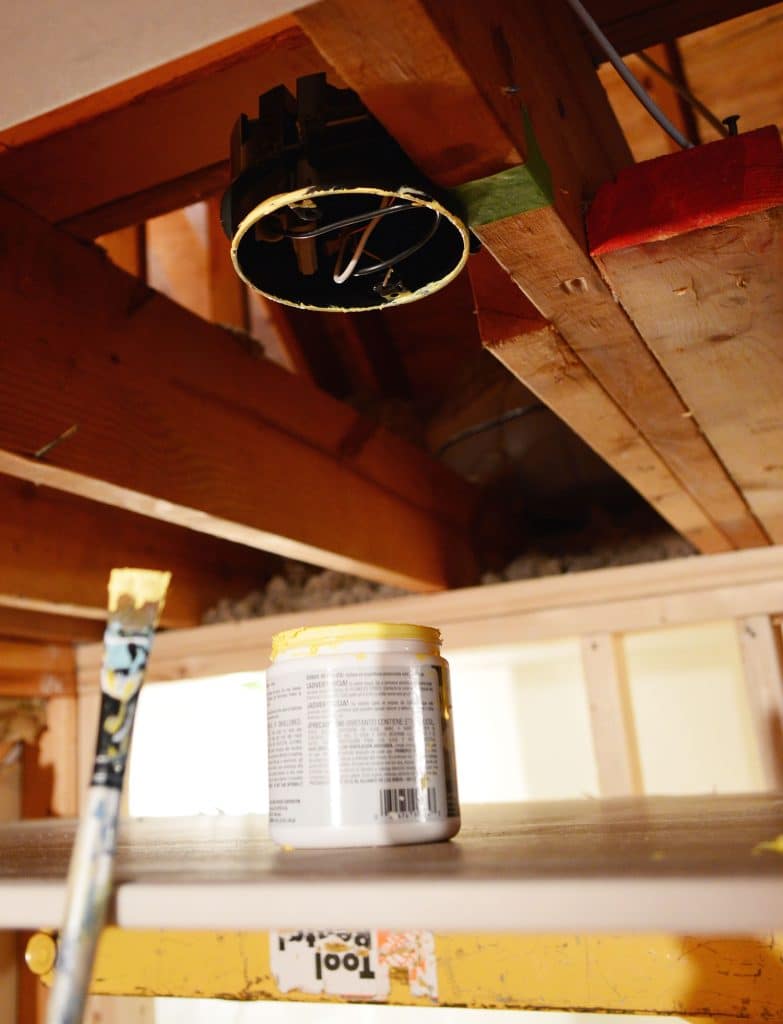
…then I pressed the sheet to the ceiling with the lift to transfer some of the paint to the drywall.
Then I could cut a perfectly placed hole using a hole saw drill bit.
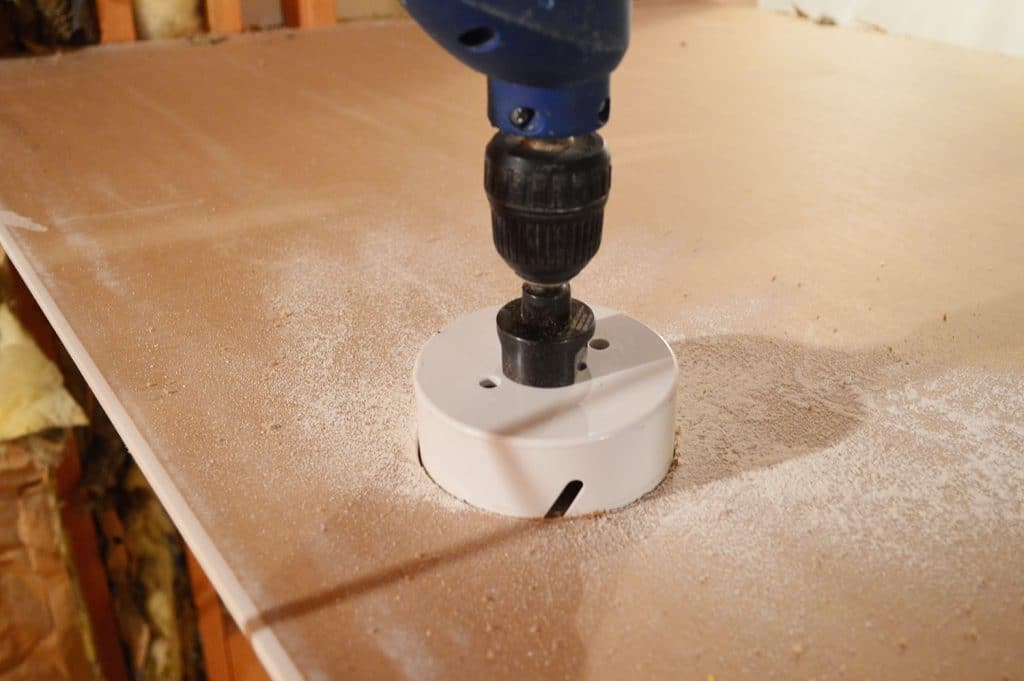
I used the same paint trick to mark the HVAC vent hole too, as you can see below.
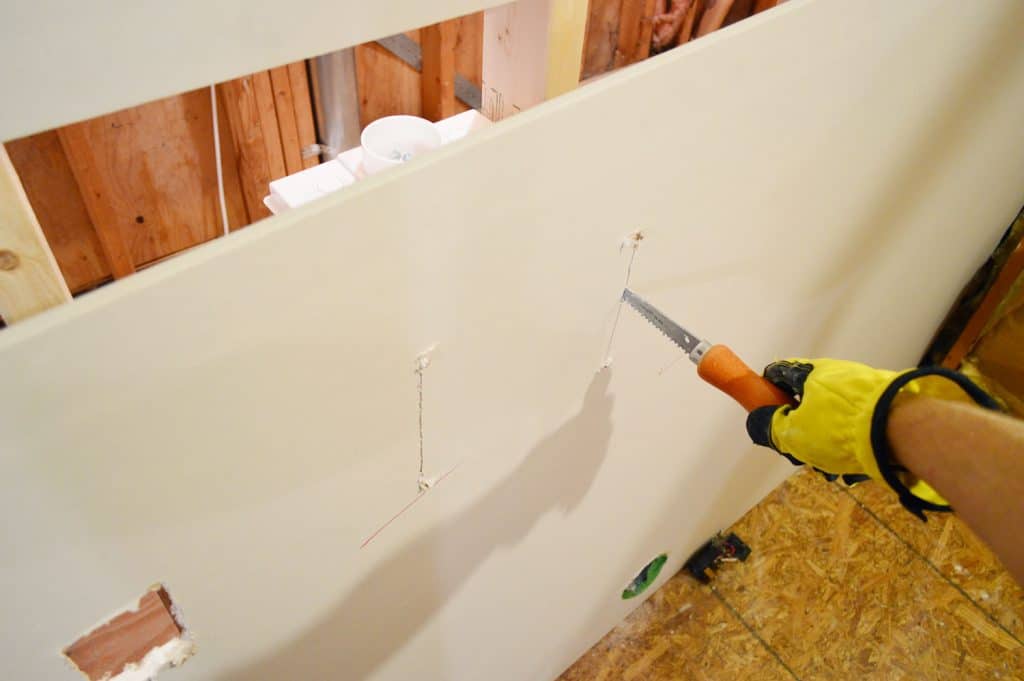
For all the non-round holes, we used the drywall / keyhole / jab saw to cut out the appropriate sized holes. Whenever possible, we liked to cut from the front of the drywall because it kept the hole a bit cleaner on the inside.
Hanging Drywall On The Walls
The lift also pivots to help you hang a sheet of drywall on the wall. The room ended up being nearly 8′ deep and 7′ wide, so each wall required just two sheets of 8′ drywall that were cut a little shorter length-wise.

NOTE: It’s typically recommended that you hang your sheets horizontally across your studs. It creates fewer seams overall, hides bowing better, and gives you a stronger wall that’s less likely to sag.
As straightforward as the process was, it still took quite a bit of time. Between measuring & marking things, making our cuts, hauling things upstairs, using the lift to get them into place, cutting around additional obstructions, and screwing the drywall into place – I think we averaged about one board every 45 minutes. But because it’s not a large room, we were still able to knock out the room in a day.
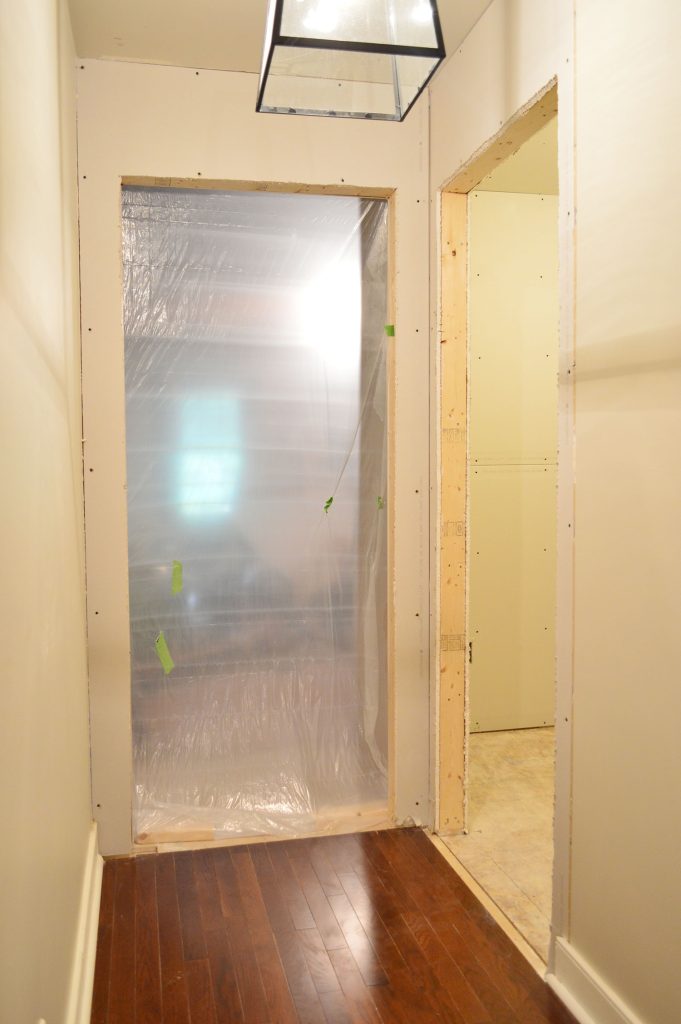
Cutting Around The Doorways
Cutting around the doorway was easy. We literally hung the sheets (one at a time) over the door opening and then cut out whatever covered the door opening with my drywall saw. This was a pretty foolproof way of doing it, but I think had I bought a spiral saw it would’ve been significantly faster.
Since we had four total doorway holes to cut (two doors with two sides each), we appreciated how foolproof this process was.
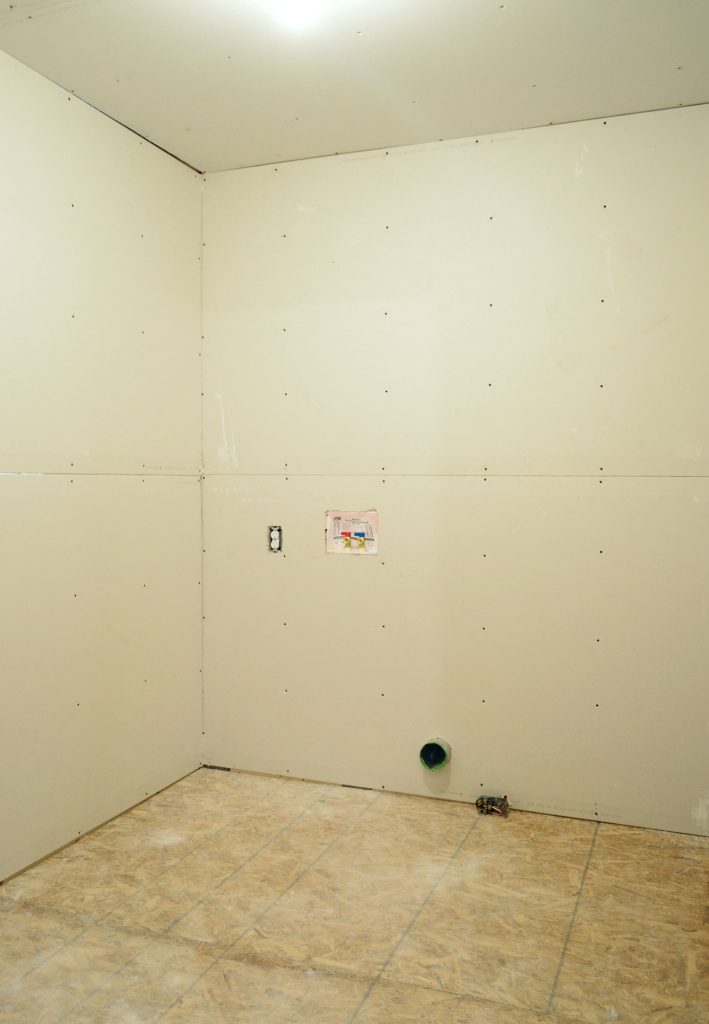
Eventually I got all 14 pieces in place (10 in the room, 2 in the hall, 2 in the storage room vestibule) and the space was really starting to take shape. This is where we started, as seen from the adjacent attic space…
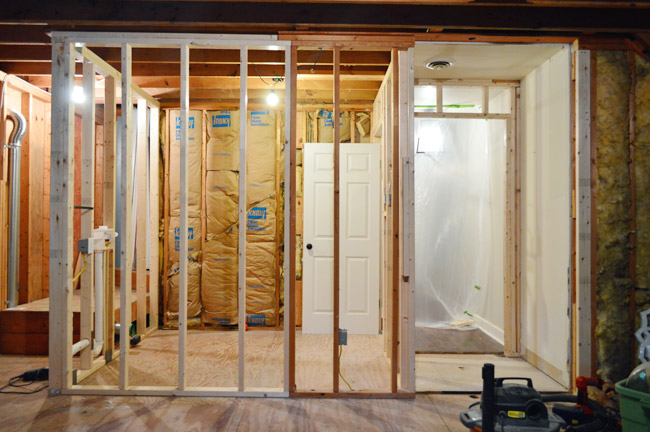
And this is where we ended up. Again, this is looking at the laundry room from the attic, which is why you still see exposed framing.
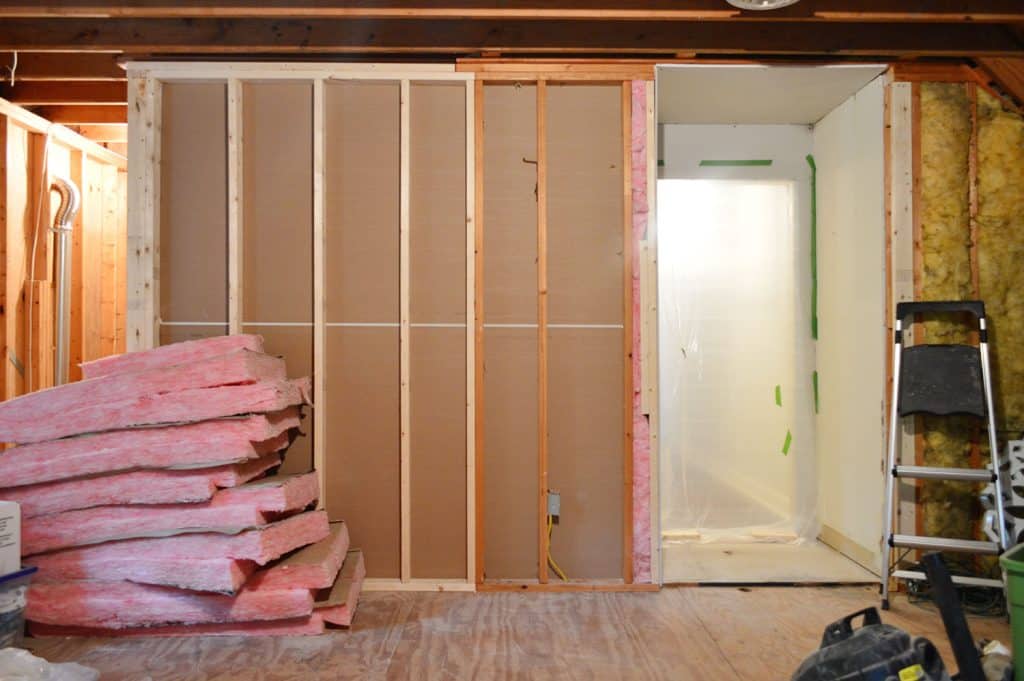
The inside of the laundry room isn’t looking very exciting. You can see that our drywall hanging isn’t 100% perfect (I had a slightly angled cut up in that top corner) but we’re still proud to have completed the task on our own. As many of you mentioned, the hanging part is a lot easier than the art of mudding and taping, so we tried to buoy our spirits with that info as we inched along.
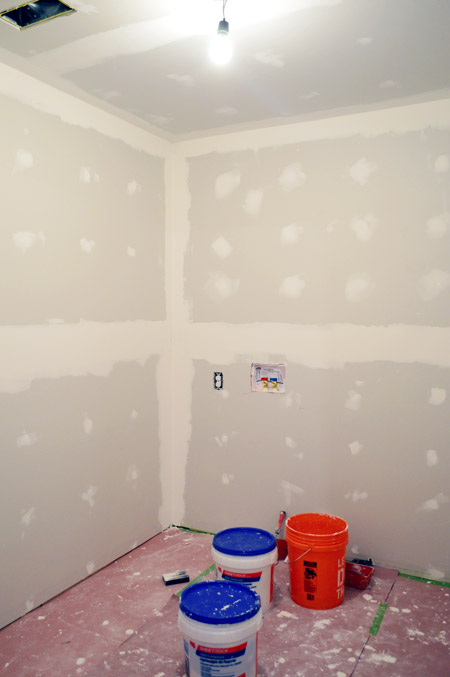
How To Mud & Tape Your Drywall Seams
Speaking of mudding and taping the joints, we’ve officially started in on that, and it’s definitely the more challenging part of this process – especially since we’ve got lots of corners.
UPDATE: We found a trick for making this process easier. So if you want to jump to the next step in this project, check out how we taped, mudded, and sanded the drywall (including a video)!
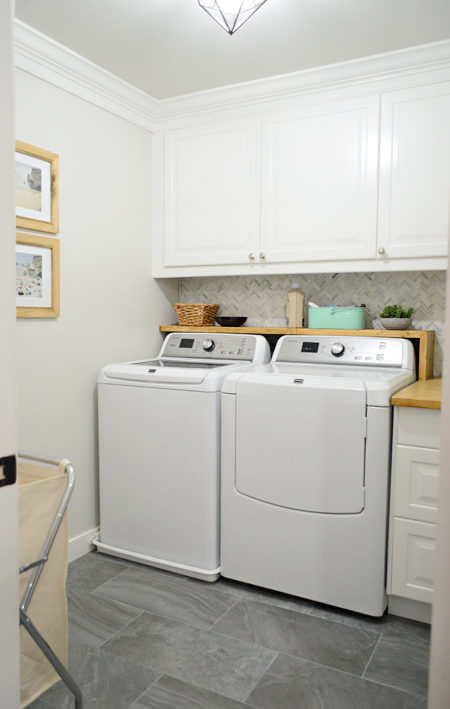
And if you really want to jump ahead, you can see how the final room turned out in this laundry room reveal post.

Avone says
You definitely need to purchase a spiral saw. We bought a Rotozip years ago and have used the heck out of that thing. There are bits for cutting tile, metal, glass…
It’s one of our most used tools.
YoungHouseLove says
Thanks Avone!
-John
Autumn says
You might have mentioned this and I probably missed this. :) But why was the hallway not extended? It looks like a little mini hallway in the “bonus room”. Like a door was stuck inside the hallway leading from the bonus room to rest of the house. I was curious why the door frame wasn’t moved to be flush with the brand new laundry room wall?
YoungHouseLove says
We actually had three reasons for that – so those details are in this post for ya :)
https://www.younghouselove.com/2014/07/well-that-escalated-quickly/
xo
s
Beemie says
This is looking like progress…I see clean laundry and lots of fluff and folding in your future. Love it.
Randy says
John:
Excellent blog. We have followed you for awhile.
One suggestion to make your drywall life m-u-c-h easier. You can buy a simple RotoZip tool with a tracing bit to cut EXACT holes around all your ac vents, lights, boxes, etc. It is Fast, easy and traces the exact outline of the box. I hang the drywall with a few screws (after measuring where the boxes are), then cut the holes (perfect fit around each box or can), then tighten up the screws. PERFECT fit every time. the tracing bit is the secret. I cut holes in about 10 seconds a box. I just did this with canned lighting in the basement. Perfect holes, easy, professional, low cost. Give it a try!
YoungHouseLove says
Sounds really smart!
-John