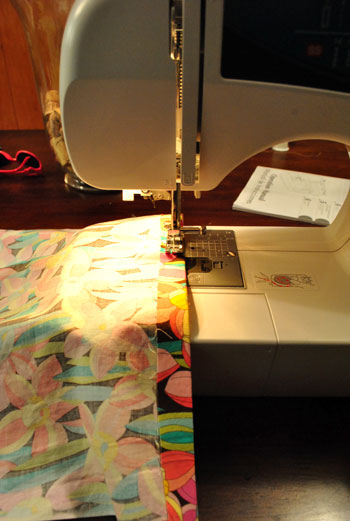
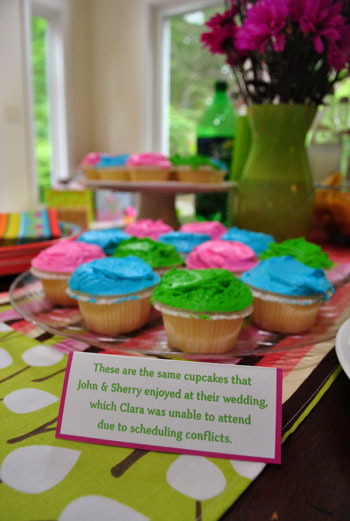
I’m not a runner, but I can make one. I used to run track and cross country in middle school and high school. I actually ran a 5:09 mile once (with the help of some downhill portions of a course and the fact that I was like 80 lbs). It happened once and never again (I usually clocked in between 6:20 and 7:10). But those days are gone (due partially to an ankle injury but mostly to laziness). Now I only run when I’m being chased. Or when I lose track of the baby. But making a runner? That I can do. You guys actually got a sneak peek of my recent runner creation in this picture from Clara’s party:

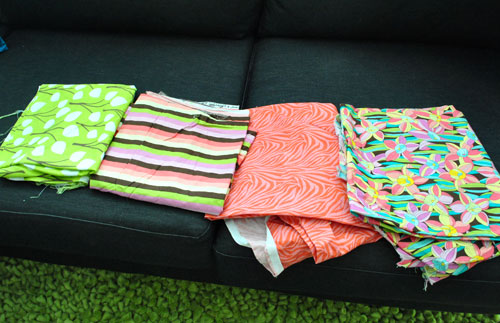
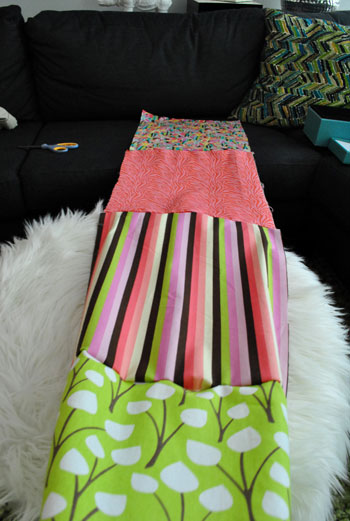
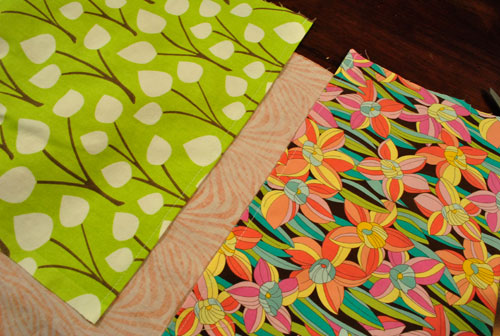
And let me tell you, it was child’s play compared to my big quilt project (nothing like a little confidence-building quick & easy sewing project to get your sew-mentum up). Yes, I just made a sewing pun for my mom. Happy birthday Momma (it’s tomorrow)! Anyway, here’s how it went. First I sorted through all of the leftover fabrics from Clara’s weekly photo project and picked four that I liked together (for a sort of cheerful and happy-go-lucky mixed & matched effect).
Then I found a runner that I already owned (from Target a while back) and folded it into quarters so I would have an idea of the size of each of the four squares of fabric that I should cut out (so that when sewn together they would equal the approximate width and length of the runner that I already had). I left about an inch of overhang on all sides to account for seams, so it looked a little something like this:

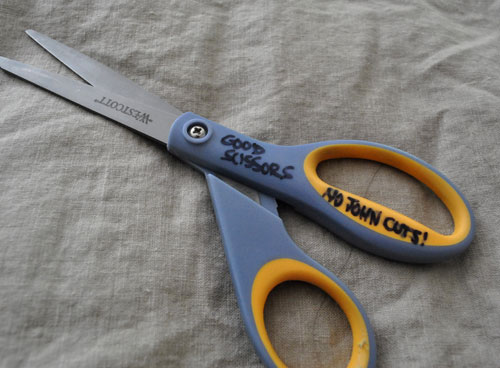
And for some reason I like to over-share, so I’ll point out how insane I am about my “good scissors.” I actually wrote this message on them with Sharpie because I was sick of John using the good sharp ones to do something crazy like trim a thick branch outside or slice open some crazy-thick plastic package. Do you like how it specifically says “no John cuts”? I think it’s hilarious. That’s like Kate Gosselin level micro-managing right there. But it works. John won’t touch these scissors anymore. And I love you for that babe.
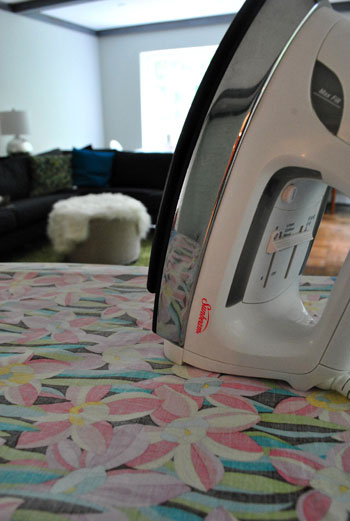
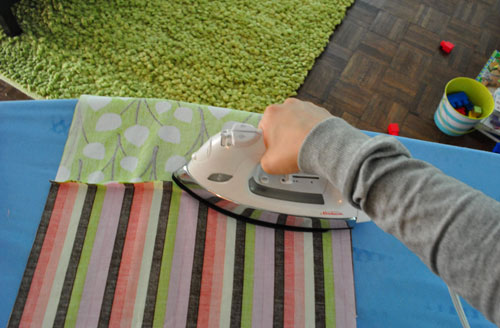
Anyway, next I ironed all of my four fabric rectangles so they weren’t all junky and wrinkled looking (they were already washed, btw, which is important to combat shrinkage – because nobody likes shrinkage).
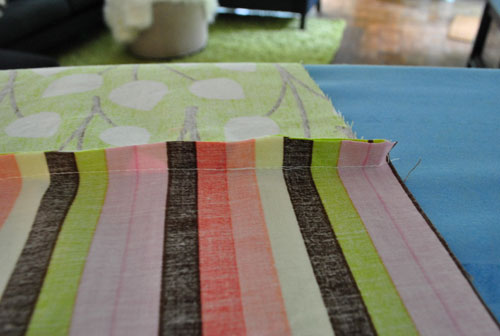
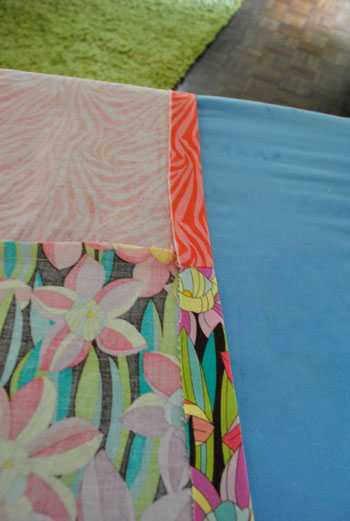
Then I pinned each section together with the bad side facing out (which would create invisible seams – which are my favorite since they’re harder to mess up). Oh and to all of those who gave me the tip about pinning it perpendicular- I love it. I just somehow forgot so I’ll have to try that next time.
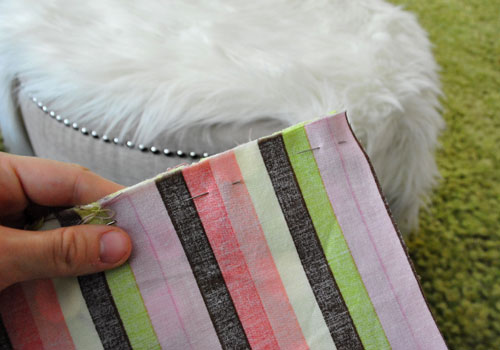

With it all pinned together it looked a little questionable for a while, but I (surprisingly) had faith that when I ironed and sewed those seams they’d look a lot less ganked up then they looked at the pinning stage of the game:
And sure enough, after a little bit of sewing things were looking a lot more promising. Who ever would have thought that me + sewing machine = something looking better than it did before. I’m telling you, this is serious growth for me as a person. I would have defined my relationship with sewing machines as tumultuous before this month. But times they are a changing. I might even have a tiny crush on Oh Brother.
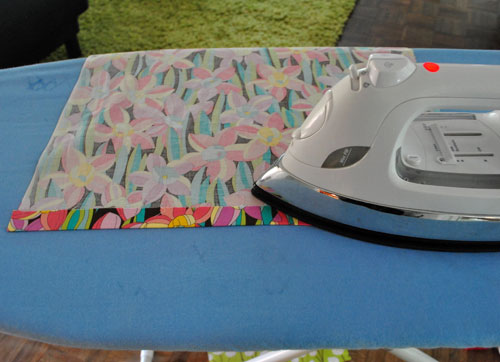
Anyway, then it was time to iron down those seams from the back so they would lay nice and flat and look good from the front (as opposed to looking all bunched from the front like a big ol’ runner wedgie going on under the surface).
Then I ironed the outside seams on each end of the runner down to create the finished seams that would be seen from the front. I went straight to ironing because I was feeling gutsy (and didn’t feel like pinning the entire outside edge since the baby was about to wake up from her nap any minute and I was feeling all jumpy and why-the-heck-not about it)…
… and then sewed those two seams (these seams would show, which still kind of scares me but it wasn’t a big deal in the end- I just tried to go slow and steady and keep things nice and straight).
In about five minutes I had a nice tailored looking seam on both ends of my runner (without any pin usage – saweet). Then I had to deal with the unhemmed sides of the whole thing.
So I ironed them down too. I have to admit that not pinning felt good. Like I found some sort of shortcut to the next level in the video game of sewing.
Then I just slowly and carefully stitched around my ironed edges to create a nice neat hem around the outside of the rest of the runner. Aside from my bobbin running out halfway through (which pisses me off every time, I’m not gonna lie), it wasn’t annoying or frustrating. I was almost – dare I say it? – enjoying the process.
Cue the collective gasp.
Anyway, after making out with turning off my sewing machine and removing my freshly completed runner, I just ironed the whole thing again, just to make sure it was nice and tailored looking. Houston, we have a runner:
I hope to use it at lots of Clara parties to come. And probably for a bunch of other parties too- it’s just really happy and festive. It even looks kind of Easter-ish so it could work for a fun little egg dying party or something. Oh and the total cost = zero bucks (thanks to already having the fabric on hand). As for how long it took, I knocked it out in about 45 minutes to an hour. So it’s perfect for any beginners out there who want to kill me because they think I’m getting good at sewing. I’m not. I’m not even junior varsity. I’m the water boy of sewing. I don’t know the right terms for things, I make tons of mistakes as I go, but I’m telling you – just messing around until you end up with something you like is a surprisingly effective approach thus far. So take it as a sign that if a cursed sewing-machines-revolt-in-my-presence person like me can tackle some simple projects, you can do it too. Probably much better than I can.
Psst- Our baby-proofing adventures continue over on BabyCenter today. Can you handle the excitement?

D says
5:09!! That’s beast!!
Shannah says
Easy but helpful tip from a long-time sewing girl: when you make your hems, double fold them. For example, fold 1/2″ and press. Then fold the raw edge in and press, making your hem 1/4″ in total (hopefully that’s clear as mud). That will keep the rough-and-tumble edge hidden inside (yay!) and (bonus) keep you from worrying about the material fraying and ravelling over time.
YoungHouseLove says
Love it!
xo,
s
Meg says
This is why I love your blog! Such a simple idea with such great results. I would have spent hours searching for the perfect block pattern (and maybe even 4 perfect patterns!) here:
http://quilterscache.com/QuiltBlocksGalore.html
Then I would pick something above my skill level and become totally frustrated (meanwhile using probably 15 different fabrics), and finally just getting a paper runner for the party because my sewn runner was only half finished. Even when I finished (for the 3rd birthday party), it would probably be too busy anyway!
Thanks for showing that simple can be the best!
Carrie says
That’s funny that you label yout scissors. I took some fashion design classes in college, and one of my teachers insisted that we by a brand new pair of scissors for the class and to write “fabric” on them and to use them for nothing else b/c even using them on paper would ruin their effectiveness on fabric. Now that you are on your way to becoming a pro sewer, you may need your own “good” scissors AND “fabric” scissors.
Ali says
I’m not a runner and I don’t know if I can make one either. You lost me at “sewing machine.” haha
Oh, and I have that pair of scissors. I’m pretty serious about them. And when they broke, I contacted the company and kept at them until I got a new pair. :)
J'Ann says
LMAO, no John cuts, I should label half the items in my house with that lol. “No Chris Touch”
KiTX says
Perhaps the best cohabitation idea ever. I’m buying a label maker tomorrow, and just about everything in the general area of my crafts is becoming “No E Touch”… anyone think this will work with dogs? =)
angie says
look at you stitchy stitcherson!!!!!!! with the fabric only scissors…what the what?!?! LMAO!!!
my son just asked me for a sewing machine and he’s 3?? Just wish my crafty mom was alive to help him out but you have given me new hope!
<3
YoungHouseLove says
Aw, I think you should start him young! Good luck. And “Stitchy Stitcherson” made me giggle audibly alone in the office at 11:09pm. Hilarious.
xo,
s
Ashton says
Love the Kate Gosselin reference, that made me lol.
CJ says
Hi Sherry, I love the party runners and all of the new sewing projects that you are adding to your maaad skills! I had to comment as I am at this very exact moment considering making 12 runners for our wedding this fall! I think I might be crazy. I’m sure it will be a huge task to take on with all of the other wedding stuff, but I am determined to have some DIY aspects for the day. I would have also made my own bouquets, centerpieces and cake too if I had the time! And your big day has also inspired me to keep things in our own style and personalized. I’m still unsure of the fabric and colors to choose but ordered a few great samples online. Well thanks again for the inspiration and happy belated birthday to Miss Clara!
YoungHouseLove says
Aw that sounds so sweet CJ! Good luck with everything!
xo,
s
Emily says
FAMILY ME!
Love the family tree print :)
Anne says
Did you make the blue and pink poms?! If so would you consider doing a tutorial? I would love to make these for a bridal shower I am hosting!!
As always, love your blog :)
YoungHouseLove says
Those are Martha Stewart poms. Here’s that tutorial on her site for ya (they’re pretty easy!): http://www.marthastewart.com/how-to/tissue-paper-pom-poms-how-to
xo,
s
Jill says
Way to go, Sherry! You are a hoot and I love to see that you are braving the machine! You would LOVE taking a beginner sewing class…you will learn so many tips and shortcuts and will enjoy sewing even more. Do you have a cutting mat and a rotary cutter? They would have worked wonderfully for you to cut the blocks out for your runner and you would be left with super straight edges and seams. Quick, too! Not be a snob or a jerk or a sewing prude, but next time you do a runner, just put a backing on it. You won’t have to worry about that unforgiving topstitching showing at all and you will create a reversible piece. Just sew your two sides together (right sides together), but leave a four-inch or so opening to turn it right sides out. Press it nice and either hand-stitch or machine-stitch the opening closed. Seriously…it’s waaayyy easier than the hemming! GOOD LUCK…I am anxious to see what you sew up next!
YoungHouseLove says
Love it!!
xo,
s
Lindsey says
To make even nicer hems, turn the fabric twice so the raw edge is hidden, like in clothes. Turn the fabric in about 1/4″ and press with iron, then turn again 1/2″ or whatever you want your hem to be and press with iron again, stitch and ta-da fancy hems! P.s. The ” bad” side of fabric is called the wrong side, there’s nothing bad about fabric!
YoungHouseLove says
Love it!!!
xo,
s
Maryanne Sivers says
Lovely! The scissors are awesome- I need to Sharpie mine! I used to work in a sewing factory/sweatshop, so I know the importance of “fabric only”! I love your writing style, too- you make things sound so fun.:)
Suzie says
Ha I thought I was the only person who wrote notes on scissors to keep my husband away. I cant save every pair, but I try to keep my cople of good pairs for their specific purpose.
Melissa says
When I learned to sew I was taught to press the seams open instead of pressing both pieces of fabric to one side of the seam. You may not have had a problem with the fabric feeling bulky alongside the seams because you were using a lightweight fabric, but it could be a good thing to do in the future, no extra work required.
YoungHouseLove says
Love that tip!
xo,
s
May says
ok, this is starting to get freaky…we’ve already established that your Clara and my daughter share a *birth* day, but now your mom and my mom also share a birthday (not sure if it’s the same *birth* day). Are you secretly my twin? :-P
Anyway, that is a FANTASTIC runner, especially since you use your existing fabric stash for it. You’re going to be a great seamstress, so fearless!
YoungHouseLove says
No way! That’s crazy. We’re internet twins.
xo,
s
Amy Dash says
I only follow two blogs, yours of course and another one called “Make It and Love It” (http://www.makeit-loveit.com/) I totally recommend checking our her blog as she has a lot of sewing tutorials and amazing projects… my inbox is like Christmas everyday between MI&LI and YHL!
YoungHouseLove says
Thanks so much for the recommendation! Can’t wait to check it out!
xo,
s
Claire @ Claire K Creations says
I know exactly what you mean about the sewing machine changing you. I started sewing and got my machine about the same time as you and I am oh so very proud of myself every time I make something. Very silly but I feel empowered that I no longer have to buy so many things I can make them myself!!!
kelsey moore says
you are so impressive with the sewing machine! i am so impressed. i wish i could sew – or claim to have ever broke 9 minutes on my mile in cross country!
Natalie Schoellhorn says
I started a baby quilt last summer when we found out we were expecting our first, but then we moved across country – away from my sewing teacher (a friend’s mom). This quilt was the first thing I have ever tried to sew, and I was too scared to work on it alone if fear of messing up my baby’s sweet quilt. Your post on Clara’s quilt gave me the confidence to pull mine back out. It also reminded me that quilts don’t have to be perfect – and are maybe even better that way. Thanks to your sewing adventures, I am one afternoon away from finishing the quilt! :) Hooray for amatuer sewing!
~Natalie
YoungHouseLove says
Wahoo! Go Natalie!
xo,
s
Allison says
I just came across this tutorial for a fabric memory game, and I thought it might be another great way for you to reuse clara’s picture fabrics.
http://www.purlbee.com/emilys-memory-game/
YoungHouseLove says
Love that so much I already pinned it on Pinterest!
xo,
s
Katherina @ Zephyr Runs says
The cupcake sign is too cute <3
Danielle Scholtz says
Hi Sherry!
I recently discovered this fantastic blog, and I love it! I check it twice every day to see your posts.
And I believed I could make a runner too (as you said) and with a little help from my mother (with the sewing machine) two beautiful runners came out to the 9th birthday of my daughter
http://interferenciapositiva.blogspot.com/2011/06/realizacao.html
Thank you very much for the inspiration!
Best wishes from Brazil!
YoungHouseLove says
So charming! Love it!
xo,
s
Mrs Patty says
I might have already missed this in one of your points, but what model of sewing machine do you use?
YoungHouseLove says
I think if you search “Oh Brother” on our sidebar it’ll come up. It’s a Brother model, but I linked to it in the post. Hope it helps!
xo,
s