No? Me either. But it’s coming. Slowly but surely. After tackling the area to the right of the porch, next on the ol’ to-do list was:
- the area to the left of the porch
- the side lot next to our house (a giant valley full of moist soil that we want to naturalize into a pretty forest)
But before we get to the planting bed next to the porch, we wanted to share this gorgeous sight courtesy of the side lot:
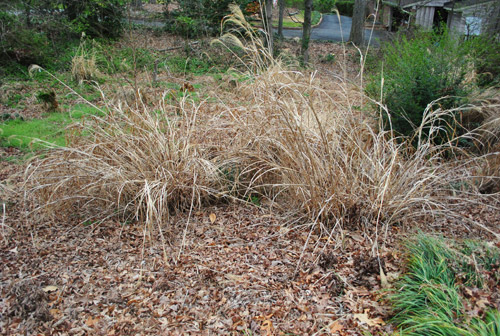
Just kidding. Unless by gorgeous we mean just-one-reason-we-hang-our-heads-in-shame-when-neighbors-walk-by. Those are old clumps of grasses that we were told to cut back each March so it’ll grow in nice and fresh and clean this year. Early April is the new March, right? We were a little late…
But we finally got ‘er done. And now the wild and crazy side lot next to our house looks like this:

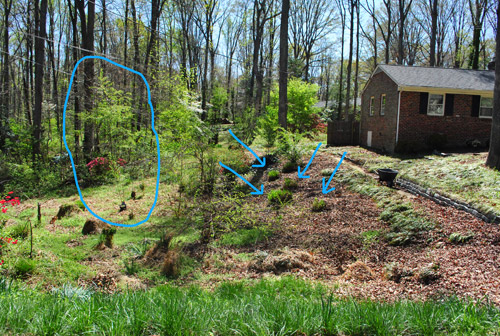
But let’s back up and view our little leaf garden from the street, shall we? This is an area that we’d love to naturalize with a charming little “orchard” of pretty trees and ground cover and grasses and anything else that’ll make it feel sort of woodsy and sweet (and not like a place we have to mow or weed or rake). You can see what the cut back grasses look like now (there are four blue arrows pointing to them) so hopefully when they spring up and fill in (they get about 4-5 feet tall) it’ll feel more woodsy on that side. And see the thing I circled on the left? That’s a new tree.
Yup, the first step to naturalizing our ridiculously unattractive side yard is to add trees that will thrive down in this moist valley of our property. Thankfully the certified landscape designer we had over (more on that here) recommended a slew of trees that would do well, one of which was the River Birch. So when we saw them on sale at Home Depot for $19, we grabbed one (using a $5 off coupon that we got for being in their gardening club – which is free, so just sign up to get random coupons).
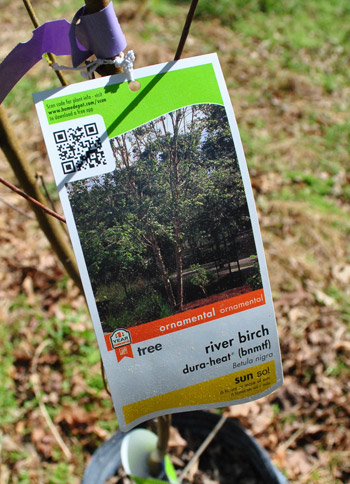
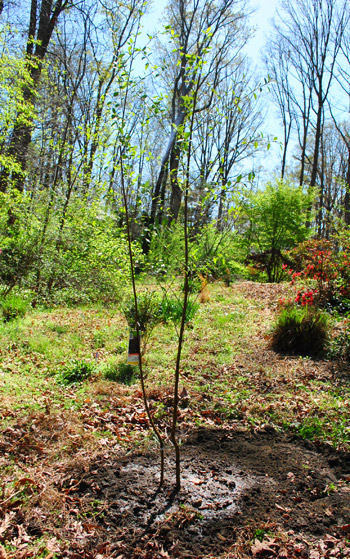
We followed the planting directions on the label and crossed our fingers that this guy would be the first step to woodsing-up the side lot full of weeds, leaves, and various other odds and ends (not to scare anyone, but we did find a pretty respectably sized snake down here once).
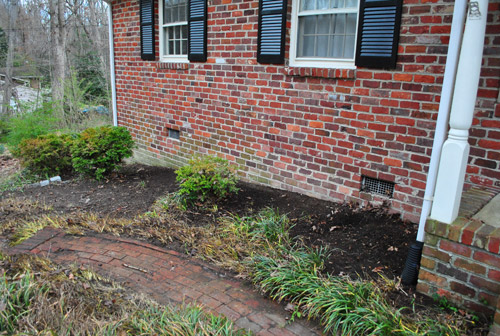
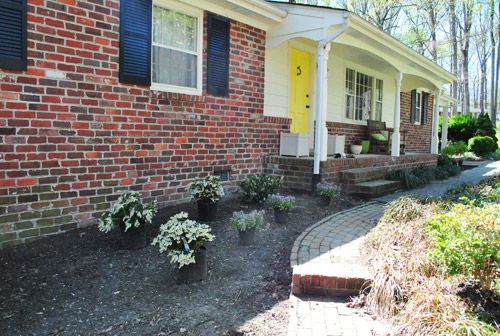
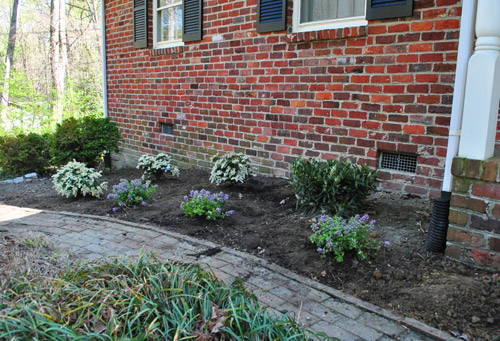
But that guy was nowhere to be found this time around. So let’s skip over to the garden bed to the left of the front porch. It definitely wasn’t looking so hot covered in leaves, missing some shrubs, and sporting more of that ubiquitous liriope:
So we raked out the leaves…
And dug out the liriope…
… and planted this otto luyken laurel, which we mentioned here.
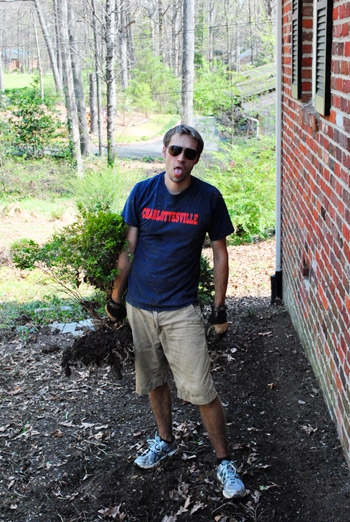
We learned that middle bush wasn’t doing too well from the certified landscape expert – so we dug it up and transplanted it to the more “wild” part of our side yard that we’re trying to naturalize so it’s out of the spotlight. This is John’s tired face:
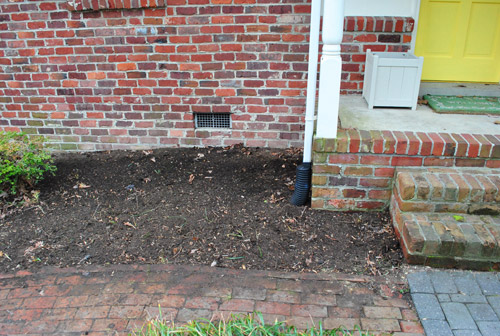
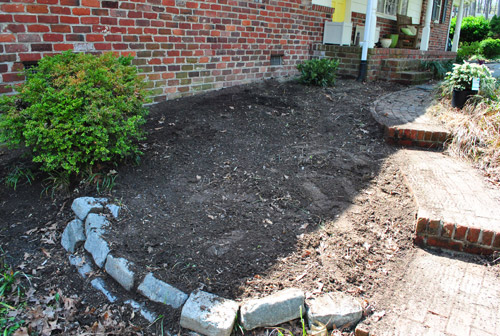
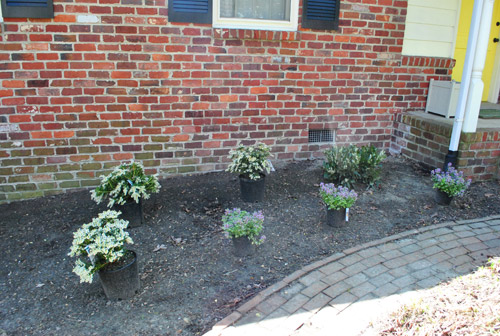
Then we had a nice bare-ish bed to work with:
Here it is from the other side. This area is a lot larger than the bed on the right side of the porch. It’s about 20 feet long and the depth ranges from 7 to 11 feet.
We opted to go with a group of plants that we chose for the garden on the right of the porch for balance and because we knew they’d work in partial shade (this side of the house gets the same amount of light). So in came the same purple flowering plants called Garden Variagated Dead Nettle that we added to the other side of the garden (they’re the mounding variety as opposed to the spreading kind, and they only get 6-8″ wide and tall, so they shouldn’t overwhelm our little garden). We also added three more Dwarf Pieris Japonica Variagated shrubs like we used on the other side, (they only grow to be 2 feet tall by 2 feet wide). They’re covered in little white flowers in the spring and are pretty leafy shrubs for the rest of the time. They also work in part shade and we planted these guys around our first house’s perimeter and they did great.
Why did we get three of each type? Well, lots of landscaping experts recommend odd numbers over even ones, and clustering a few similar plants together can give them more presence.
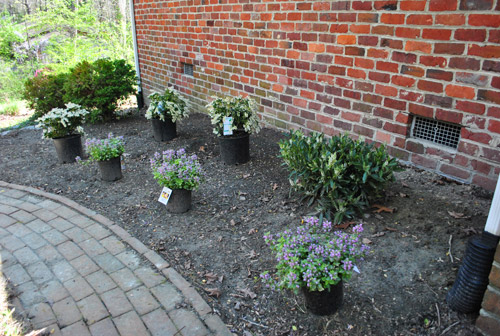
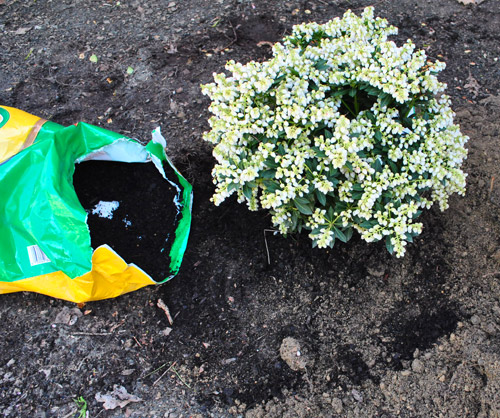
So we grabbed three of each, spaced them according to the directions on the tag (and in a way that we thought would look balanced once they reach their mature size), and then it was time to dig.
We just follow the recommendations on the tag for each one when it comes to how big of a hole to dig and what sort of nutrients or soil we add to the hole while planting them.
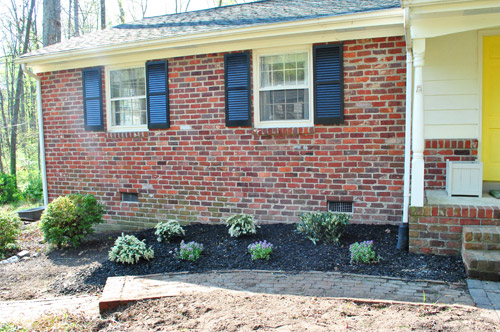
A few hours later, we had this going on.
Once again since these photos aren’t an aerial view, it’s hard to see how much space there is between everything and the house and between each other (but it’s 3-4 feet in all instances). That spacing allows for plenty of filling in without worrying that our little garden bed will be a crowded mess in a few years.
They might not seem like much, but we’re in love with these shrubs. I know that sounds like an overstatement, but just like we mentioned here we really learned our lesson about buying cheap placeholder stuff instead of holding out for things we really love and placing them thoughtfully so they all thrive and look good for years to come.
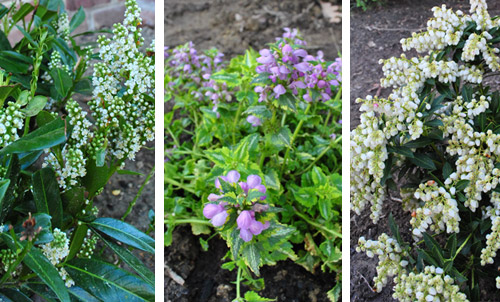
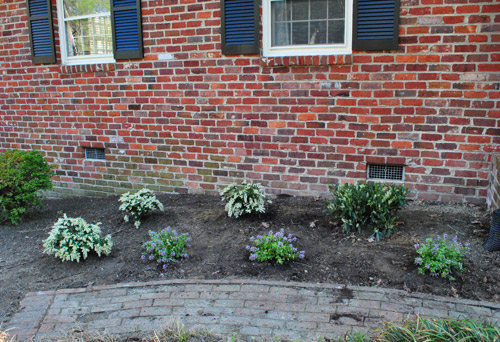
From left to right in this pic above, you can see our otto luyken laurel (more on that here), our Garden Variagated Dead Nettle, and our Dwarf Pieris Japonica Variagated. We love that they all get covered in tiny blooms in the spring (and the nettle will continue flowering into the summer). So of course there’s more of this larger bed to tackle beyond this area in front of the house, but our arms are happy to take a little breather. We did polish things off with some mulch to keep moisture in and weeds out. So it looks nice and finished… to a point (and then the mulch stops and there are no plants, haha – we’ll get there).

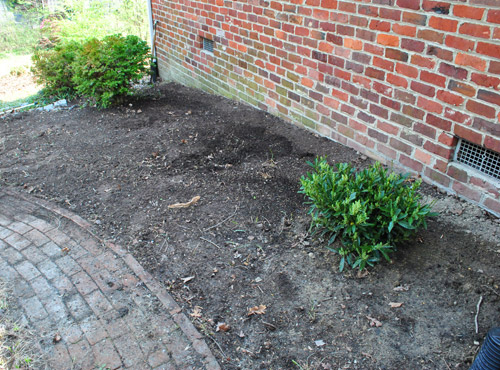
So here’s a reminder of what that area looked like before about six hours of raking, clearing, planning, digging, and mulching:
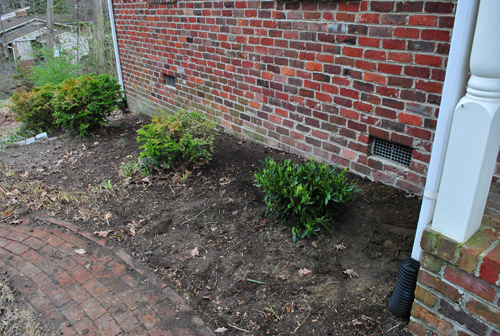
And here’s that area mostly completed (we’ll polish off that smaller zone on the far left once our arms recover and we come up with the right plants to get ‘er done):
Oh and just for fun, here’s what it should look like when things grow in, thanks to the magic of photoshop. This should be everything’s full size:
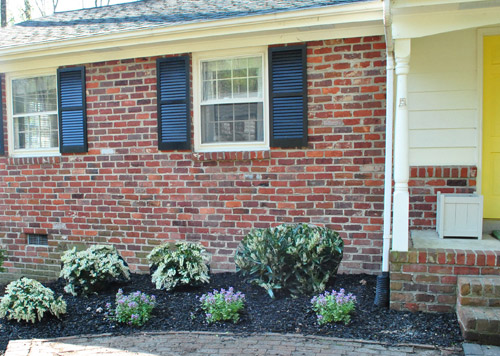
We think it looks nice and clean without dwarfing our one-story house (larger bushes and trees can make a ranch look really squat by growing up near the windows, crowding things, and basically cutting the facade in half). So we’re psyched to have checked off a few to-dos on our huge list (mentioned here) but still have a bunch of outdoor endeavors before we can say this house has curb appeal without rolling our eyes ironically. And I’d share a pic from the curb, but we’re actually starting a few other projects near the path and the mailbox and around the yard, which make things look a little worse before they get better so a wide shot right now wouldn’t look so hot. So stay tuned for those details in a future Petersiks Vs. Wild post.
In the meantime, what are you planting? Are there a million outdoor projects in process at your house without much completion going on yet? Sometimes I feel so scattered, but it helps to remember that we’re inching towards something that’s going to make a huge difference from the curb. Just have a few other zones to attend to before things all start coming together…
Psst- We’ve become a Hunger Games household. More on that over on Young House Life.

Leave a Reply