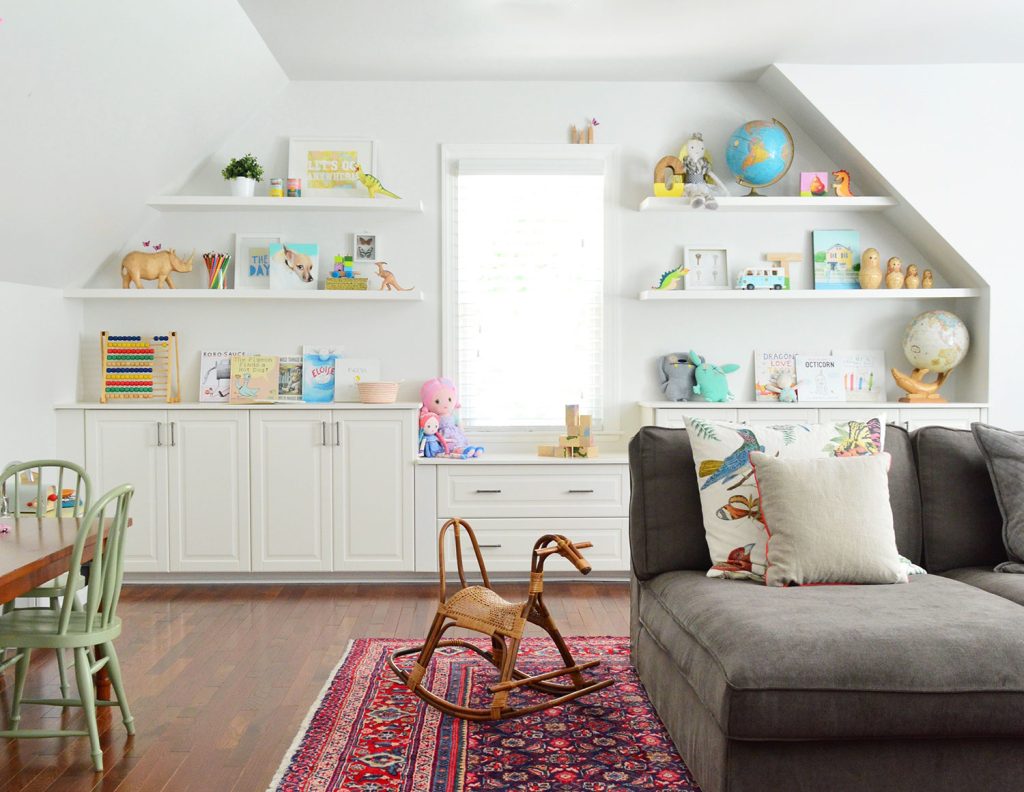
We’ve done tons of DIY shelving projects in our homes, but these simple floating shelves in our bonus room are some of our favorites. We love this tutorial because the shelves turn out modern & thin, unlike most DIY floating shelves that are super chunky. Although if these are too narrow for your taste, you can see how we adapted this tutorial for some thicker floating kitchen shelves.
You can also read about how we built in the cabinets under the shelves too, since they were another key part of building out this niche. In that post, we also cover how we planned the layout using Ikea’s online kitchen planning tool. You can also see some of the other arrangements we considered!
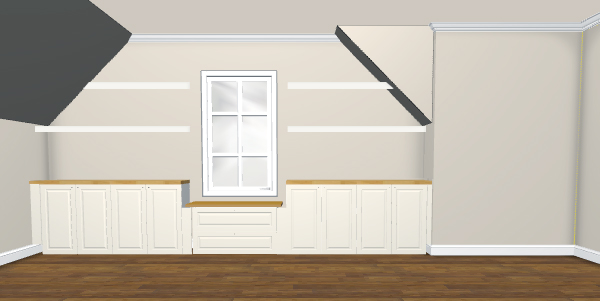
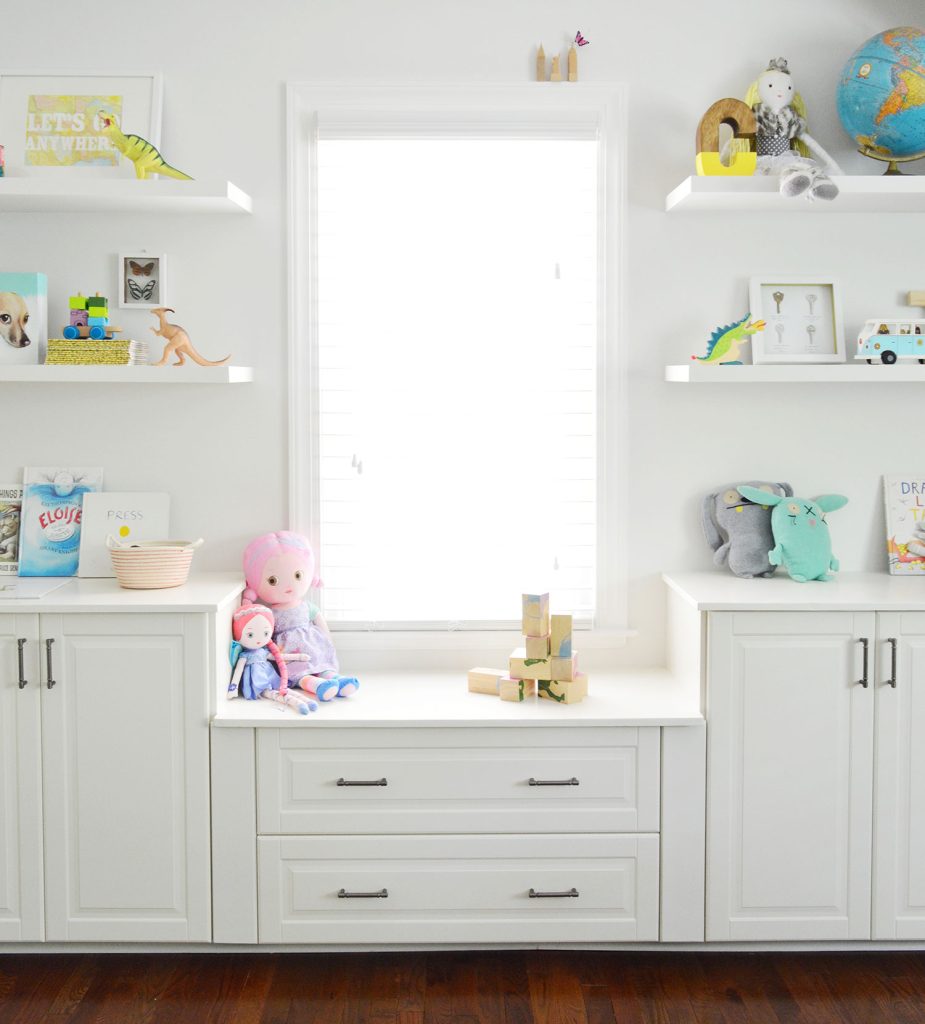
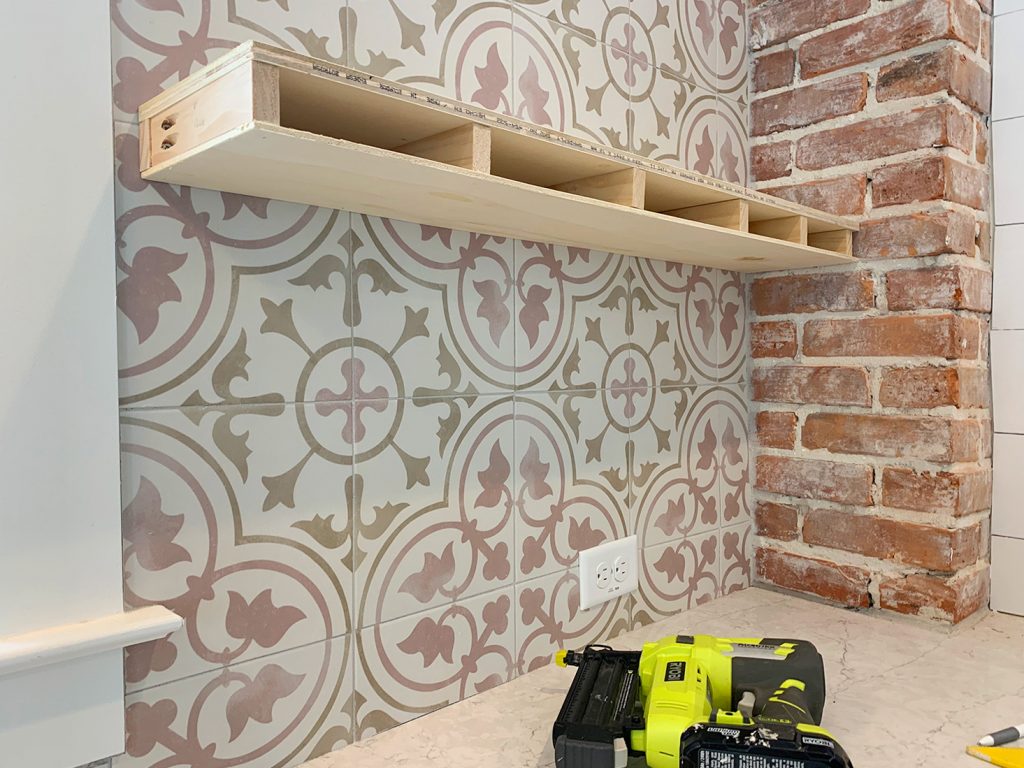
We ultimately chose the design above because for its simplicity. It worked perfectly in that recessed space in the room and gave us tons of storage, both functional and stylish!
Supplies For Building DIY Floating Shelves
We originally planned to follow this DIY Ikea floating shelf tutorial we posted years ago but decided their 2″ thickness would be too chunky for this space. We had seen our friend Sarah at The Ugly Duckling House adapt that process to make skinny floating shelves and decided to give it a try instead.
Here’s what you’ll need to make them yourself.
- 1×2? and 1×3″ pine boards (for support bracket)
- 1×2? pine boards (for facing)
- 1/2? plywood (for the top of each shelf)
- 5mm? plywood (for the underside of each shelf)
- Miter saw
- Table saw or circular saw
- Power drill/driver
- Nail gun
- Long level
- Measuring tape
- Stud finder
- Clamps (including pocket hole clamp)
- 2 1/2? structural screws
- Wood glue
- Pocket hole jig (optional)
The exact amount of wood will depend on the number and size of shelves you’re installing. So be sure to take careful measurements and plan your space before you go shopping.
Step 1: Build Your Shelf Support Bracket
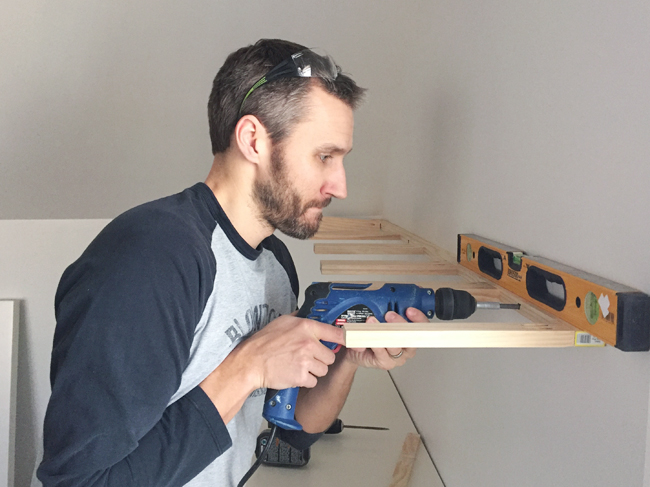
Like most DIY floating shelves, this project starts with building a hidden support bracket that is screwed into the wall studs. Most store-bought floating shelves come with a metal bracket that the shelf slides over. For this DIY version, we’ll construct a bracket out of wood and then build the shelf directly onto it instead. As you can see below, the bracket is one long piece of wood against the wall with several support “spokes” projecting out.
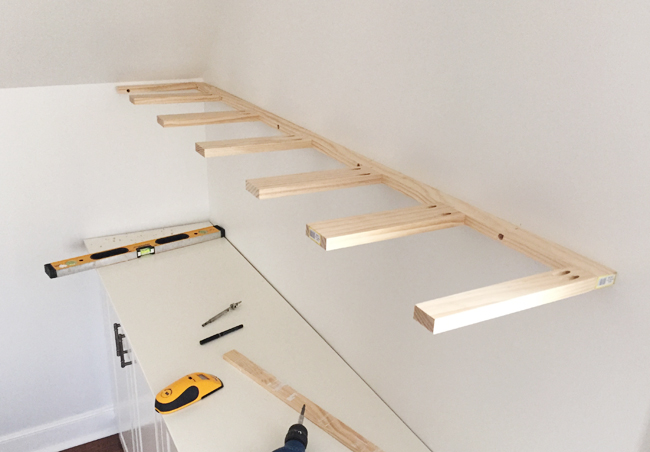
The other adaptation in this build is that the bracket pieces are laid flat on their wide sides (see above) to keep the shelf as thin as possible. This does make the shelf slightly less strong than a normal bracket where the spokes stand on edge (see below), so I wouldn’t use this technique if you were planning to store heavy items like plates or lots of books.
To build the bracket, we cut a long 1×2″ pine board for the back of each bracket and then several smaller 1×3″ pieces for the spokes. When measuring these cuts, remember to subtract the thickness of the finish shelf pieces you’ll be adding over the bracket. This will make more sense as you read the rest of the tutorial, but here’s the math for our spokes:
- 12.5″ desired shelf depth
- minus 0.75″ depth of the 1×2″ face piece to be added to the front
- minus 1.5″ width of the 1×2″ bracket piece against the wall
- equals 10.25″ length of each spoke
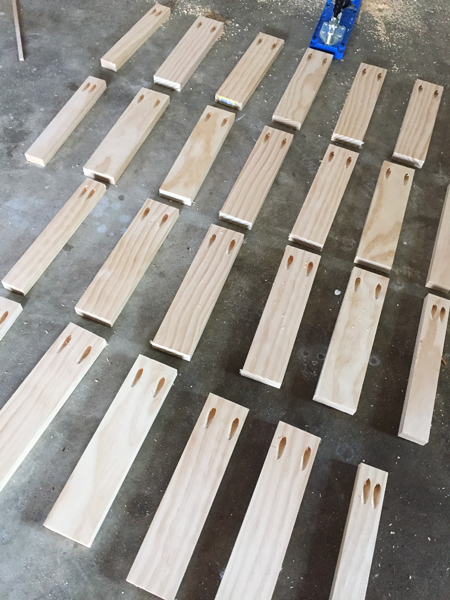
To attach the spokes to the back piece of the bracket, we made pocket holes one on side of each spoke using our Kreg Jig. Clamping them while drilling was a great way to attach them strongly and in perfect alignment. This pocket hole clamp is especially helpful.
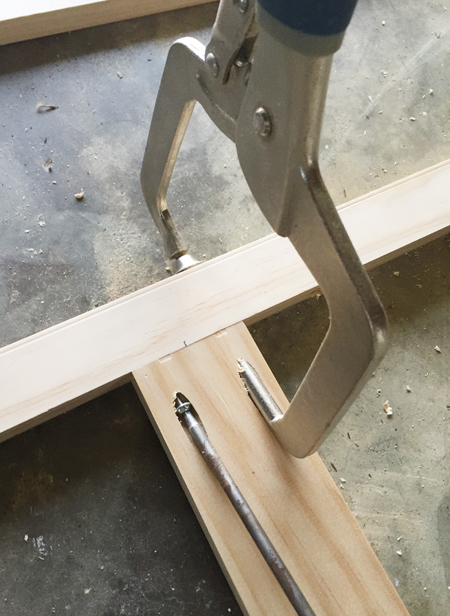
We erred on the side of having more support pegs than probably necessary – about one every 8ish inches apart, as well as one on each end. You also may want to complete the next step before attaching them.
Step 2: Find Your Studs & Drill Pilot Holes
To make these floating shelves as strong as possible, you’ll want to screw your bracket directly into studs behind your drywall. This is our favorite stud finder. We located and marked our studs before building the bracket so that we didn’t attach any spokes over these locations.
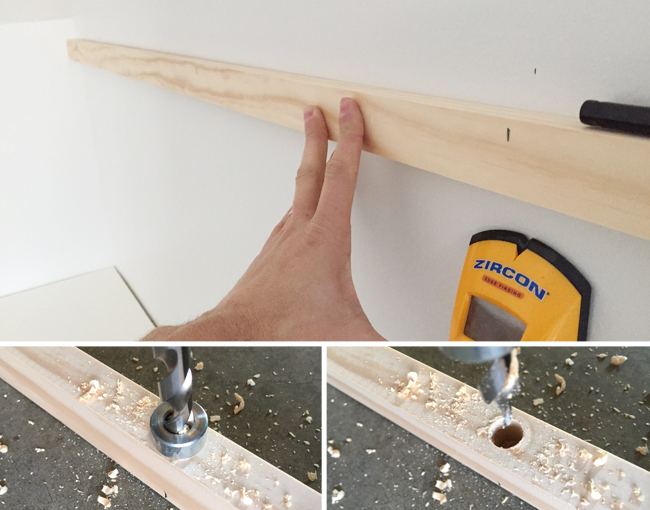
The other trick we used to make attaching everything easier was drilling some slightly recessed holes into our wood at each stud mark (the pocket hole drill bit that comes with the Kreg made this pretty easy to do). Since our screw would be going through the long side of the 1 x 2″, it meant we didn’t have to use a cumbersomely long screw to pull everything tightly against the wall for a sturdy result.
Step 3: Screw Your Shelf Bracket To The Wall
Using a level to keep our bracket straight, we then screwed through our pilot holes into the wall studs. We like to use these structural support screws for a tight fit.
It may take some oomph to get the bracket to pull tight to the wall. But this is a good sign. It means you’ve hit your stud and your floating shelves will be sturdier for doing so!
Step 4: Add Your Shelf Top
Instead of building a separate shelf box to slide over the bracket (like in other tutorials) we built the shelf directly onto the bracket. This helps keep it thin and light weight. The top surface is a 1/2″ thick piece of sanded plywood, but you could also use MDF.
Wood Cutting Tip
You can cut your plywood to size at home using a table saw or circular saw, but we recommend having it cut in your home improvement store if you can. Not only is it less work for you, but it’ll help keep your cuts more even. We had our 4x8ft plywood panel cut into 11.75″ wide strips at Home Depot, then cut them to length using our table saw at home.
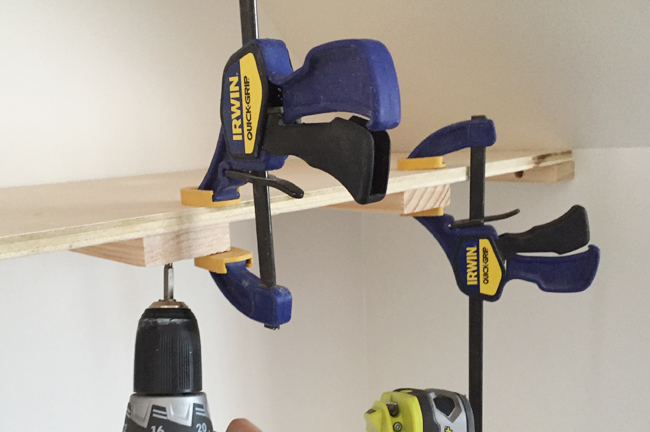
We clamped the the top plywood piece in place and screwed it into place from underneath using 1″ screws. This made fewer holes to cover up later!
Step 5: Add Your Shelf Bottom
For the bottoms, we glued & nailed in strips of 5mm thick plywood. We had these cut at the same time in store while the saw was still locked at the 11.75″ width. The thickness of these boards is really important, for reasons that you’ll see in a second.
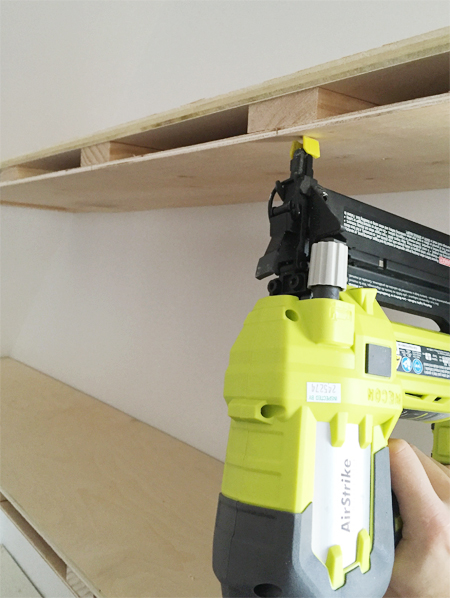
It’s also a good idea to use wood glue during this step since nails like this can loosen over time.
Step 6: Nail In Shelf Face Boards
The last step to constructing the shelves is gluing-and-nailing some 1 x 2″ face boards to cover the exposed front and side of each shelf. We used our miter saw to cut these, include making 45-degree mitered cuts on the corners where two boards meet.
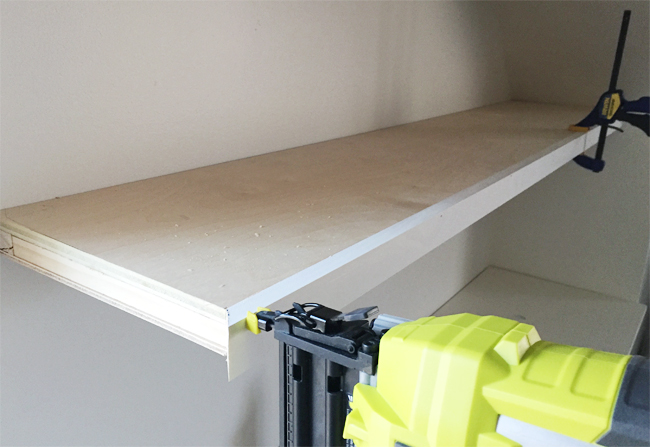
The 1/2″ plywood top and 5mm bottom made the whole thing almost exactly the same width as a 1 x 2″ pine board. This is why it’s important to use such a thin board on the bottom.
Step 7: Caulk, Prime, & Paint
With your floating shelves fully built, you can finish them off with whatever stain, paint, or sealer you prefer. Just be sure to take a moment to fill your nail holes with caulk, wood filler, or spackle first. We chose to paint these white (BM Simply White) but you can see some versions of these shelves we left wood-toned too.
We love the impact that all of this vertical storage has had in this otherwise sparse/hodgepodge room so far. Not only does it help the room feel a bit more finished, but it totally signaled to the kids that this is a playful and fun space for them to settle into.
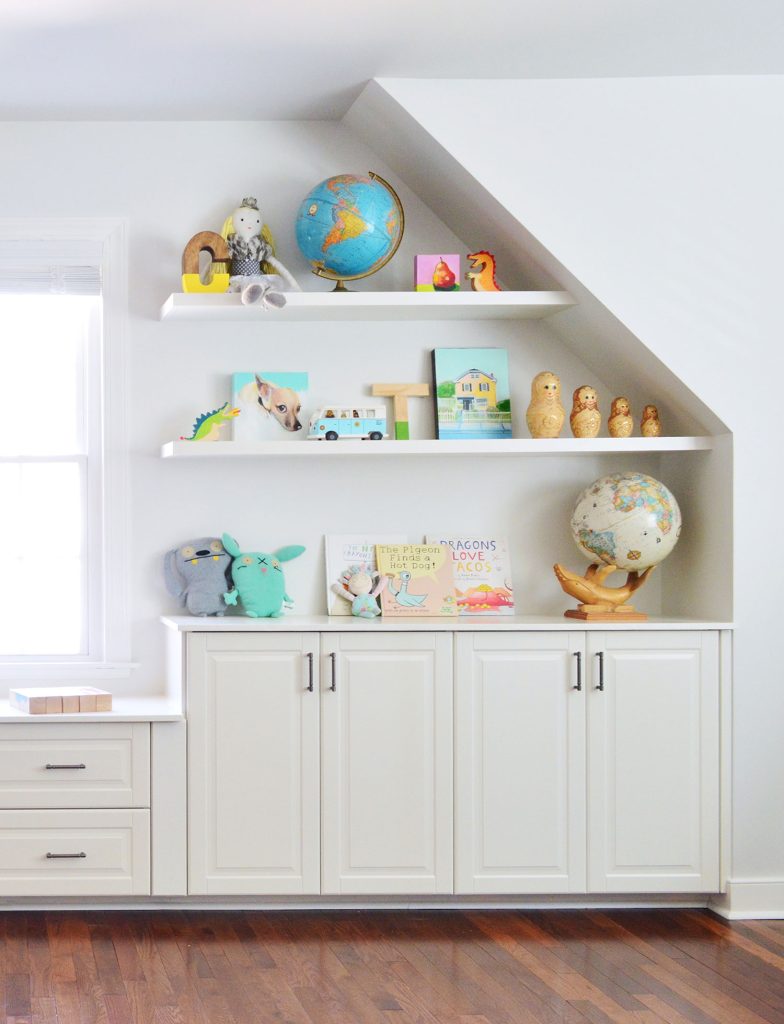
So that’s the story of our narrow little niche that’s now serving up a ton of functional concealed & open storage for us. And it’s pretty great to have a whole new view when we walk down the hall.
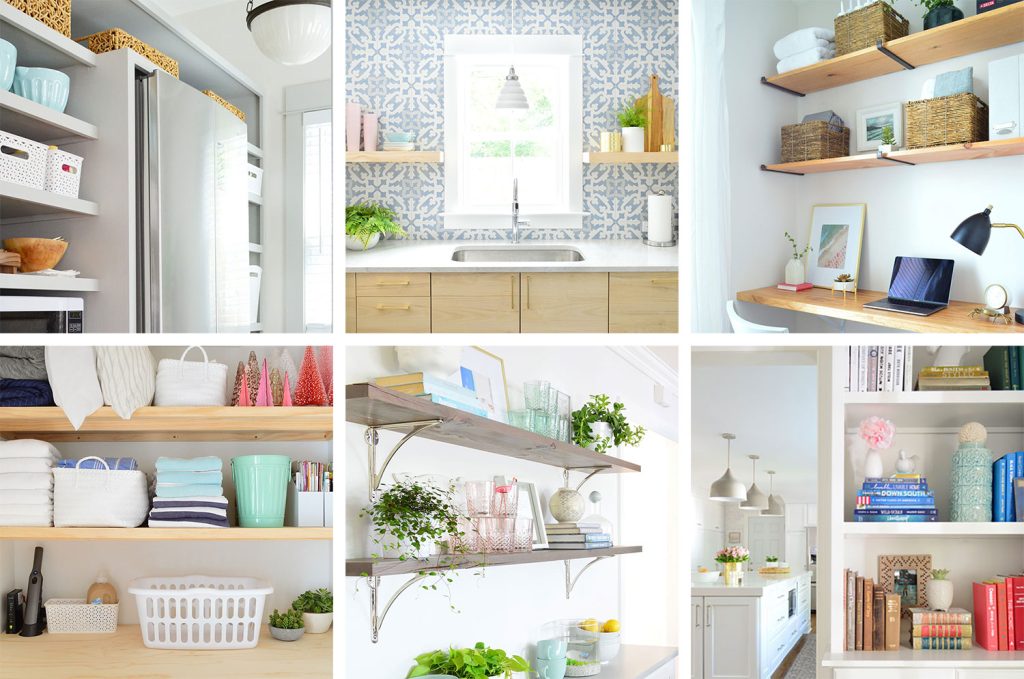
More DIY Shelf Ideas
And if you’re looking for more shelving ideas & projects, this post has 17 DIY shelving ideas for you to check out. From heavy-duty shelves to decorative ones like pantry shelving, there are a lot of tips in there.
*This post contains affiliate links, so we may earn a small commission when you make a purchase through links on our site at no additional cost to you.
