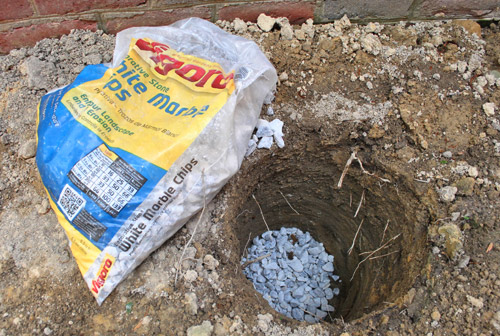
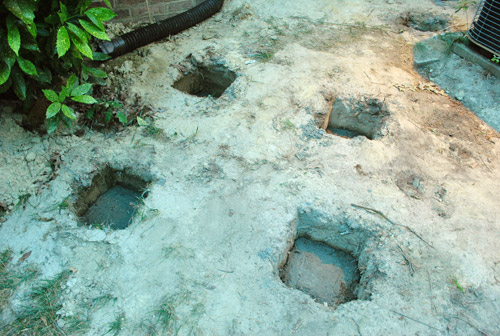
With my deck holes dug and officially blessed by the county inspection office it was now time to – well – fill them in. There must be some irony in there somewhere, right? As I had done when setting my fence posts last year, I started off by putting a couple of inches of rocks in the bottom for drainage since the deck experts in our area unanimously recommended it under the concrete that we’ll be pouring to hold the posts in place (we dug the holes at least 21″ deep, so that by adding 2-3 inches of gravel at the bottom, they still met the 18″ required depth for our county).
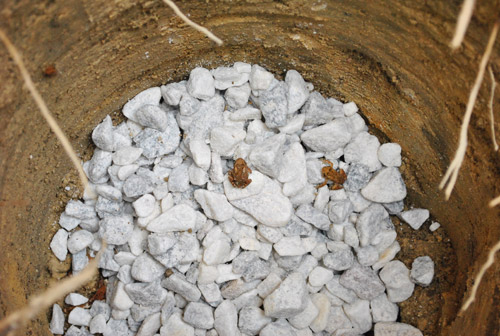
Imagine my surprise when my cascade of rocks caused some of the dirt to start hopping around. I guess some tiny frogs had gotten trapped and were so well camouflaged that I didn’t see them until they hopped to escape being crushed. But have no fear, I rescued them before continuing with my rock pouring.
I took extra care to spot any frogs in my other holes before I started dumping rocks – but apparently my animal vision needs some work as I managed to miss this whopper of a toad.
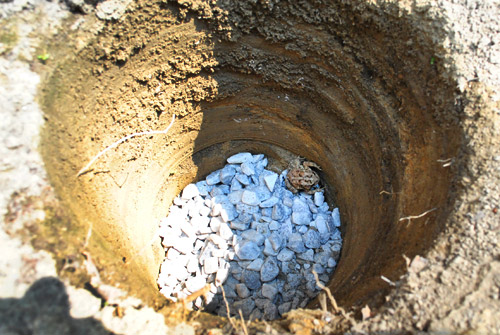
But after he made himself known I was able to rescue him (with my own bare gloved hands). It provided a nice impromptu nature lesson for Clara, who watched intently from behind the sliding glass door.

I love this picture (not because you can see me playing iPhone paparazzi) but because I imagine Clara giving Burger a little biology lesson: “See what we have here, young chihuahua, is called a frog. It goes ribbit ribbit.” They both were equally interested.

But enough about frogs. Let’s get back to our deck posts. Once my holes were all de-frogged (I only found one more) and had about 3-inches of drainage rock on the bottom, it was time to put the concrete footing in. A lot of you have suggested pre-cast Dek-Blocks, but they’re not allowed in our county. However, we are allowed to use these other pre-cast concrete blocks.
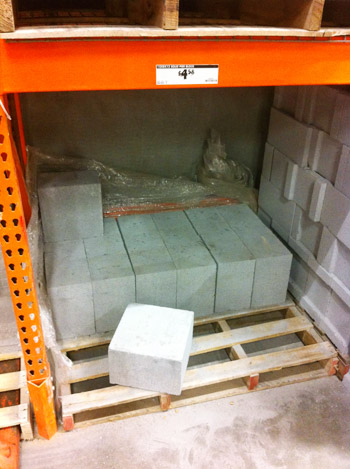
But I opted to go with mixing my own concrete. As straightforward as the precast blocks initially felt, I realized it would require each of my holes to 12 x 12 inches square to get the darn thing all the way in (most of my holes were round, so I’d have to do more digging). And I’d have to make sure the bottom of the hole was flat and level so the block would sit level. So I figured mixing my own concrete would actually make my life easier because it would fill any shaped hole and sort of level itself. Plus concrete had already come with my lumber order from 84 Lumber.
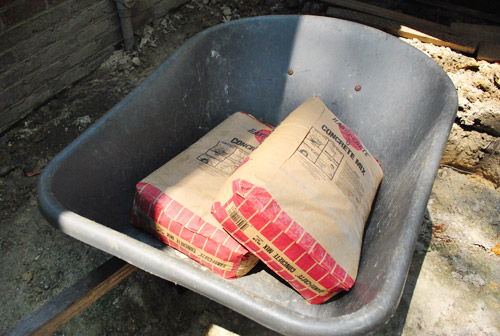
To mix it, I opened each 60lb bag in my wheelbarrow and added water until I got a creamy consistency.

I stirred it with a garden hoe. I won’t blame you if you giggled at that sentence.
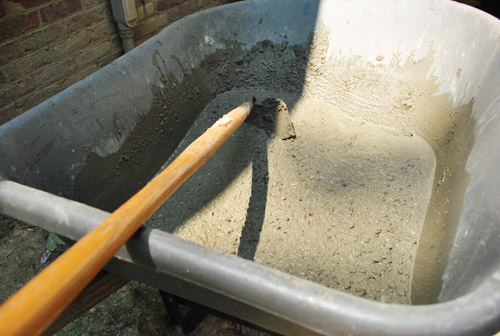
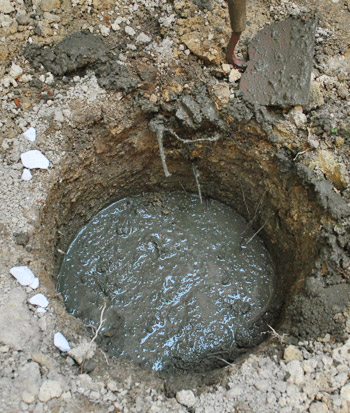
This batch that I photographed (my first) was a little soup-ier than I had intended, so in subsequent batches I didn’t use quite as much water. It still dried just fine though. And you can see how it sort of naturally flatted itself to be nice and level on top. Pretty perfect for setting posts on!
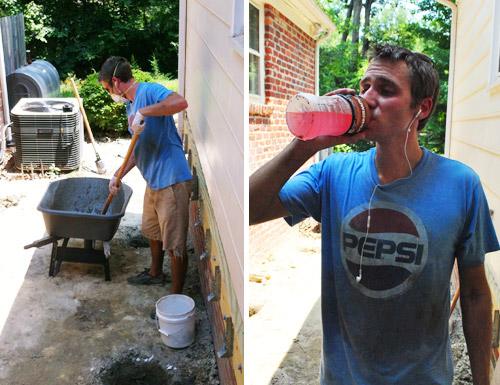
Mixing and pouring the concrete wasn’t really that interesting of a challenge. Nor would it have been that challenging had it not been a bazillion degrees outside. See that orange exclamation mark? That’s it warning me about the Heat Advisory for our county. You know, the kind that warns against being outdoors and doing any kind of physical labor?

So yeah, it pretty much sucked. I was a sweaty, dirty mess within about zero-point-one seconds of starting the project. I did my best to stay on the shaded side of my work area and I drank plenty of fluids (sorry that picture on the right looks like some weird cross between a Powerade and a Pepsi commercial).
By the time all 12 holes had their 8″ of concrete in them, I was too hot to remember to take any pictures. So here’s one I snapped later that evening once the fire in the sky had gone down a bit.
The next day my extra materials from 84 Lumber arrived. This is the stuff I had to order when my county made me revise my plan to include more posts and girders after giving me the a big fat F. Pretty measly compared to my first order. But at least now I had the 4 x 4″ posts for my next step of the project.
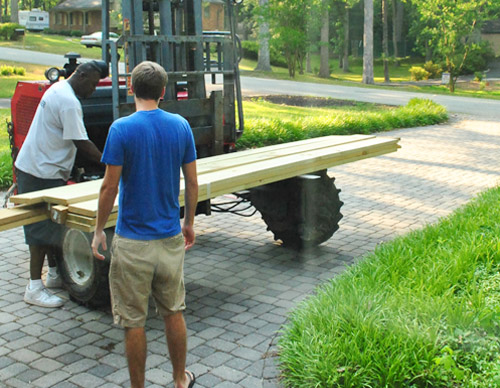
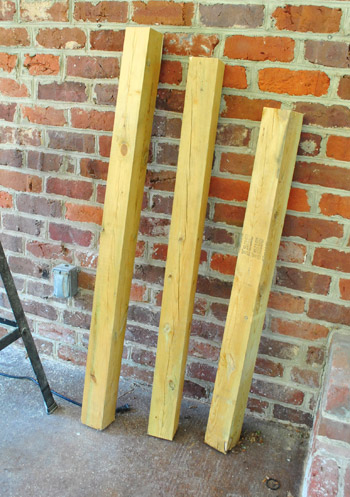
I had purchased some 12-foot long posts which – thanks to my barely 4-foot tall deck – meant I could get 3 posts out of each one. Score.
I staggered their sizes a bit since the ground slopes away from our house a bit.
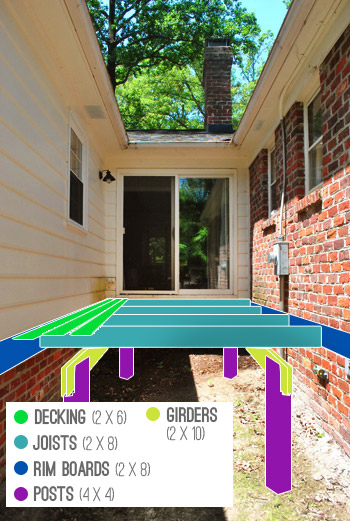
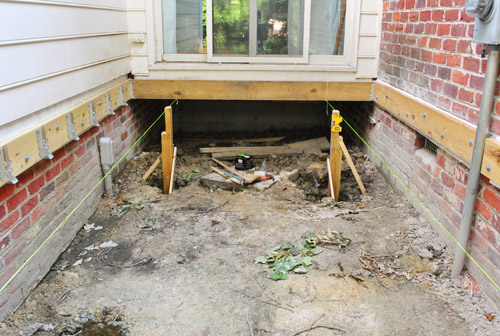
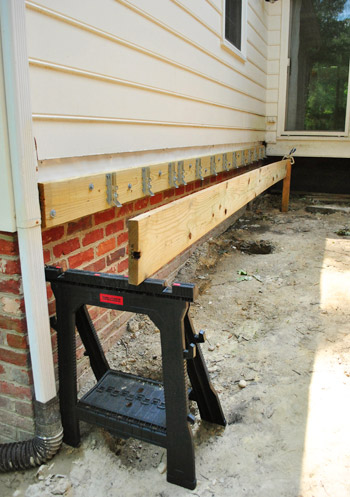
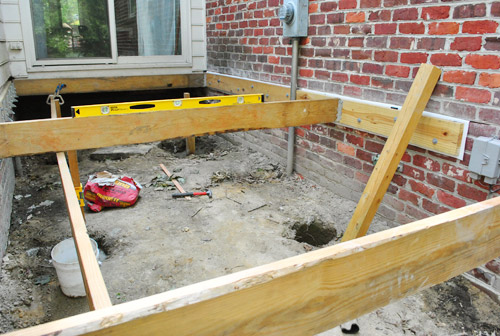
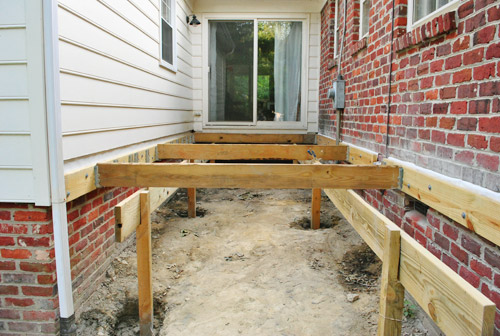
Setting these posts was going to be a bit more complicated than my previous experience doing fence posts because this arrangement is, well, a bit more complicated. Basically my posts would support big 2 x 10″ girder boards that run the long way below the deck. The joists (the boards that span the short way across the space) will rest on the girders. The joists need to line up with the ledger boards already attached to the house (which I will now call rim boards, since they won’t support the weight of the joists as originally planned – instead they’ll just provide extra stability side-to-side). This picture might make a little more sense of that description:
So before putting any posts in, I set up a few guides to help make sure I was staying in line with the rim boards that I had already attached.
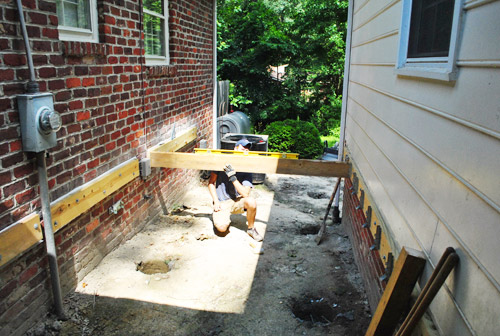
After temporarily hanging joists on each end of the deck, I tied some nylon string to connect the bottoms of each – this would represent the top of my girder beams where the joists would eventually rest. The string was much easier than trying to temporarily hold up a 18-foot-long 2 x 10″ board.
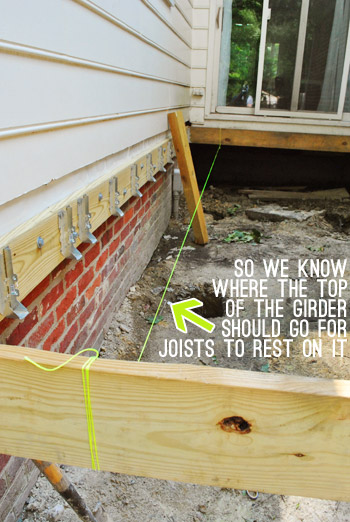
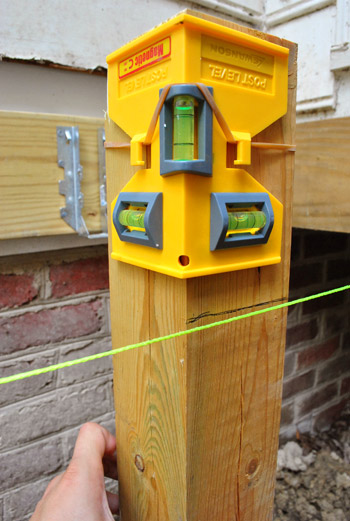
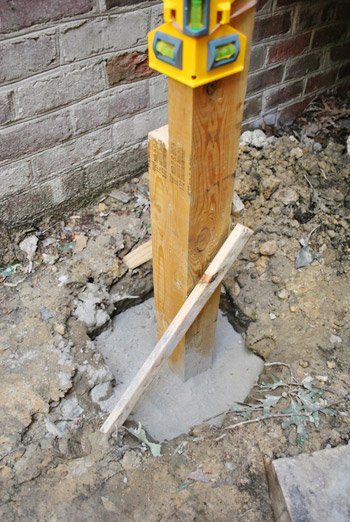
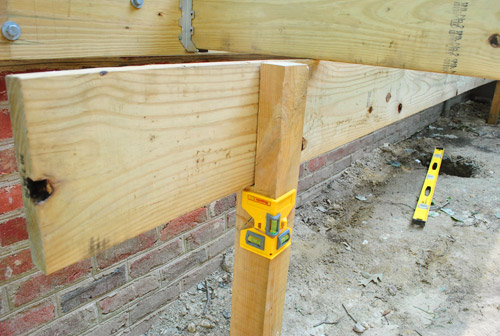
With string pulled taught, I rested a post in the hole and held it pretty straight (double-checking it with my post level) while I marked where the string hit it – thus indicated where the top of my girder would eventually be.
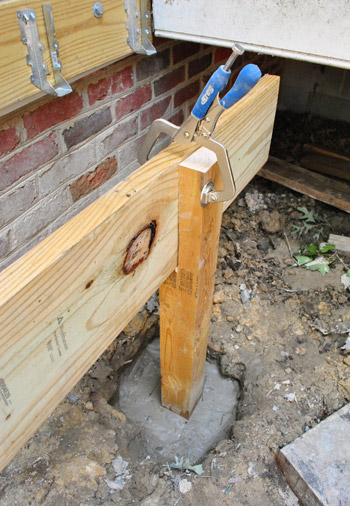
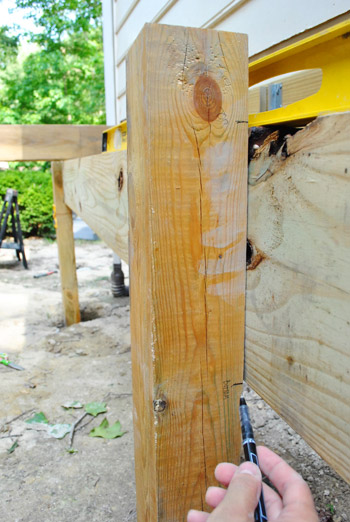
Our county gives us two options for attaching girders. You can buy a metal post bracket that sits on top of the post, or you can cut a notch into the post for the girder to sit on. I chose the later option, primary because it’s what I had seen done here. And it felt a bit more secure than the alternative. So I used my top mark to then measure and draw where I’d need to cut my notch so that one 2 x 10″ would sit at the perfect height.
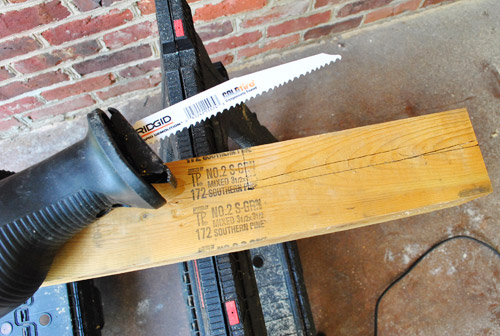
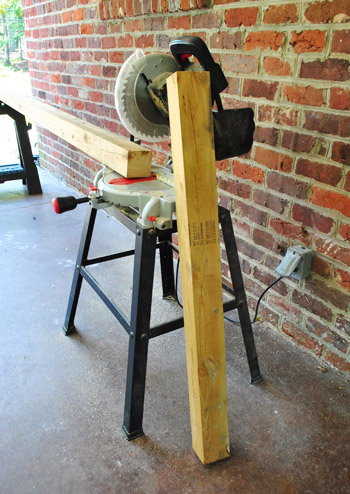
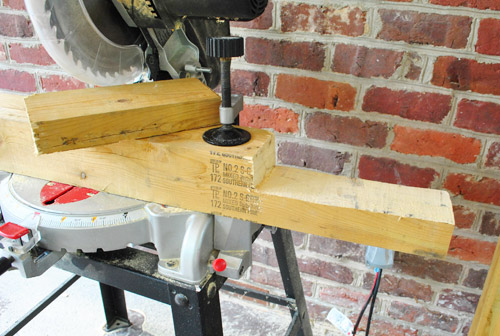
I used my reciprocating saw to cut the notch. I have no pictures of this because it took everything in me to keep the saw steady on my lines. But here’s the result below (ignore the miter saw, I just used it as my work table because it had built-in clamps).
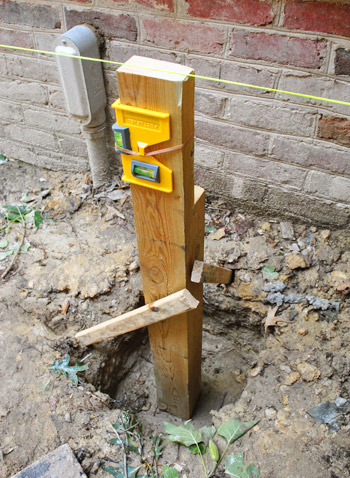
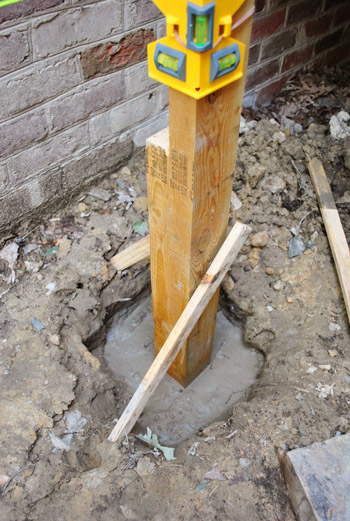
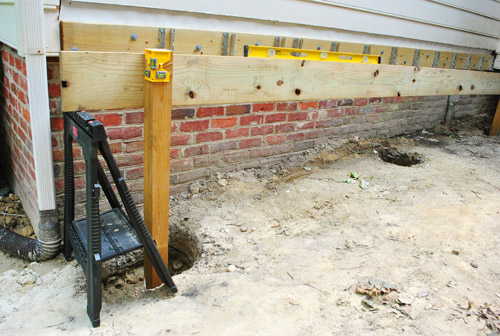
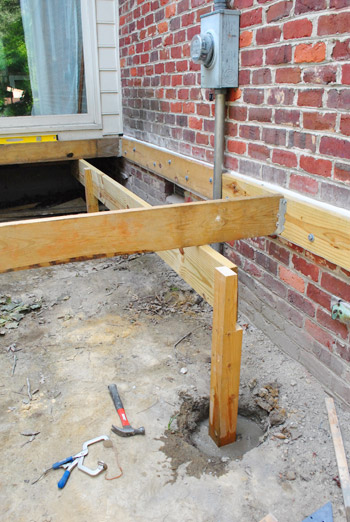
With my notch cut, I moved the post back into place, checked my cuts against the string, and then used some stakes to hold the post perfectly straight up and down.
To keep my posts in place for the long run, I could’ve just packed dirt in around the edges. I didn’t really trust that method, so I defaulted to the same method I used for my fence: Quikrete no-mix concrete (which is also an approved method in our county).
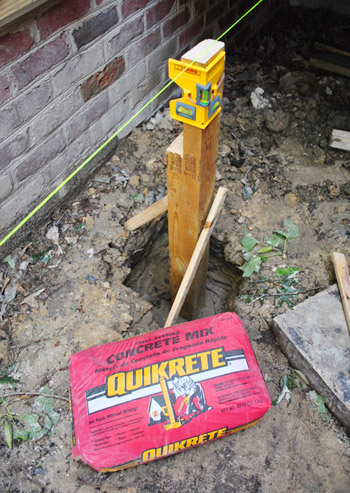
I love this stuff because you just pour in the dry powder…
…add water…
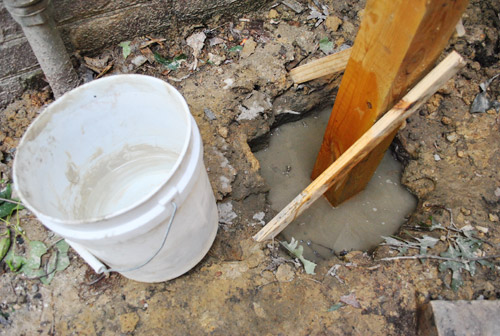
…and it soaks in and dries hard. It’s certainly easier than the stuff I mixed before (which I used instead because it’s what 84 brought me, so I didn’t want to waste money or materials).
I then repeated the whole string-mark-notch-stake-cement process for another post on that end. It really wish it had been as fast as typing that sentence just was, but it was actually a fairly long process (maybe three hours from setting the joists ’til finally putting cement in) and this day was not much cooler than the last so I was pretty spent. Fortunately I couldn’t do anything more until my cement was fully cured, so I had a good excuse for stopping.
The third deck workday was girder day. I would’ve loved to have had my dad’s help for this step, but alas he was visiting my grandma in West Virginia so I was stuck setting this 18-foot-long board all by myself (Sherry was inside taking care of Clara, keeping up with the blog, and doing last minute book-proofing stuff, but was available to come outside for a few moments as I went to confer/lend a hand).
As much as I enjoyed my nylon string method, I figured using my actual girder to set my additional posts would be a more trust-worthy method. I clamped it in place on the already-notched post from the previous day…
…and used a sawhorse to help me keep it up on the other side. At this point I was trying to mark my post (which was just resting in the hole at this point) with where I should cut my notch. The sawhorse made the girder a bit high, so I performed quite the juggling act moments after snapping this photo: holding the board up, checking that it was level, and then marking my post with a pen.
But I got my mark made, cut my notch with the reciprocating saw, and brought the post back into place so that I could double-check everything: that my post was straight up and down, that my girder was level (well, sloping down slightly for water run-off actually), that the joist that sat on the girder was level, that my post was as far from the house as my other post, etc…
Once that was all checked, I was able to cement the base of it (using the no-mix Quikrete again) without having to secure it with stakes. The weight of the girder board actually held it in place quite nicely.
And speaking of the girder… since it was now held up on both ends, I was able to mark my middle post with no trouble at all (each of my two girders is held up with three posts). Dare I say it was actually easy?
With one side of posts all done (and my girder held temporarily in place with nails and clamps), I was able to move on to the other side. This side was a bit trickier because it was too long (21 feet) for one girder board – so I’d actually have two separate girders that would butt up to one another at the middle post. So I decided to temporarily set another joist across the middle so I’d have a reference point for the height.
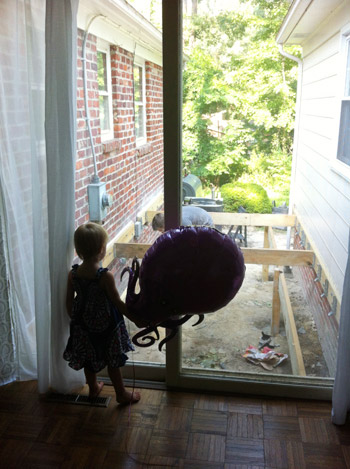
In case you’re not convinced as to how truly exciting this whole process is, just look how engrossed Clara is. I’ve become her favorite new spectator sport. Heck, it was so thrilling that she even brought this octopus balloon over to see all of the action while Sherry caught it on camera.
So here you can see how the girder board will share the middle post with another board that will span the rest of the space.
By the end of this (again very very hot) afternoon I had all six posts set in concrete and all of my girder boards temporarily held in place. Why temporarily? Well, the girders have to be doubled up (i.e. two 2×10’s thick) but that was a process I knew I’d need another set of hands for, so I had to wait for my dad to return from my grandma’s house since we knew it would take longer than Sherry could provide while taking care of Clara (aka: it was a longer-than-a-Clara-nap project).
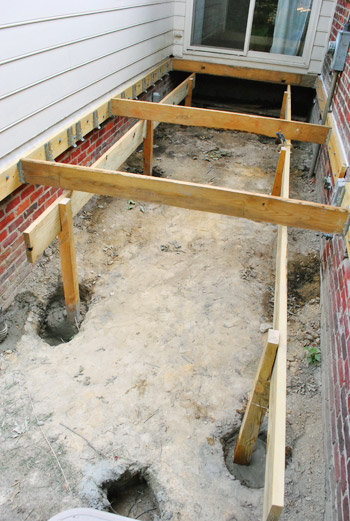
Then once that step is done, I have to add two more posts and a girder to create the angled edge at the end of the deck (you can see the two empty holes towards the bottom left of this picture – one of which is shared by another post). But I figured I’d wait to get these first girders set before I tackled that step.
Sorry for such a long post, but it’s been a productive few days on the deck. I know it’s just barely starting to look like a deck – but I think big visual rewards are just around the corner. Once these girders are up I can install of the joists (which should be pretty speedy), and then come the actual decking boards. Woo hoo! I’m working up a sweat just thinking about it, but that’s probably just because my sweat glands are on overdrive lately.
What have you been sweating over lately? Are you doing any outdoor projects out in the blazing sun? Or just enjoying the outdoors in a more relaxing method – like by taking a beach day?

Leave a Reply