Ready for the next chapter of our sandbox project? If you’re not, I can tell you one person who definitely was. Her name rhymes with Blara.
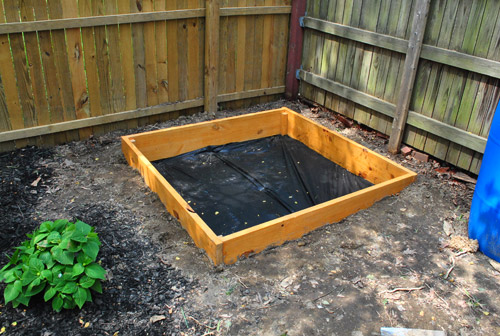
Here’s where we left off. Box built (more on that here) and awaiting sand. But in need of a cover first.
Having looked at a bunch of other DIY sandbox covers (like the awesome ones from Dana Made It, Small & Friendly, Modern Parents Messy Kids, and Dover Projects) and based on our own experiences, we compiled a mental list of what we wanted (and didn’t want) out of our cover. Our checklist was something like this:
- Should primarily keep out natural debris (leaves, acorns, etc) and animal “debris” (from neighborhood cats, birds flying by, etc).
- Should help keep water out, but we weren’t going to be crazy about making it completely airtight.
- Should be sturdy – so no tarps that could fly off or other plastic that might warp. Wood felt like our best bet.
- Shouldn’t be too heavy. If lifting it were a burden, we might be less inclined to use it.
So this is what we came up with. It doesn’t make much sense in it’s pre-constructed phase, but I promise it’ll all come together a bit later.
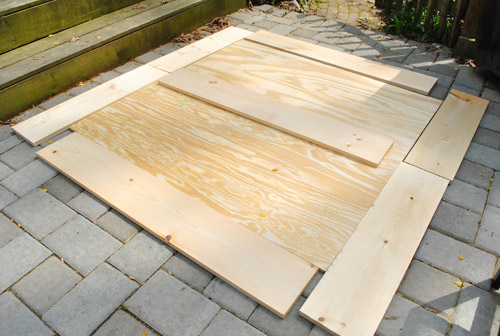
The concept for it was born from the fact that plywood was the cheapest way to cover such a big area (a 5 x 5 ft square, essentially) but my experience with plywood outdoors is that it can warp. So we decided to buy two 2 x 4″ plywood sheets with a frame of 1 x 8″ boards around it – both to add stability and to make it large enough to do the job. Plus since it’s right off of our patio we wanted it to look clean and finished and not like a plank of wood tossed haphazardly over a box.
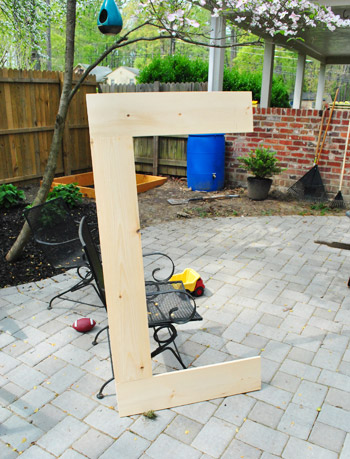
Oh, and since one big 25 square foot cover threatened to be quite heavy – we decided to build it in two interlocking pieces. So here’s the frame for one side (I attached the frame boards using my Kreg jig). Hey look – it’s a C for Clara.
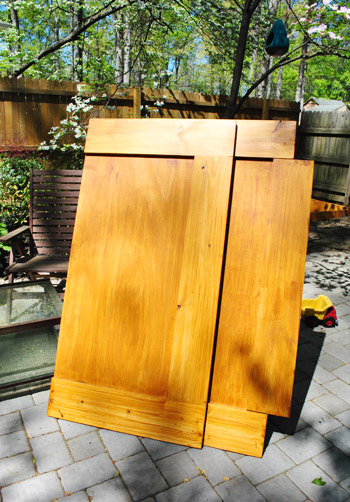
After building both frames and screwing the plywood to it from the underside, I stained both pieces with the same Behr waterproof Deck Stain in a “Natural” color that I used for the sandbox itself. It came out a bit streakier than I would’ve liked, but in my continued efforts to not stress about a sandbox I let it be (will Clara care about a less-than-perfect stain job? I certain hope not). Oh, and you’ll notice that one side has the board kinda dangling off the side. That’s a middle piece that I added to cover up some of the seam between the two sides. It’ll make more sense when you see it all in place in a few pics.
We could’ve just let the cover sit freely on the top of the box, but I opted to attach it with some hinges so that we wouldn’t have to carry the whole thing every time Clara wanted to play.
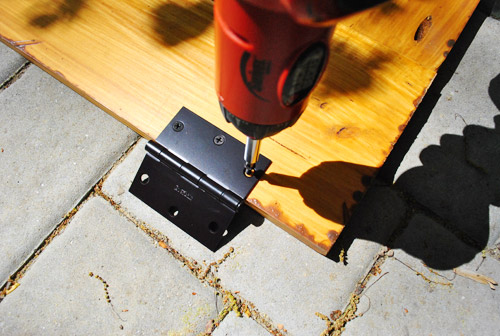
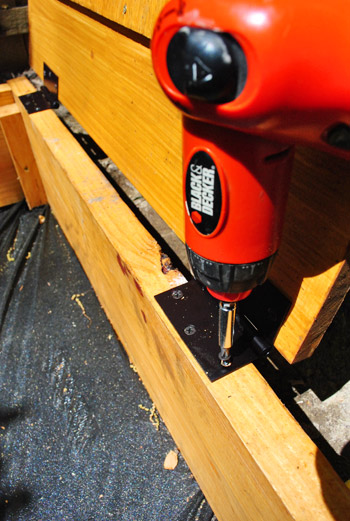
Plus, this meant the cover could rest against the fence rather than having to be stored somewhere else on the patio while the sandbox is in use. So I attached the other half of the hinge right to the top of the box itself.
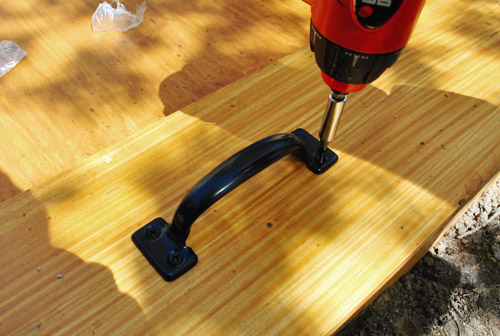
While we’re on the subject of hardware, we also attached a matching handle on each side of the cover for easy grabbing. They actually polished things off a lot. Note to self: add hardware to stuff, it makes it look legit.
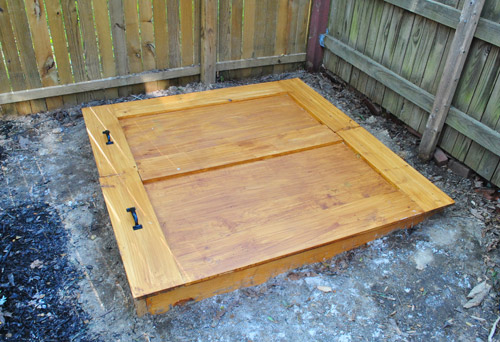
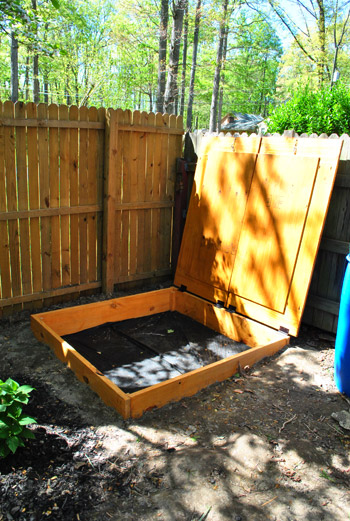
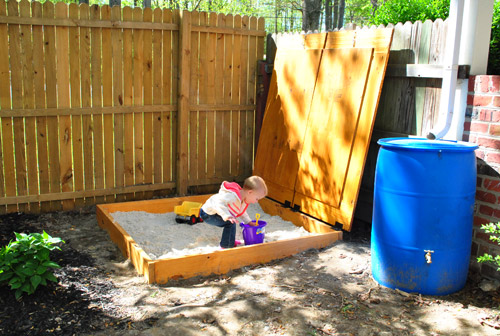
Here it is with the cover finished and attached, but I realize it’s a bit hard to see given the tree shadows…
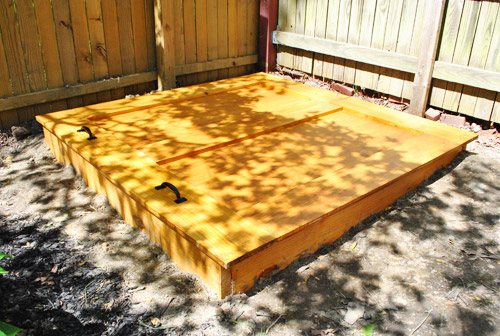
…so let’s momentarily skip ahead to some pictures I took later in the day when the sun was starting to set. It’s not as pretty looking, but there aren’t those blotchy shadows going on. As for rain collecting on those panels, we’re going to see how it goes, but there are a couple of seams and cracks that should let it drain out well. So far (with very small rains) it has been fine. But if we have a gully washer and it’s an issue we’ll alter it with some drainage holes and report back!
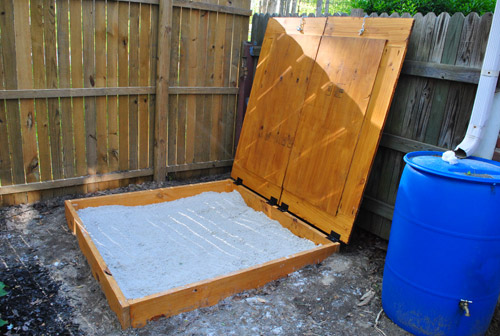
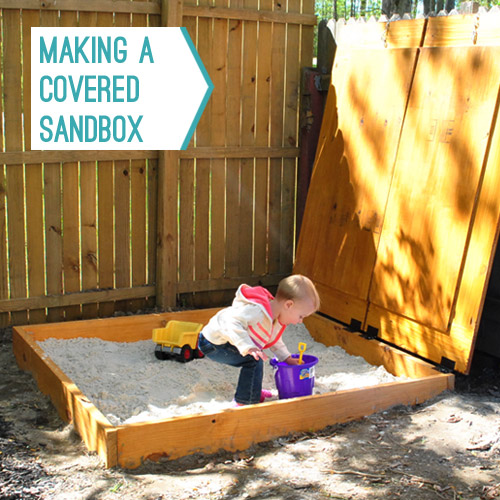
And now you can see how each side can swing open to reveal the sandbox beneath.
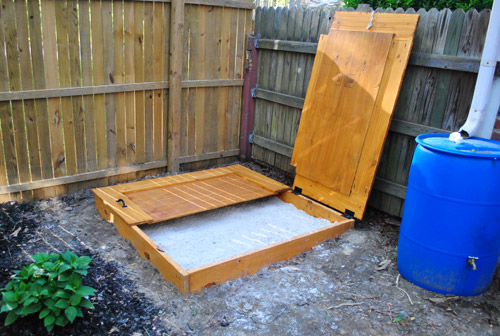
Ta-dah! Oh and you’ll notice that the rain barrel has a fully fused plastic top on it (so there’s no danger of Clara somehow climbing on top of it and falling into water). Sometimes from pics of the side, folks assume that a rain barrel is topless, but it’s closed and has very small mesh circles where the water filters through (to keep mosquitoes out).
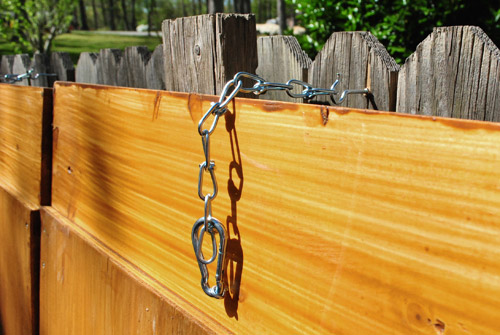
And on the subject of child safety, you may be thinking the same thing we thought – “Ack! What if Clara pulls the cover down on herself?!” So we installed a little safety latch to keep that from happening. It’s a bit of a contraption (again, me over-complicating things) but it’s basically an eye-hook screwed into the underside of the cover with a piece of chain attached via carabiner. When the cover is closed it sits hidden under the box, but when resting against the fence we can hang the chain over a hook we screwed into the fence post.
These may look dainty, but they’re actually nice and heavy duty. We tugged on them more than a few times just to be sure they’re really in there. So when the sandbox cover is open and locked in this position, it’s not going anywhere. It’s especially nice that the hinges rotate more than 90 degrees since the cover can lean back on the fence for more security (if it were frozen in the air at a 90 degree angle we’d worry it might be more apt to fall closed, but when leaning back against the fence and hooked into place, it’s nice and secure). So now that we’ve covered how the cover works, I’m going to rewind to a time when there wasn’t sand yet in the box. A much sunnier, distractingly shadow-y time.
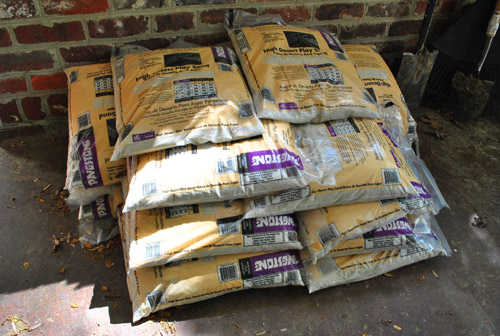
Even though I showed you a few extra bags of play sand that we had sitting around from last year, I still bought about 15 more because I knew it would take a lot to fill it up and give a decent amount depth for Clara to really get her dig on.
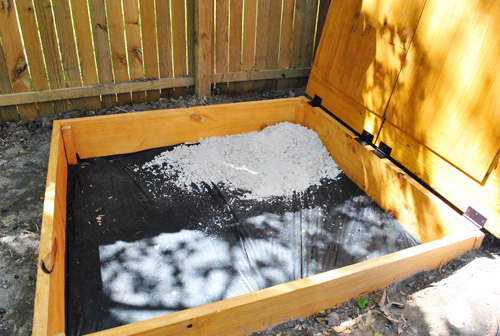
I call this picture “the inaugural sand” – my sand box equivalent to a ceremonial cornerstone or symbolic spike that connected the railroads. But it’s really just the first bag I dumped in there.
As I dumped bag after bag of sand, Clara stood patiently waiting for her cue to play. Patience isn’t always her strongest virtue, but I have to give her props for being a very calm lady in waiting this day. Look at her all poised and ready with her bucket and her shovel.
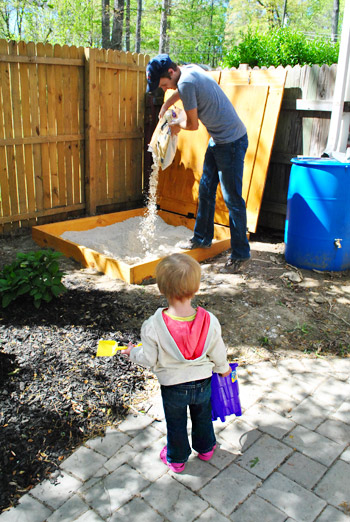
20 bags of sand later – we gave Clara the go ahead.

And the rest is history.
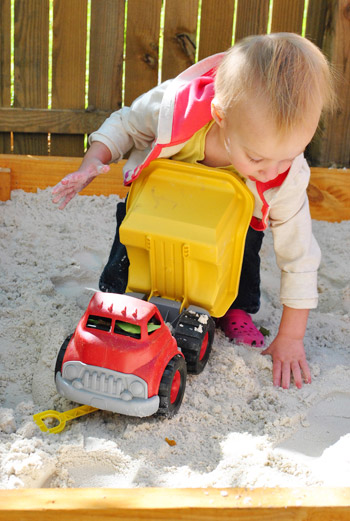
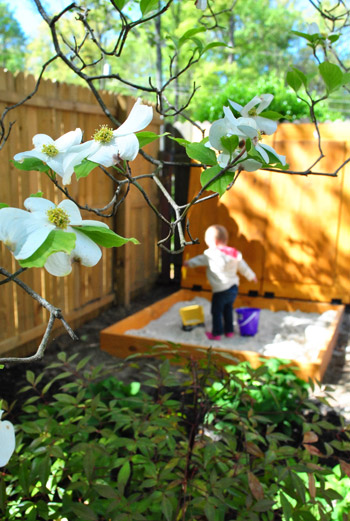
Think she likes it?
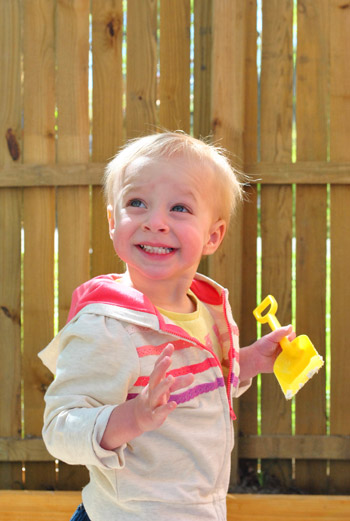
We’re just as happy about it. The location is perfect for letting her play in a contained area (the patio is fully fenced in) while allowing us to sit outside and try to get some work done in a nearby chair. Plus, it’s pretty shaded most of the day too.
I must admit, in addition to be a bit more complex than I had set out to make it – it also was a bit more expensive than I had prepared myself for. Both wood and sand really add up quickly, but after looking up other wood sandboxes (many which didn’t even come with a cover and were $180 or more, like this one from Target) I felt a lot better. Plus sandboxes don’t come with sand, so that’s always an added expense. Here’s our budget breakdown:
- Wood for 5 x 5′ box: $17
- Wood for 5 x 5′ cover: $38
- Stain: $22
- Weed block: $0 (leftover from last year)
- Hinges, handles & safety hardware: $21
- Sand: $48 (thanks to some leftover bags from last year)
- TOTAL: $146
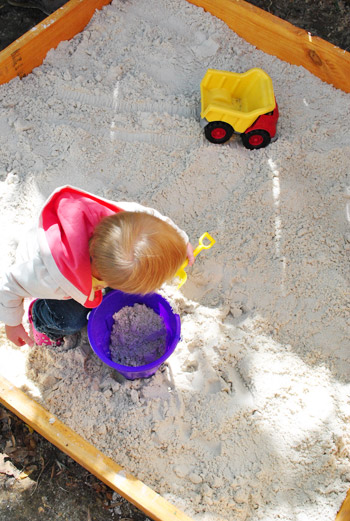
Clara happily digging around for hours on end: priceless. And so ends the two-part saga that was…
OR DOES IT? Just when we thought our sandbox adventures had come to a close, something else happened. And it resulted in a little sandbox remix. More details tomorrow (we just have to edit the pics and write the post up). Then it’s really over. Whew. Who knew a simple sandbox would turn into a trilogy? In the meantime, have you added hardware to anything that suddenly felt more legit? I’m telling you, it’s a thing.
Pssst- To read The Sandbox Chronicles in their entirety, here’s Part 1 (about building the base of the box) and Part 3 (about swapping what we found out was unsafe sand for pea gravel).

Leave a Reply