Let me tell you a tale of a girl who used to be organized, oh…. about four years ago. Since Clara came along, well, it has been a slippery slope. I’ve kept notes to myself in various notebooks, on my phone, on post its, and have scribbled in every square inch of my day planner. I’m almost never sure what I need to do next since there are so many active lists competing for my attention these days. So when John and I were asking ourselves what our home office needs to make it as functional as possible, it was about two seconds before I was pulling a Mary Katherine Gallagher and jumping around and throwing my arms in the air and shouting “command center!”
Yes, my friends, it was even more urgent to this nesting pregnant lady than painting those office walls. Although we realized as we were nailing into them to hang things that it’s sort of an accidentally genius move to hang art before painting because if you make a few bad nail holes you can just spackle them before you paint the whole room, so that’s a nice perk.

We thought this wall was perfect since it would be visible from within the office, but our scribbles would be out of sight from the foyer. And we both agreed that we needed a place to write things that had to be done across multiple categories like “projects”, “house maintenance”, “showhouse/book 2 stuff”, “future post ideas”, “website to-do”, etc. We just knew there had to be a better way than having different lists of each of those things floating around randomly (the website one just fell behind the couch, by the way).
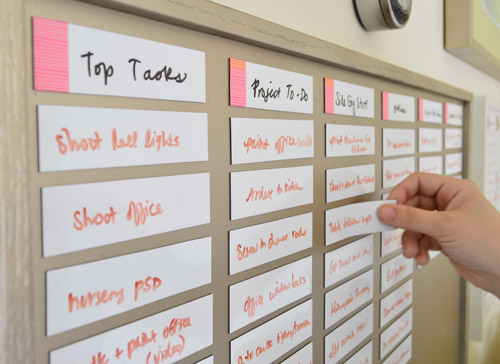
Not only did I dream of having them all in one place in an easy to reference spot for both of us – most of all I dreamed of having a column for “top tasks” so we could lift tasks out of each of those other columns and place in there by order of priority. This will hopefully keep us from bouncing around randomly without really weighing what makes the most sense for us to tackle next.
While we were dreaming, we also wanted a place to work out our upcoming post schedule where we both could see it (so we can see which giveaways are lined up, what posts we’re planning to write up next, etc). We also wanted a smaller spot to jot down what we need to buy/get the next time we’re out (we’re always forgetting random things like new oil-rubbed bronze window locks for the freshly painted office windows).
John and I weighed a ton of options for meeting all of those needs, like: one big dry erase board, one big cork board, using dry erase paint right on the wall, going the chalkboard route, using magnetic paint to hold up small pieces of paper in a grid that we could move and shift, etc. In the end we settled on sort of a hybrid solution. We decided to make two big magnetic frames so we could use smaller dry erase magnets (which we could write on and shift around) to create a multi-column to-do list and a post-planning schedule. We even snuck a “To Buy/Get” list in there on a smaller frame while working in some sweet Clara art, a quote that makes us laugh from our last office, and a favorite family picture.
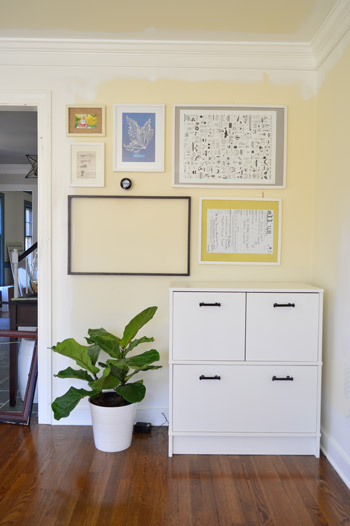
First we planned the arrangement with some old frames. We continued to shift things around a little after this photo was taken, but you get the idea:
Next we ordered some white dry erase magnets from this site. John found them and I was instantly on board because I love that they’re not small/swallowable magnets (which make my paranoid-mom-heart skip a beat) and also because we can write directly on them and move them around. So placing them in a “projects” column, then moving them to the “top task” column, and even popping them over to our post schedule board if they’re done/shot/written/ready to be scheduled would be nice and simple.
We also hit up Home Depot to see what they had in the “sheets of metal” category. There were some other sheet metal options on an end cap, but we bought a magnet with us just to be sure they were magnetic and they weren’t. Kinda threw us for a loop until we saw these panels hiding in a completely different aisle. And thankfully, these guys were magnetic.
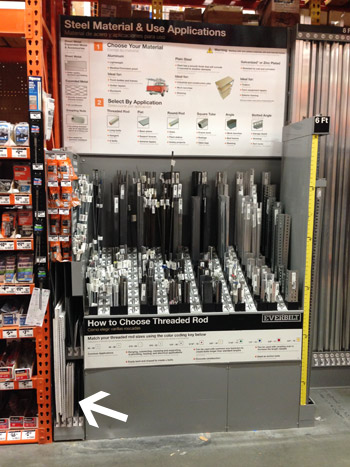
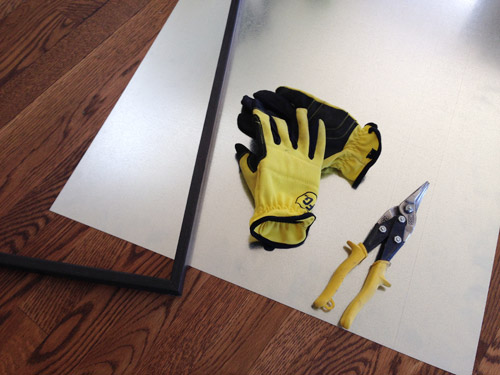
We ended up getting two of them that were big enough to fill our frames (they came in a bunch of different sizes, and thankfully were pretty easy to cut at home with gloves and a metal snip). Here are my supplies all laid out:
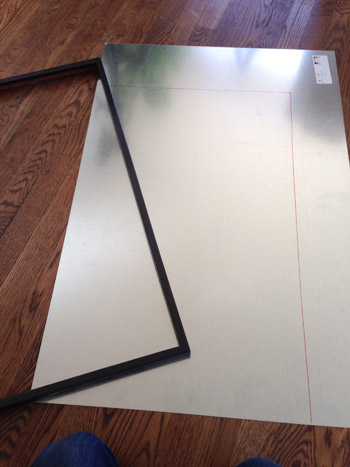
First I removed the glass from the frame along with the backing and laid just the wood part of the frame over the sheet metal and used a red sharpie to trace the rectangle that I’d need to cut out.
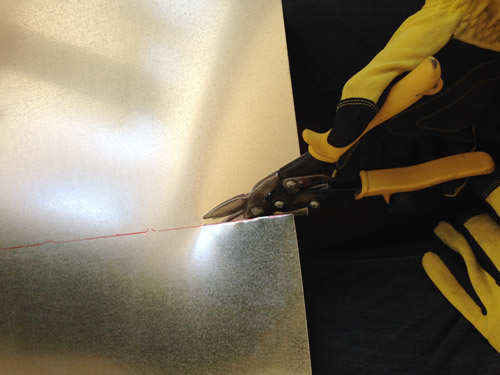
Then I just slipped on my gloves and started cutting with the metal snip. It took a little while since it makes such small cuts, but it was pretty straightforward and I was left with two metal inserts for my frames in about fifteen minutes.
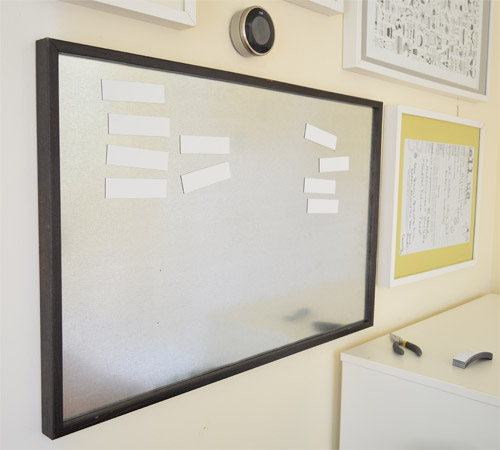
Here’s one slipped into the frame, with the backing holding it in place. It was pretty exciting to test drive a few of the dry erase magnets up there. #yolo
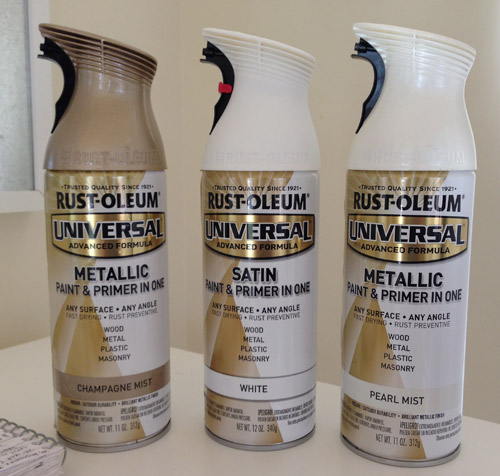
After I made sure both pieces of metal fit into the frames, John and I chatted about what colors we thought would be nice for the metal and the frames, and decided to draw inspiration from our new desk. And so the idea for a mixture of frames in a soft champagne color, a pearly metallic white, and a flat basic white was born. We had all of these guys in the garage already, so I was ready to rumble.
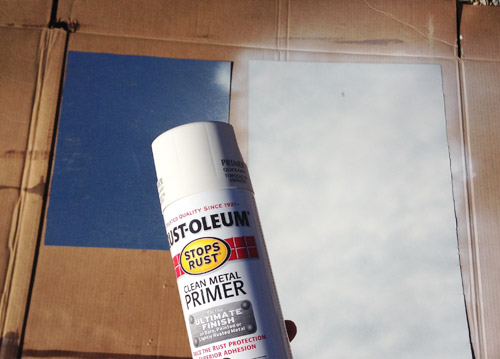
First I used clean metal primer on both of the sheets of metal we bought, just because I thought it would be a nice uniform look to spray those to match their frames. We figured with all those white magnets on them, things could get busy, so keeping the frames and backgrounds uniform might be a nice touch.
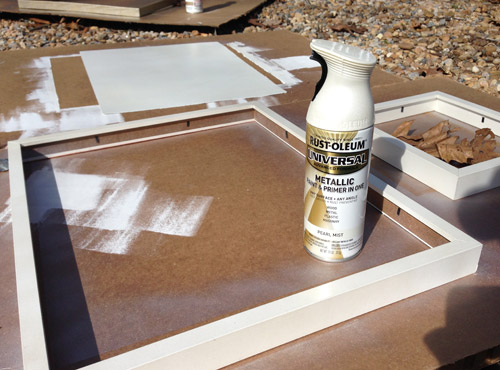
Next I sprayed the frames themselves. This is the pearl mist going on a few of the frames and one of the primed sheet metal pieces (you can see the champagne mist ones drying in the background). I left these outside to dry so long that a rogue leaf landed in the middle of that smaller frame (thankfully it was completely dry by then).
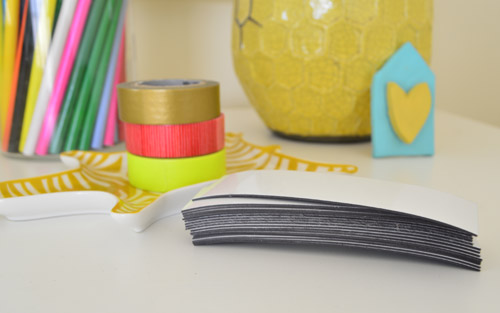
It took about four thin coats of spray paint to get things nice and even, but in the end it’s a really clean look to have the metal sheets and the frame the same color. I even used a little bit of washi tape on the end of the magnetic headers for each category to set them apart along the top of the board.

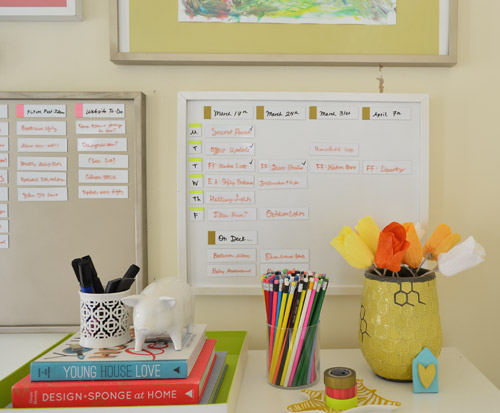
Oh office supplies, why are you so adorable?
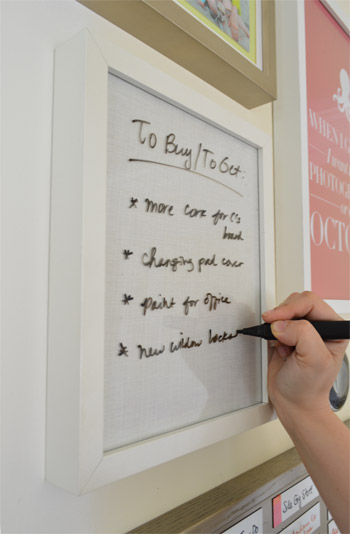
To make our “To Buy/To Get” board, I used a smaller frame with some slightly metallic linen-like fabric slipped that into the frame behind the glass. A black dry erase marker makes it easy to write on the glass, and we just shoot a picture of the list whenever we’re running out for errands so I can remember everything instead of muttering “where’s that list?” followed by some endless purse-searching.
Here’s a closer shot of the post planning board, which got the pearl paint treatment, and some gold and yellow washi tape along those header and side labels. We don’t usually work very far out for posts (we share a lot of stuff within a week of doing it) but it’s already coming in handy for jotting down future ideas, giveaways that have been scheduled, etc.
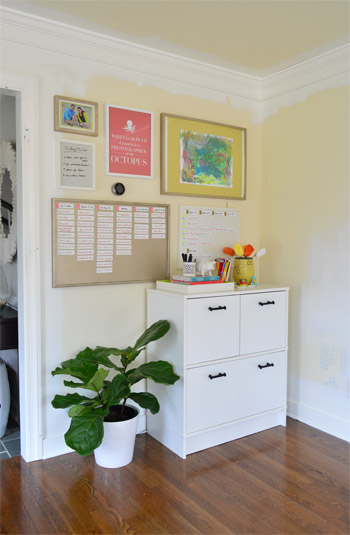
So that’s how our little command center came to be. I’d really love to upgrade some of the frames eventually (the one with Clara’s painting in it needs a larger mat for example) but for now I’m feeling around 95% more organized. If only I could fit my massive belly behind the couch to retrieve that old website to-do list…
Might have to send Burger in for it. And by that I mean “somehow convince him the list is made of food so he cares enough to retrieve it.”
How do you guys stay organized? Do you have a big family calendar that hangs in your kitchen? We debated doing a calendar board as well, but like using my planner to write down meetings, appointments, parties, etc – so we thought keeping that in there but all the project/home maintenance/book/showhouse/post stuff on the wall would be a good combination. We’ll have to see how it goes…
Update: For anyone wondering what the octopus print says, where we got it, or where the file cabinet is from, that info is all on the first page of comments for ya.

Leave a Reply