We’re back as promised with the whole front door shebang.
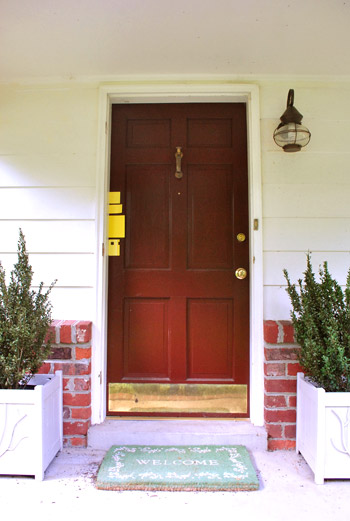
First, here’s what we started with:
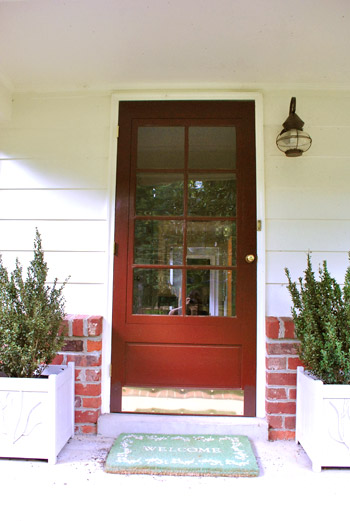
Yup, it was an old maroon storm door with three issues: 1) the grids didn’t match up with the six paneled door behind it, 2) it was always jamming, and 3) it didn’t latch closed very well, so it would bang open in a storm.
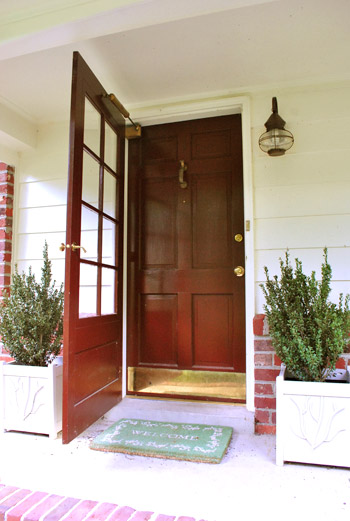
It was nothing but a nuisance to us, so we opted to go storm-doorless (just like we chose to do in our first house) since we didn’t use it once in eight whole months (we have a screen/storm door on the side of the house that we occasionally use along with screen doors in the living room and sunroom that we use a lot more often). It’s definitely not a choice that everyone would make, but we’re psyched to go storm-door-less so we can appreciate our awesome six-paneled solid wood door that was hiding behind it:
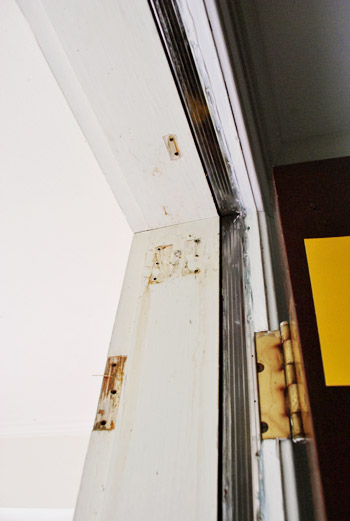
So off came all the hardware that held our slammy-jammy storm door in place. Then all we needed to do was spackle those holes and use some exterior paint to touch up the trim (thank goodness the previous owners left that in the basement for us).
Oh but before we did any spackling we got to the fun part: picking the paint color. We held up a ton of options in all colors of the rainbow (plum, turquoise, navy, lime green, and beyond), but kept coming back to a happy yellow color. Here are the final four contenders (they look pretty similar in this pic but they varied slightly by how much white or orange they had in them). After looking at them in all types of light (morning sun, afternoon shade, artificial porch light at night, etc) we ended up choosing the top one: Full Sun EB1-1 by Valspar’s Eddie Bauer Home collection.
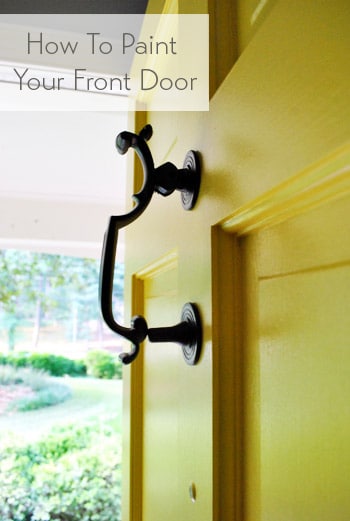
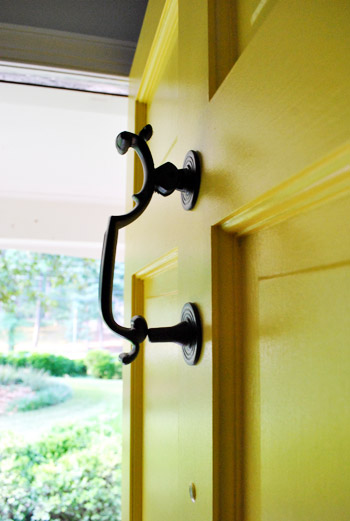
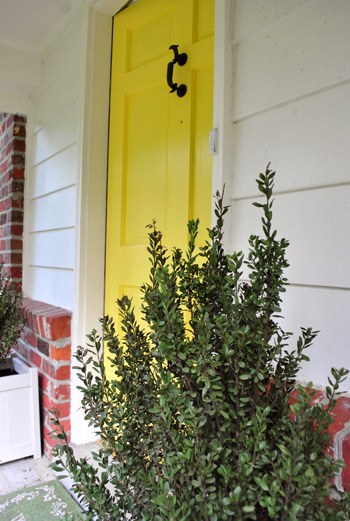
But removing the screen door and spackling & painting the trim wasn’t the only prep task we took on. We also decided that our awesome original door knocker (which was rusting and peeling) could use some love.

So we carefully removed it with the hope of bringing it back to its former glory and reinstalling it on our bright yellow door when we were finished painting.
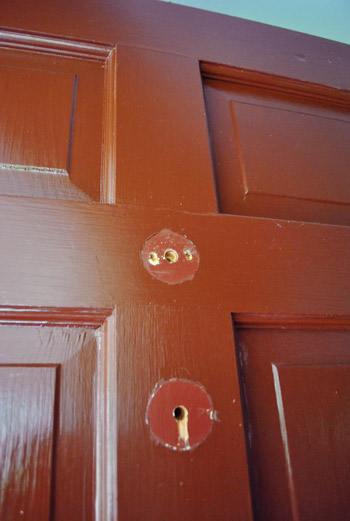
Then we sanded the paint around those areas, just to get everything nice and smooth.
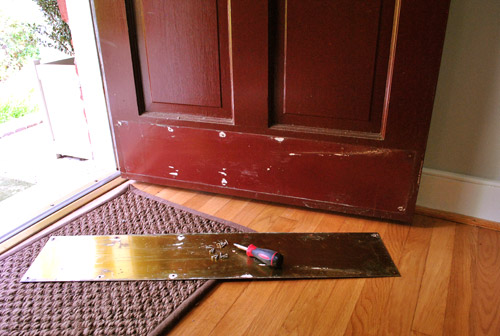
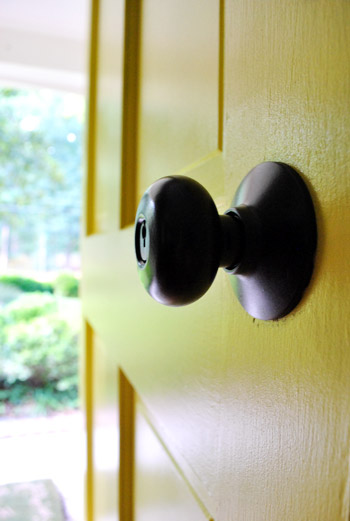
We also opted to remove the rusting brass plate on the bottom of the door and spackle and sand those holes. We didn’t have one in our first house and prefer the uninterrupted look of one big boldly colored wood door (but it’s definitely another one of those personal preference things like nixing a storm door). Oh and we also took off our door handle and lock too – since we had hopes of sprucing them up while they were removed like the door knocker.
And now for a shot of sunshine in a can:
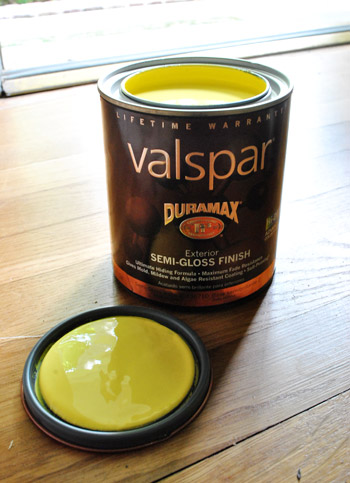
We mentioned that we chose Full Sun EB1-1 by Valspar’s Eddie Bauer Home collection as “the one.” So we talked to the paint pro at Lowe’s about what exterior primer + paint she would recommend (sadly none of which are no-VOC yet). She recommended Valspar’s Duramax since it has a built-in primer and is formulated to be extra durable since it’s exposed to the elements outside. So we had her color match our Full Sun paint chip to the Valspar Duramax stuff and grabbed a quart of it in semi-gloss finish for around $15.
Oh but before we applied a single coat we used a liquid deglosser (Next Liquid Deglosser by Crown since it’s non-flammable, biodegradable, and low-VOC) to remove any oil, grease, or other paint-adhesion-saboteurs (I’ve never typed that word, and I have to admit I liked it). Basically it’s a shortcut when you don’t feel like sanding something you’re about to paint (albeit not as thorough, but usually good enough to get ‘er done). You do definitely want to sand any areas that aren’t smooth before deglossing though (like the nail holes from the brass plate and other places we removed hardware or spackled) since liquid deglossers don’t smooth things, they just remove residue that might mess with paint adhesion.
Then it was time for coat one of our yellow primer + paint, applied with a small foam roller (to cut down on brush strokes) and a 2″ angled brush (to get into the frames of the six paneled door). Of course one coat didn’t do the trick, but for yellow paint going over deep maroon it was actually a pretty impressive showing for just one thin coat:
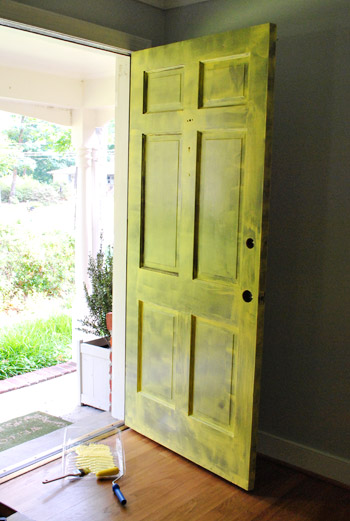
And four thin and even coats later (yes, there I go with the “thin and even” thing again), honey was looking miiiighty fine:
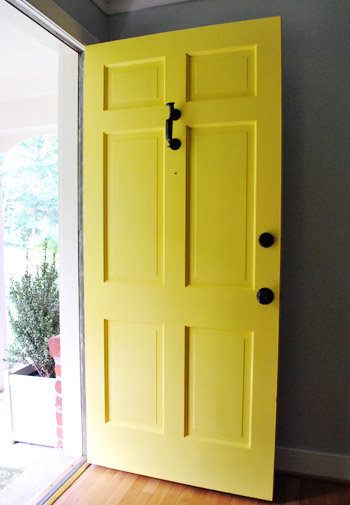
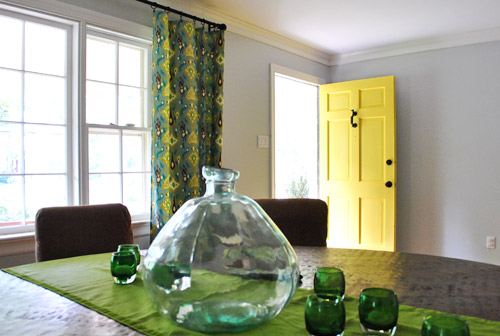
As in, I couldn’t stop staring at her and smiling. So glad we chose such a happy color to wake up our drab brick and cream wood-sidinged exterior. And it looks just as cute from the inside as it does from the outside:
Mmm, glossy yellowy goodness. It came out really smoothly, partially I think due to using good exterior paint, and partially due to those thin and even coats that were carefully applied with a small foam roller and high quality 2″ angled brush. Not globbing it on (and waiting for each coat to dry before moving onto the next paper thin one) is the key to no visible brush strokes when things dry.
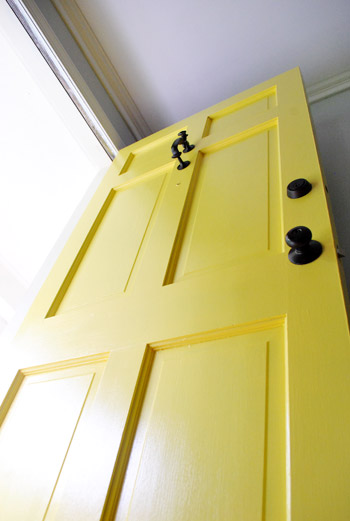
Oh yeah, and you might notice the hardware is all sorts of spruced up. We’ll be back with a dedicated hardware-upgrade post full of photos and instructions when it comes to that part of the process (there are too many pics and not enough time to squeeze that in here).
In the meantime, here’s the door from outside (I couldn’t completely close it for pics because it was still drying – but if you paint something in the morning, by evening it should be all cured up and ready to close).
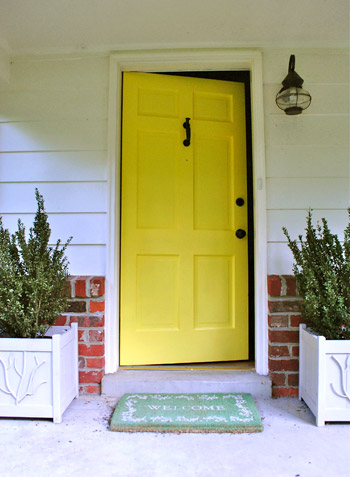
Isn’t our porch happier without the old broken maroon screen door + dark hidden front door combo?
Shucks, it just makes me giddy. And John loves it too. Oh happy day.
So there it is. A front door makeover that involved:
- checking out swatches taped on the door at all times of day (to ensure nothing would change from something we love in morning sunlight to something we hate in evening porch light)
- removing the screen door and spackling/sanding/painting those holes left in the door surround
- removing the hardware and sanding those areas to smooth them before painting
- permanently removing a rusted brass plate at the bottom of the door and spackling/sanding those holes
- thoroughly deglossing the entire door
- refurbishing the hardware (we’ll be back with all those details for ya soon)
- applying four thin and even coats of exterior primer + paint in semi-gloss for a nice shiny finish
- reattaching the hardware when the paint was dry enough (but not completely closing the door until evening, so it can fully cure)
Woot. Love it. As for the budget breakdown, whoop, here it is: one quart of Valspar Duramax paint in semi-gloss from Lowe’s: $15. Das it. Oh and if someone didn’t have spackle and a deglosser on hand those might be around $4 each on top of the cost of a quart of paint. We still have tons of paint leftover bee tee dubs, so a quart for a front door should definitely do it – even if you’re painting both sides of it (we left the back of ours white like our interior doors).
Have any of you recently painted your front door? Any plans to if you haven’t? Is it crazy that this is the fourth time I’ve painted a door in five years (and the second time I’ve gone with a happy yellow color)? It’s just so dang cheerful. Here’s hoping it spurs us on when it comes to about a million other exterior upgrades that we want slash need to tackle (including the possibility of painting the cream siding around the door, and even trying something with the brick exterior down the line). I guess time will tell where we’ll end up with that stuff. But you know we’ll keep you posted…
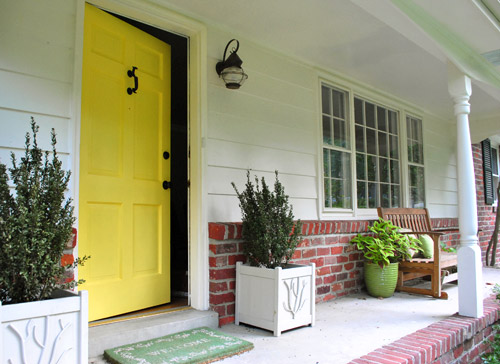
Update: There were a bunch of requests for some wider shots from the curb, so here they are. Remember that nearly everything else in the pics besides the yellow door might be on our change-that list down the line (so it’s all a work in progress)…
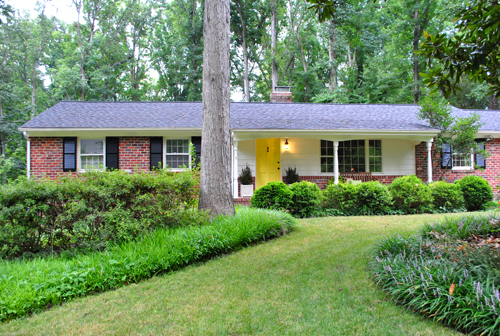
… especially the big barricade o’ bushes that makes the door nearly invisible from certain angles…
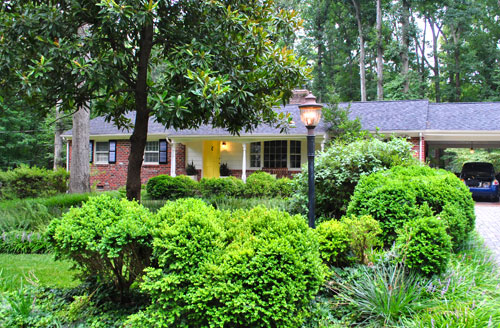
Wouldn’t the power to move bushes with the point of a finger be an awesome superpower? Methinks I’d pick that over flying and reading minds.

Leave a Reply