I don’t know if it’s the crisp autumn breeze or the explosion of all things pumpkin on Pinterest, but a few days ago I woke up jonesing to make a fall wreath. Yes, some people have chocolate cravings, but I have craft cravings. Come to think about it, I also have chocolate cravings. Is there a correlation? Someone needs to study this.
Some of you have even been requesting more small crafty projects (like these) which have always been in the mix, but lately we’ve been so busy painting, stripping wallpaper, & renovating the sunroom that little homemade updates seem to have fallen by the wayside. But not anymore. The truth is we’ve missed them too! So I thought a cheap and easy fall wreath would be a fun place to start. Heck, even if the house behind this door is still half wallpapered, that doesn’t mean the door has to whisper “there are five seashell sinks going on in here.”

This entire thing only took about a half hour to make, and I got all of my supplies to make a nice big 25″ wreath for under 15 bucks (all of which are faux, so I can break this baby out year after year). So let’s call this a naptime project. Or a do-it-at-11pm-while-you-watch-Scandal project.

Here’s what I bought: a 25″ wreath for $6.99, a plastic pot of faux orange flowers for $4.99, and a stem of orange berries for $2.99, all from Garden Ridge (they actually have a pretty exhaustive faux flower section, and the prices seemed lower than some of the stems/plants I’ve seen at Michaels).
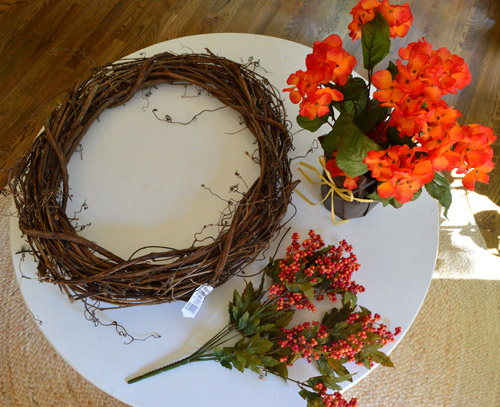
My first step was cutting all of the flowers off of the plant and clipping each of the berry branches off of the stem, so everything was freed up to be stuck into the wreath.

I ended up removing the green leaves (just clipping or pulling them off as I went) since it looked a little too jungle-ish (and not very fall-ish) with them on. Then I just stuck the larger flowers around the wreath, using their stems to hold them in place by shoving them into the wreath. You might notice that there are 15 flower-bunches in the wreath on the left of the picture below, but there are only 8 of them above on the table. Well, I realized that each bunch on the table could be further pulled apart, to make smaller bunches that could be somewhat evenly spaced around my wreath. At this point it was looking a little more Hawaiian than I hoped, but I thought the berries might fall things up once I removed their greenery and shoved them around the perimeter.
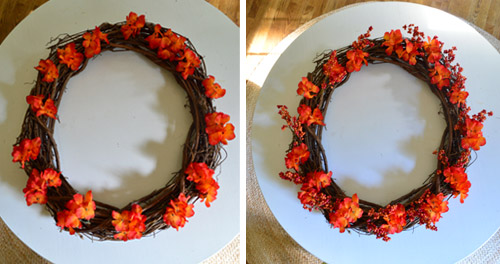
There’s definitely a little noodling that happens between spacing everything out the first time and calling it done…

… I moved some berries and flowers around for about ten more minutes, just to come up with what I thought looked nicely spaced out. I liked when some of the berries spilled over the outside of the wreath for that whole autumn/abundant/Thanksgiving vibe.

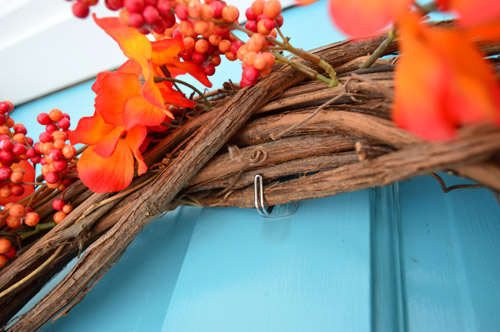
Admittedly with a cheerful blue door, the bright orange wreath feels pretty happy (as in, it probably could work for spring or summer as well) but when you get closer and see those berries there’s definitely a nice fall-ish feeling. And as for how I hung it, I just used one of those 3M wire Command hooks (the ones that stick to the door and can be peeled off later without harming the paint).
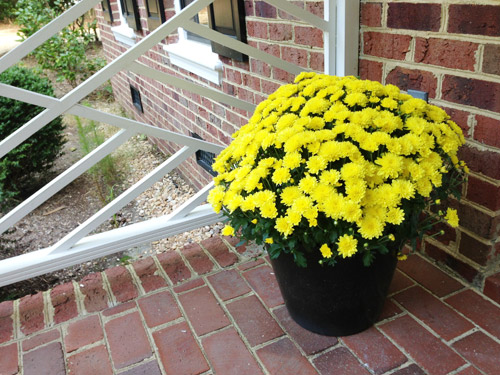
Oh yeah, and our little porch annuals bit the big one a few weeks back thanks to some pretty cold nights…
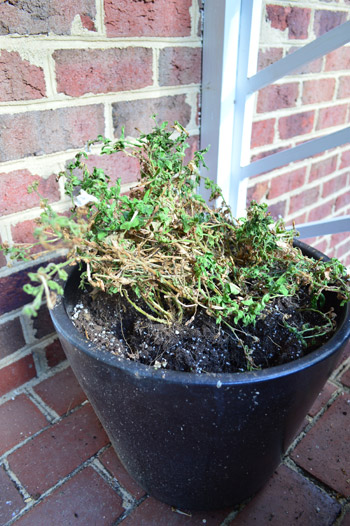
… so two potted mums from Home Depot brightened things up. We’re still hunting for a new light fixture and a wider door mat, but the wreath and those mums definitely add a little more “welcome” to our porch in the meantime.
Just pretend you don’t notice those two foot tall weeds hiding behind the bushes in the background of this picture. They can be our little secret, right?
What little crafty projects are you guys doing these days? Is there any other fall decorating and wreath making going on? It feels so nice to dive back into these quick and smile-inducing projects again. Sometimes hours spent stripping wallpaper or painting trim aren’t nearly as exciting as a thirty minute craft-fest with some fake flowers.

Leave a Reply