
Our Third House
Here are all of the updates, projects and makeovers that we did to our third house located in Richmond VA, complete with before & after photos and tutorials.
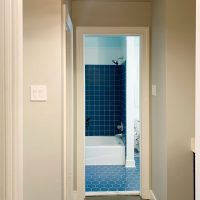
Starting A Bathroom Renovation
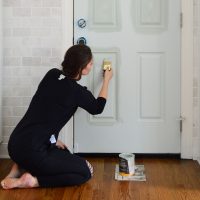
The Best Front Door Paint & Tips For Painting A Door
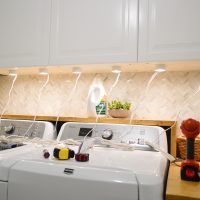
Installing Under-Cabinet Lighting

Holiday Decorating At Our House & The Beach House
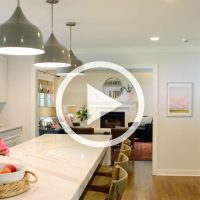
New Video House Tour!
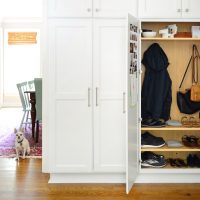
Mudroom Cabinet Storage Upgrades
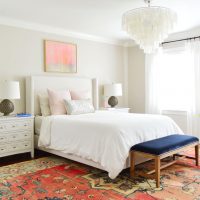
How To Make Ikea Curtains Look Expensive
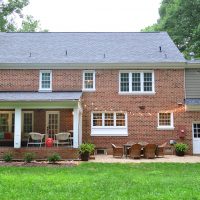
Removing Our Deck & Adding A Pea Gravel Patio

10 Smart Home Devices We Love
10 Home Items We’ve Had For 10+ Years

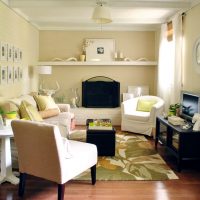
Our Son’s Bedroom Update
- « Previous Page
- 1
- 2
- 3
- 4
- 5
- …
- 22
- Next Page »