Cleaning, Organizing, & Eco
Great tips and tricks for getting organized at home, and cleaning your house in an easier (and faster) way! Also includes recipes for homemade eco cleaning products and our cleaning schedule for getting it all done!

How To Pack Light For Paris
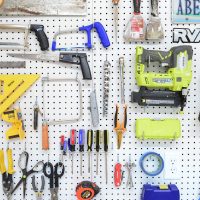
How To Add Utility Closet Storage
The Best Outdoor Solar Lights

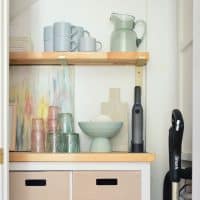
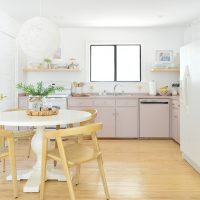
Organizing Our Small Ikea Kitchen
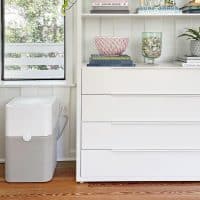
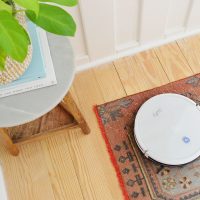
The Best Home Air Purifier
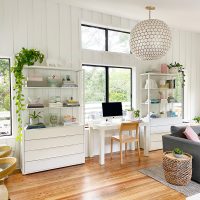
The Best 7 Storage Furniture Pieces

9 Small Kitchen Ideas

Before & After House Photos: 14 Months In!
10 Easy Shed Storage Ideas
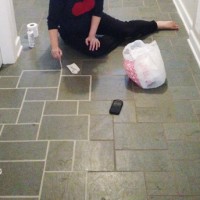
How We Got Our Stained Grout White Again
What’s It Like To Downsize?
- « Previous Page
- 1
- 2
- 3
- 4
- …
- 16
- Next Page »