Thanks for all the kind words on Teddy’s arrival last week. We’re home now and settling into life as parents to a newborn again (anyone have tips for getting one to sleep between the hours of 10pm and 4am?), so we’ll definitely be on a lighter schedule, but one project that we rushed to check off the to-do list around 48 hours before Teddy was born was finally sealing our kitchen’s recently Ardexed counters.
We’ve shared a few other “how to seal” tutorials (like this one about de-hazing & sealing tile, this one about sealing grout, and this one about sealing cork) so here’s what we settled on for protecting our Ardex counters.
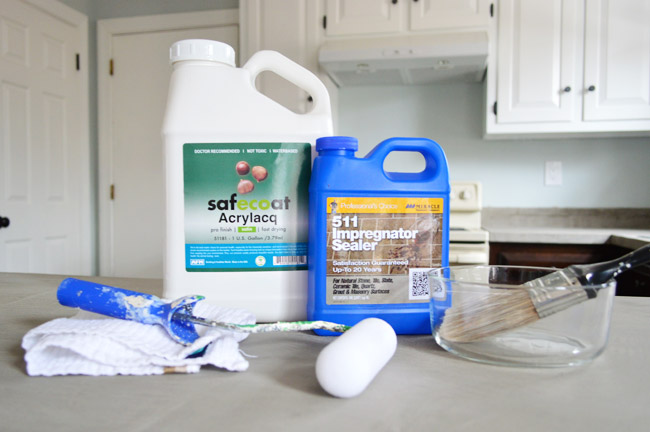
We read a bunch of the-sealing-step-could-make-or-break-them posts when it comes to Adrex, so we resisted the urge to rush into anything, and we used some of your input on our March 24th post to help select which sealers to research a little more and eventually track down (we had to order one from Amazon). In the end, our method of choice was two coats of 511 Impregnator Sealer which we bought from Amazon followed by three coats of Safecoat Acrylacq which we had on hand from ordering it previously (those are affiliate links).
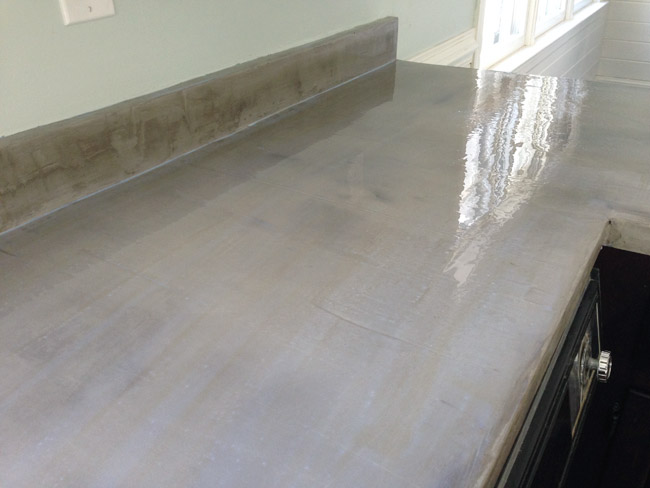
The Impregnator’s job was to seal the concrete – against staining and moisture absorption – and it was very easy to apply. The water-like consistency made it easy to spread, so I poured a bit in a bowl and then brushed it onto the clean concrete surface liberally.
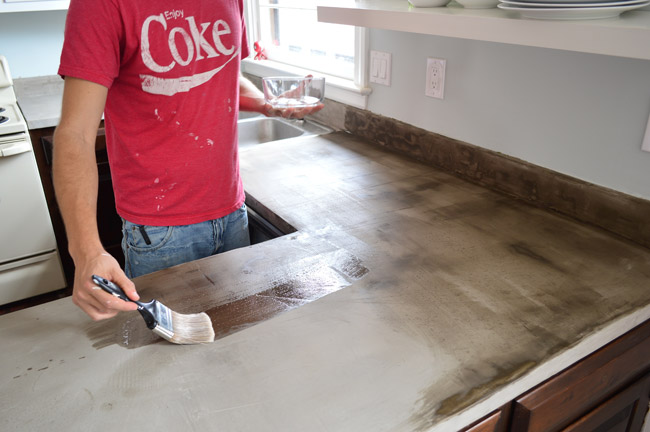
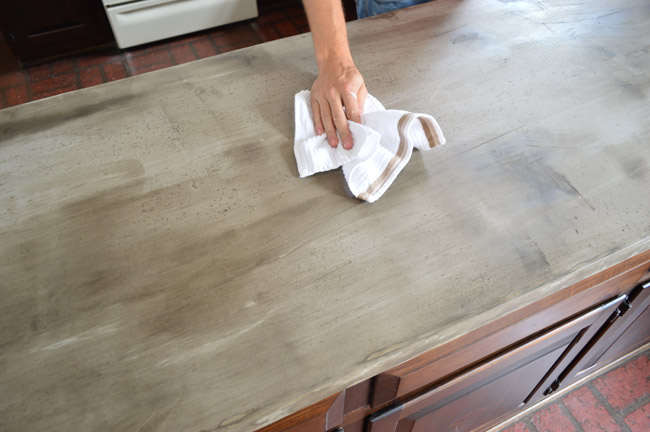
The instructions say to wipe off any excess after a few minutes, but I found most of mine absorbed into the concrete pretty quickly. But as a shameless rule follower, I wiped nonetheless. It looks darker and splotchier than it did after it dried in this picture (since it was mid application) but after it all soaked in it was pretty much back to its original color.
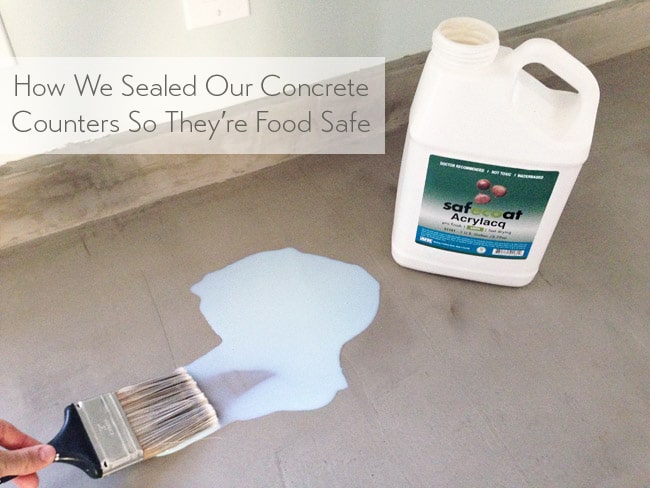
We applied that twice (24 hours apart) and then gave that last coat 24 hours to cure before moving on to the last step, which was top-sealing with the Acrylacq. The great thing about using Safecoat as a top-coat in a kitchen environment is that it’s non-toxic and 100% food-safe. This would also seal the counter against stains and moisture (liquid would bead up on the surface instead of absorbing and making rings) and create a nice polished look that’s protective against chipping or scratching. I went rogue with this stuff and just poured a small puddle onto the surface and spread that thinly across the counters with a brush.

We use Acrylacq a lot, so we’re familiar with it (I’m no longer alarmed by the blue-ish tint that it puts on the surface while it’s still wet).
We applied a second and then a third coat of the Acrylacq, just to be safe (letting it dry about 12 hours between each one). Then we let it cure for three full days before putting anything on it, even though it was dry to the touch much sooner than that. Although the Acrylacq was just a “satin” finish, it made the surface significantly glossier than the chalky finish the original Ardex had left. I realize that sounds like I was disappointed, but it’s great.
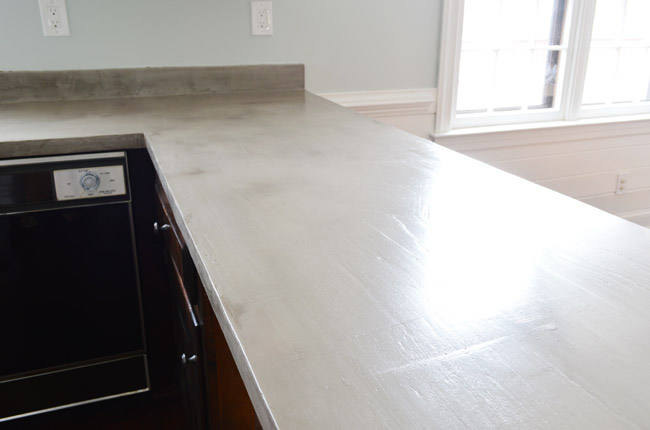
Not only does the glossier finish make it feel more like a shiny stone countertop (and less like a chalky DIY job) it also protects the counters much more from spills/stains. No longer do drips leave longstanding discolorations on the surface (picture water soaking into a concrete walkway outside and looking dark for hours). Now spills and splatters just bead up and can be wiped away without any trace.
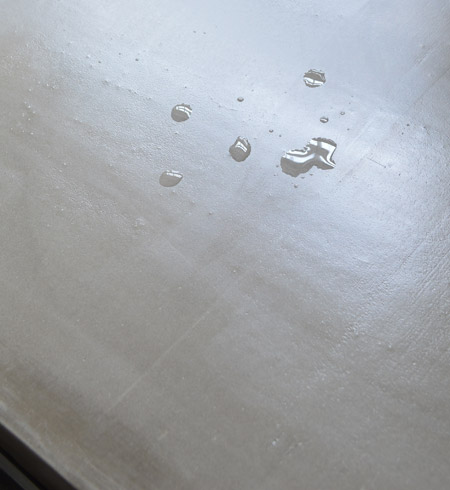
We also read that some sealers show a lot of scratches, but so far we haven’t had any show up, even after cooking some big family meals and sliding some heavy dishes around to serve things. So it seems as if this mix of sealers yields a nice stone-like look that’s food-safe, scratch-resistant, and makes liquids bead up instead penetrating – at least so far.
My only complaint about our sealing results is that the glossier finish makes it slightly easier to see imperfections in the counter’s surface, namely areas where I should’ve sanded things a bit smoother during the Ardex application step (just like how glossy paint will accentuate imperfections in walls, this follows the same principle). Sherry is quicker to embrace these imperfections as par for the concrete counter course (“they’re supposed to look like that”) but the perfectionist in me just sees areas that I could have smoothed out a little more before sealing. Either way we’re both ecstatic to finally have everything back on our counters and be able to use our kitchen again like normal people. And it’s definitely a huge step up from the old yellow laminate that we had before.
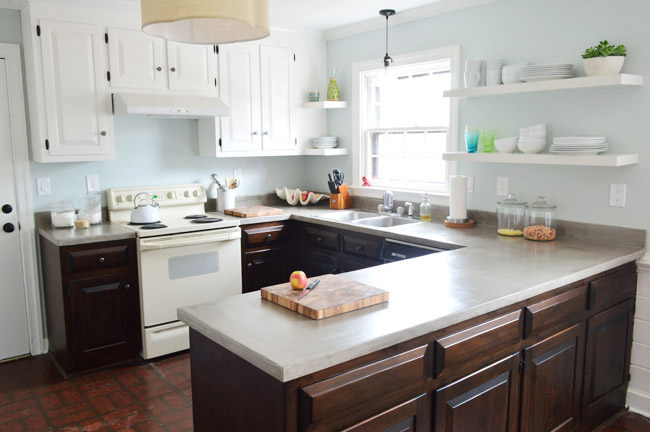
Note: There have been people who’ve asked if we’d like to paint those bottom cabinets now that the counters are done, which is always a possibility, but for now we’re a lot more distracted by things like that faux brick linoleum flooring – so that’s at the top of our list.
There are still some things I’d like to improve about my Ardex-ing technique (namely sanding more smoothly) but generally I’m really happy with how it all turned out. Especially how the sealing step turned it into a much more finished feeling surface.
Aside from a few the-family-is-in-town-to-meet-a-new-baby meals, we haven’t used the kitchen like crazy yet, so we’ll definitely keep you posted on how it wears. Whether stains get through and we get scratches galore, or things stay pretty darn similar to how they look now, we’ll definitely share some updated detail shots in a few months time.
UPDATE: We shared how the counters are holding up here for ya!
Has anyone else used the same mix of sealers? Or had good (or bad) luck with another combo? Feel free to share those details here for anyone who might be tackling this soon. In the meantime, I’ll leave you with a photo comparison that a bunch of you guys have requested. Here’s Teddy at four days old:

And here’s Clara’s when she was around three weeks old in the same pose. They seem to have identical (extra long) fingers and toes, the same invisible blonde eyebrows, and the same tiny little chin – but Clara had a lot less hair. This Clara picture and this Teddy picture are probably the closest comparison so far (in real life we think they look related – but not quite like twins).

Now about those tips for getting a newborn to sleep between the hours of 10pm and 4am. We’re all ears…

Leave a Reply