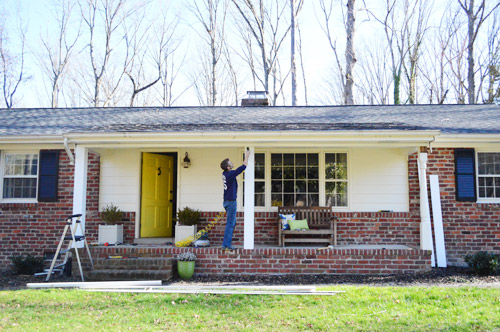
And I’m calling this bad boy done. Commence the rejoicing! And to recap why we wanted to box those columns in:
- the carport has 4 columns that are already chunky and square, so up until this point the house had a split personality with 3 curvy columns in the mix
- boxed in square columns are more true to a mid-century ranch, so we wanted to get back to that (many other ranches in our neighborhood have ’em already)

Back to finishing things up. After getting this far within one afternoon we had high expectations for how quickly the finishing touches would go. I mean, how long could finishing one column, caulking the seams, and painting take?
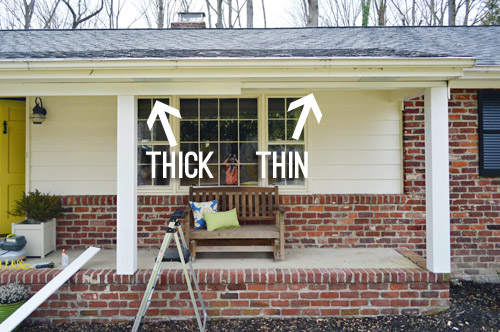
Well, it didn’t help that we got derailed before even unholstering our caulk gun. When all three columns were done we stepped back and thought the de-scalloped header looked good, but a bit unsubstantial in comparison to our beefed up columns. So we picked up three more 1 x 6″ boards at Home Depot and attached them right over top the original 1 x 3″ header that we added with some wood glue, nails, and screws in a few places. You can see how it looked while it was in progress here:
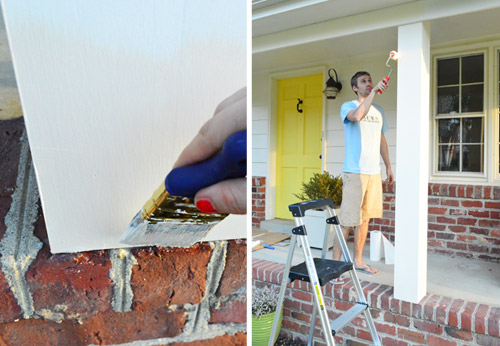
But even that detour didn’t take too much longer. What did take forever? Caulking. There were so. many. seams. But we didn’t want to be anything less than thorough, since getting rain or other moisture behind the wood = bad news bears. We used this exact same method in our first house when we rebuilt the header five years ago (primed wood + paint and caulk to keep it all sealed) and it worked out great without any rotting or warping – so we wanted to make sure we were just as thorough this time around.
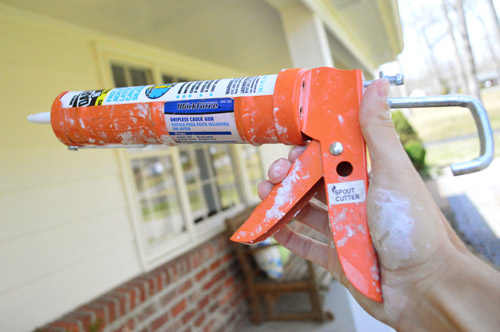
And since everyone asks what kind of caulk we use (that wall full of 10,000 caulk tubes can be intimidating) we like Dap window and door caulk, in the white, paintable finish (paintable is key).
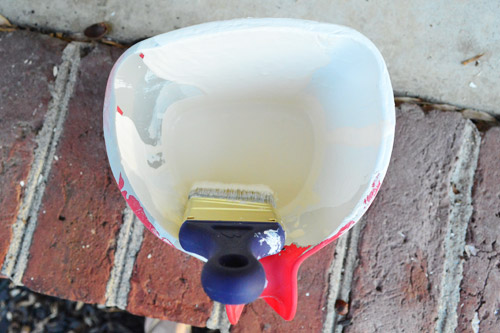
Once the caulk dried, it was time to paint. Since the boards came pre-primed, all we had to do was match them to rest of the porch – and because the previous owners left us a couple gallons of house paint, there was happily no cost here. The labeled said it was “Creamy Color,” which is about the laziest paint color name I’ve ever seen, so I’m happy to discover that it’s no longer in the system.
We debated using this as an excuse to repaint all of our trim from “creamy” to white, but we weren’t ready to tackle that big of a project quite yet (there’s trim all around the house, and the back of our house is two stories high at some points).
Predictably, Sherry did the cutting in (look at her brazenly painting the bottom of that column without taping it off) and I was Roller Man.
After one coat plus some touch-ups, we were done. And as you may remember from the start of this post, there was some rejoicing.
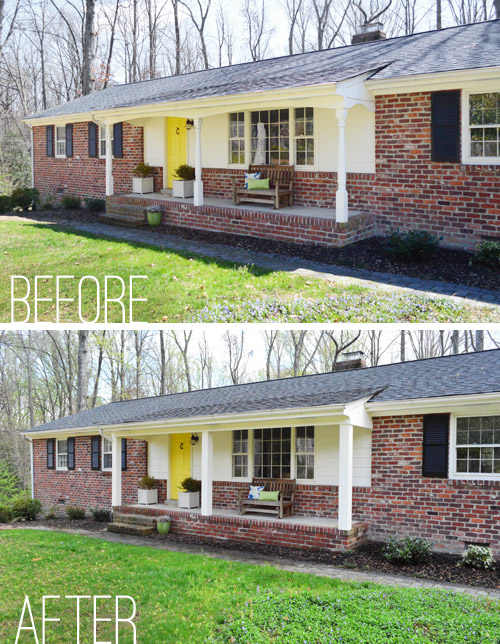
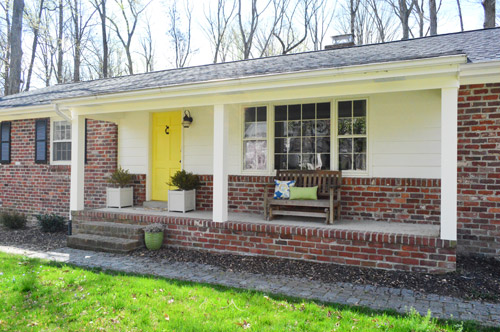
Now when we roll up to our house, the outside looks a little more like us.
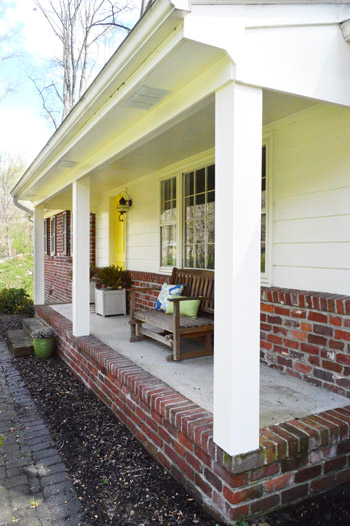
Getting rid of (well, concealing) the more ornate and traditional columns just makes our exterior feel crisper and more updated (not to mention it’s much more true to the columns that a mid-century ranch would actually sport). Plus those three curvy columns no longer fight with the four square ones in the carport. Hurrah.
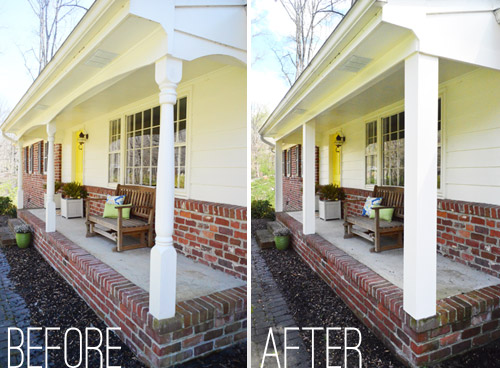
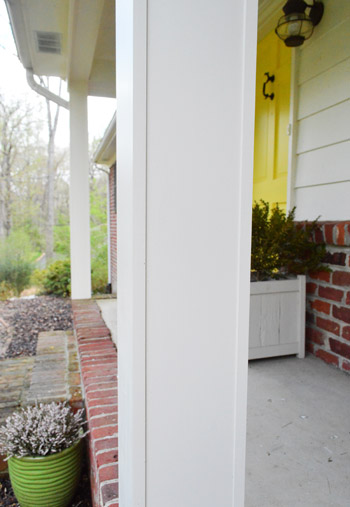
And here’s a close-up so you can see the slight detail on each of the posts where the 1 x 8″ boards (on the front and back of the column) meet the 1 x 6″ boards that we nailed to the sides. Note: there’s a handy sketch of why square columns call for two 8″ boards and two 6″ boards in this first porch post here.
Budget-wise, our entire cost was in primed boards since we already had house paint and a tube of caulk. Here was the breakdown:
- Four 1 x 3″ boards for original (thin) header: $20.50
- Four 1 x 6″ boards for thicker header: $41.33
- Six 1 x 6″ boards for sides of posts: $62.08
- Six 1 x 8″ boards for front & back of posts: $74.12
- TOTAL: $198.03
If we had known the 1 x 3s were going to be too small we wouldn’t have bought them (which means you could probably recreate this for $20 less). We could’ve bought cheaper boards for the rest of the project too – like basic whitewood – but I like working with pine because it’s noticeably smoother and straighter than the cheapest stuff. Plus, we liked skipping the priming step and this is the same stuff we used for our first house’s porch makeover five years ago (we like knowing that’s holding up well half a decade later).
Now that this project is done, we’re in the mood for more outdoor projects, so thank goodness spring has finally hit Richmond.
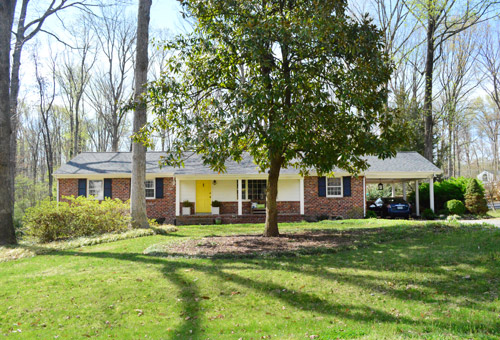
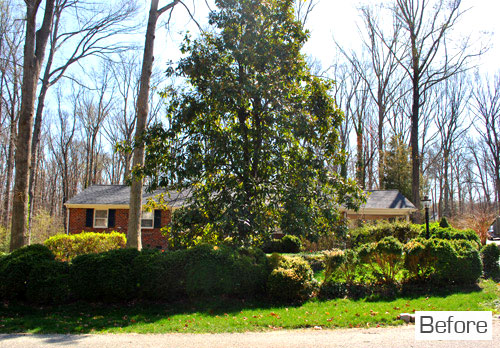
And we’re pretty excited that in the three springs since we moved in, the house has evolved quite a bit in the curb appeal department…
What’s on your spring to-do list? Any big projects that you’re hoping will get the ball rolling? Or are you just excited to down some lemonade and call it a day?
PS: I was this close to naming this post “Porch-a de Rossi” because it was the only porch pun I could think of. I blame my excitement for the new season of Arrested Development.

Leave a Reply