Q: I have a HUGE question for you! My husband and I have now lived in our first house for close to a year. We share your motivation, but are very intimidated by the projects that we’d like to tackle. Neither one of us is super handy, and I guess we’re afraid of “breaking” our little nest. What did you two do to get past the hump of “how on earth do we do this and not cause an even bigger problem in the end?” Thanks! -Amy
A: This is a great question! Especially because when we moved into our house just three short years ago we knew nothing. We were beyond beginners. We literally had zero fix-’em-up experience (I hadn’t even painted trim and John hadn’t so much as picked up a sledgehammer). So it’s not like we’ve always been extremely handy human beings who helped our parents flip houses from an early age. Seriously, we didn’t even own a wrench and we definitely had our fair share of false starts when we began lovingly (and fearfully) fixing up our fifty year old house.
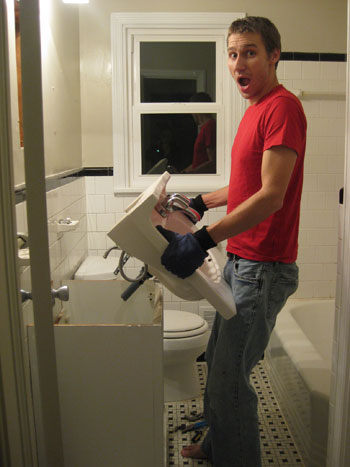
(Check out more details on the project above right here).
As you can imagine, we definitely made a few rookie mistakes (I painted all the trim in the entire house with white flat paint instead of a more wipeable semi-gloss option… talk about an error that had to be completely redone!). But that’s sort of the beauty of home improvement. Almost everything can be redone, so if at first you don’t succeed, repaint all the trim with semi-gloss paint and do a little more research before starting the next project. Lesson learned.
And as we went we noticed that we got a lot more confident and quickly expanded our skill set with each project that we took on. The learning curve was actually pretty amazing. In fact, one of the reasons we started our blog was to pass along the tips and tricks that we were picking up to friends and family members who we also assumed were equally clueless. To this day, our hope is that by sharing step-by-step tutorials and DIY projects as we go, lots of newbies out there will learn right along with us and gain the confidence to semi-fearlessly tackle their own home just like we did- and still do! I mean if we can do it anyone can, and we like to think that we made all the mistakes so you guys don’t have to (we remind everyone who comes to us for trim-painting tips to use semi-gloss paint to save them the extra work and frustration we experienced early on).
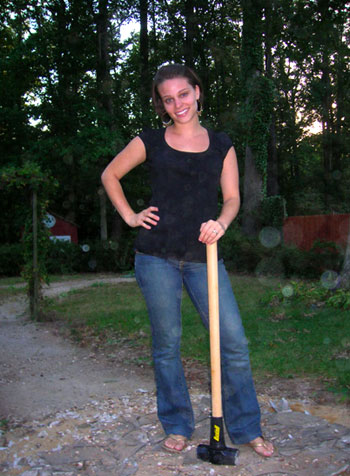
(Check out more details on the project above right here).
The good news is that unlike brain surgery, most home-based projects can be done, undone, revisited, updated, etc. So it’s not like you get one half-hour shot to correctly install your vanity or it dies. Thank goodness. And it really takes a lot to “break” your house (think a wrecking ball or an intense natural disaster) so you might be flattering yourself if you think you and your hubby are strong enough to take on that challenge. In the end it just comes down to tackling smaller projects first (try painting walls and then moving on to painting brick and paneling or switching out light fixtures and then moving on to more detailed electrical work). And even before you tackle those projects, it always helps to do some simple research (you can visit our How To page for tutorials, google around for videos, read up at the library, etc). That way you’ll gain your “sea legs” so to speak, and can grow your confidence and skill level to eventually take on bigger and better projects as you go.
And although some people think of us as experts at all things home, we’re happy to openly admit that we’re definitely still learning to this day. Heck, we find out about some obscure tool or a new technique every week. We also rely heavily on tutorials and videos that we dig up on google and how-to books that we check out of the library so there’s really no limit to what you can learn by researching and then by physically doing it (that’s really when things “click” for us and we can finally add that skill to our roster). Then we like to pay it forward by sharing what we learned (and of course sharing the results in the form of some fun before & after pics). But really, there’s no such thing as being too prepared beforehand… it just seems easier to take a sledgehammer to a wall if you already have a game plan when it comes to putting things back together afterwards.
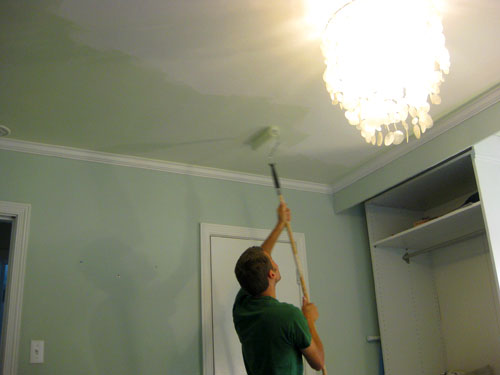
(Check out more details on the project above right here).
Oh and here’s another tip that we definitely use ourselves. It’s always comforting to think of the worst case scenario (ex: “if we try to repaint this dresser and it peels we can always sand it down and start over” or “if we can’t demo out this bathroom ourselves, we can always hire a handyman to finish what we started”). For instance, once we were trying to switch out some simple bathroom fixtures and the old brittle plumbing sprung a leak. Yikes! In a panic we gave in and called a plumber (since we certainly weren’t armed with the know-how to fix it ourselves at the time). And you know what? There’s no shame in calling in for reinforcements when it comes to projects that just turn out to be too much for you to take on yourself.
In fact one of our best money-saving tips is to know your limits and hire things out that might be above your skill level so you don’t end up making mistakes that actually cost you more to bring someone in to correct. When it came to our leaky pipes, it turned out that they were 50+ years old (original to our house!) and it was just time to get them replaced. So while the plumber was here we opted to have him switch everything out behind the walls for a few hundred bucks just for the peace of mind to know that everything would now be up to date and ready to go for another half a century. Plus calling in an expert when you’re definitely in over your head also helps you maintain your momentum and your confidence. If we tried to fix those 50 year old pipes ourselves we surely would have failed and probably never touched plumbing again. But by calling for backup we kept the renovation ball rolling and happily moved on to tackling bigger and better projects in the future since our plumbing debacle wasn’t all that bad in the end.
And the good news is that for every project that has you calling in the pros, there are usually about twenty five blissfully uneventful ones that you can do yourself. Sure there might be extra mortar to scrape under those tiles that you didn’t expect or using that tile clipper might take three times longer than you expected, but they’re still straight-forward processes that you can easily adapt to (adding a few days to your timeline or a bit more labor than you expected to your to-do list is pretty much what home improvement is all about).
Things might call for a few extra days of work (in our experience, most project take longer than you think they will) but in the end it’s all worth it and you probably saved a bundle by doing it yourself. Even skilled contractors and handymen are no strangers to pushing back timelines, so that’s not even something that can be avoided when you hire a project out. It just sort of comes with the territory of fixing up your home. And there’s nothing quite like the chest-swelling pride that you get when you realize that you did some with your own two (or four in our case) hands. There’s that confidence that we mentioned. It’ll just grow with each awesome overhaul that you accomplish… and before you know it you’ll look around and you won’t even recognize the place that you call home (in an oh-so-good way).
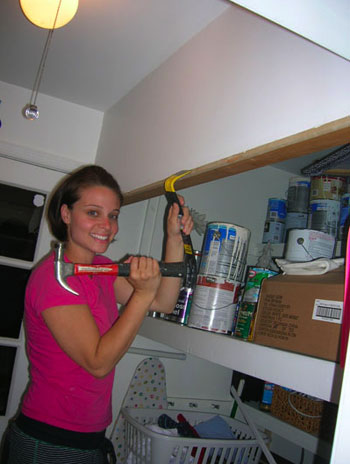
(Check out more details on the project above right here).
So in short here’s our formula for shaking off that intimidation and gaining the know-how it takes to whip your house into shape:
- Start slow and grow your confidence by doing smaller projects before moving on to tackle the more major overhauls
- Research the heck out of things before you pick up a paint brush or a hammer
- Never be afraid to call in an expert if you get in over your head (that way you don’t burn out after one never-ending project)
The good news is that for every project that we imagined the worst case scenario (which always involves redoing something for days or calling in someone to “fix” our poor wounded house) we have only had a few experiences when we actually had to start back at square one or call for reinforcements. And we’ve taken on over 300 projects so those are pretty good odds. To date no vanities have died on our watch, and we haven’t “broken” our house yet, knock on wood.
One of the greatest things about home improvement is that a lot of it is common sense and many projects are “what you see is what you get”- meaning that if you want to redo a floor and find out it’s completely not level, there are a number of ways to remedy the situation (relaying the subfloor, using self-leveling concrete, etc). So know that there’s usually more than one way to skin a cat (gross expression, sorry) and a little research will often reveal a number of viable and doable options when it comes to taking on a new challenge. And remember that you can always call a few handymen for estimates if you’re at the end of your rope, but trust us when we say that a high percentage of the time you can usually solve things yourself with a bit of thoughtfulness, research and determination. That’s pretty much how we got our house to where it is today. Beyond-stubborn determination paired with plenty of time spent researching beforehand and learning on the job. Good luck and happy reno-ing!
*Now for a little safety suggestion: wear proper closed toe shoes when taking on projects! We don’t know what the heck we were thinking in the first two photos, but we definitely recommend keeping your feet protected, especially for those heavy duty tasks. Toes matter.
Psssst- Wanna know more about how we got our house to where it is today? Check out this post about decorating in stages and this one about how to keep from pricing your house out of the neighborhood.

Leave a Reply