Our Third House
Here are all of the updates, projects and makeovers that we did to our third house located in Richmond VA, complete with before & after photos and tutorials.

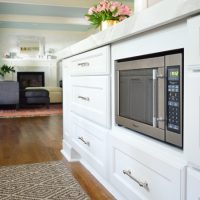
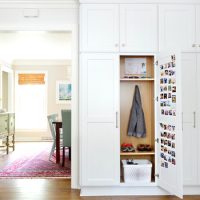
Kitchen Organizing Tips
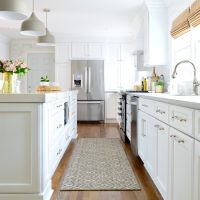
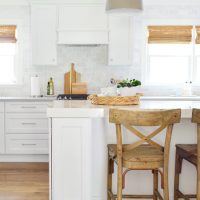
Our Kitchen Remodel Is Done! Before & After Photos
Our Kitchen Remodel Progress: Gutting & Rebuilding
Kitchen Remodel Planning: A Totally New Layout
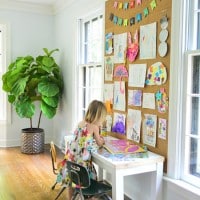
A DIY Cork Wall For Kid Art

Using The Same Beige Paint Color In Many Rooms
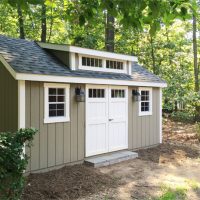
Choosing A Backyard Storage Shed
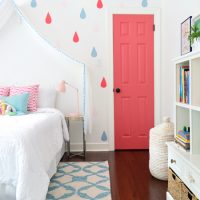
Our Girl’s Bedroom Evolution
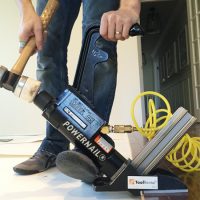
How To Install Hardwood Flooring
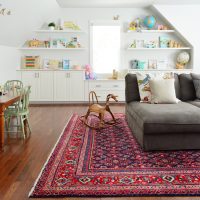
Our Bonus Room Makeover
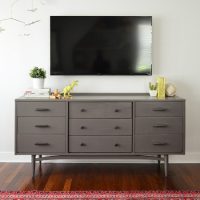
How To Hide TV Wires In The Wall
- « Previous Page
- 1
- …
- 4
- 5
- 6
- 7
- 8
- …
- 22
- Next Page »