This week’s winners are taking home over $100 in handmade, personalized letterpress stationery from Wild Ink Press. Enter through Feb 3rd at 8pm EST.
[ Read More ]
Home Decorating & DIY Tutorials
This week’s winners are taking home over $100 in handmade, personalized letterpress stationery from Wild Ink Press. Enter through Feb 3rd at 8pm EST.
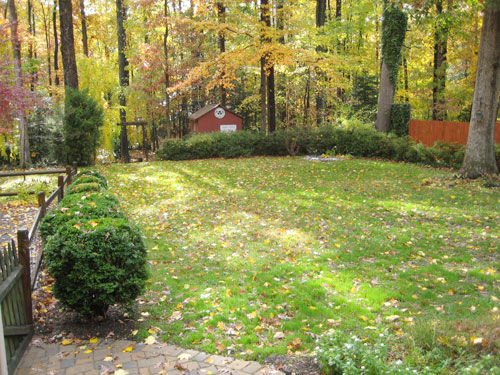
Richmond weather means we get to experience our house in all four seasons. Here’s a photographic look at them all.