Sherry loves a hot cup of pour over coffee, but I usually choose an iced *something* for my daily coffee. And most days it’s a cold brew that I make at home. For over 2 years now, I’ve relied on this cold brew maker to keep a delicious batch at the ready in my fridge. So I’ll quickly walk you through exactly how I make homemade cold brew, and why it’s my method of choice.
As we noted in our pour over coffee guide, Sherry and I aren’t expert baristas or even persnickety coffee connoisseurs – but we value a delicious and fresh tasting coffee that we can make at home. We both prioritize simple & straightforward brewing methods that can be successful without treating coffee like an intricate science. No shade if you have the time & energy to take coffee making to an olympic level, but this guide is for the average home coffee drinker who wants some good, reliable cold brew without stressing over the details.
Our Cold Brew Coffee Supplies
One of the best parts about making cold brew is it require very few supplies. In fact, apart from coffee grounds & water, this picture shows everything we use. And the cold brew maker itself is less than $25. We even got it on sale for $16 – and at the time of writing this, it’s marked down to under $14!
- Cold brew coffee maker (came recommended by Kim & Scott)
- Medium to course ground coffee
- Ribbed glasses with lid & straw
- Creamer (I linked my favorite flavor)
- Milk frother (if you like cold foam)
The cold brew maker itself includes everything you need, including a reusable filter. So it’s also a very sustainable system that creates no waste, apart from your used coffee grounds.
Cold Brew Coffee – Video Guide
This step-by-step video guide details how Sherry and I each make our preferred coffee. The cold brew maker tutorial starts at the 2:30 mark if you want to skip ahead!
NOTE: You can also watch this video on YouTube.
What Is Cold Brew Coffee?
Cold brew is a coffee-making method that is sometimes called cold water extraction or cold pressing. Like the names suggest, the main difference from other techniques is the water temperature. Instead of rapidly filtering hot water through ground coffee, cold brew involves steeping those grounds in cold or cool water for an extended time period – usually 12 to 24 hours. And obviouslly, the end result is best enjoyed cold or with ice!
Cold Brew vs. Iced Coffee
Cold brew is often confused with iced coffee, but the two are different process that produce different results. Iced coffee is brewed like regular coffee (using hot water) then chilled – either through refrigeration or pouring over ice. This achieves a faster result than cold brewing, but the melted ice can lead to a watery consistency or diluted flavor if you’re not careful.
Cold brew also tends to result in more caffeine and bolder, sweeter flavors. The prolonged brew time cuts down on some of the bitter or more acidic tastes in regular coffee, resulting in what many describe as a smoother and tastier result. And because larger portions of grounds are typically used for cold brew, the caffeine concentration is usually higher. That’s why some people will dilute cold brew with water before drinking, so you get more for your efforts.
Here’s why I make regular cold brew for my daily coffee:
- I prefer iced coffee drinks vs hot ones
- It’s easy to make (aka: hard to mess up)
- It can be made in batches
- It’s sweeter & stronger than iced coffee
Steps To Make Cold Brew At Home
Making homemade cold brew is crazy simple, especially because I use this pitcher that can make one big 52 ounce batch at a time. Just be sure to start your brew 12 to 24 hours before you plan to drink it (like the night before).
- Assemble the cold brew maker
- Add coffee grounds to the filter
- Pour water over the grounds
- Steep for 12 – 24 hours
- Serve over ice
- Add creamer to taste
Now let’s take a closer look at those steps.
1. Assemble the Cold Brew Maker
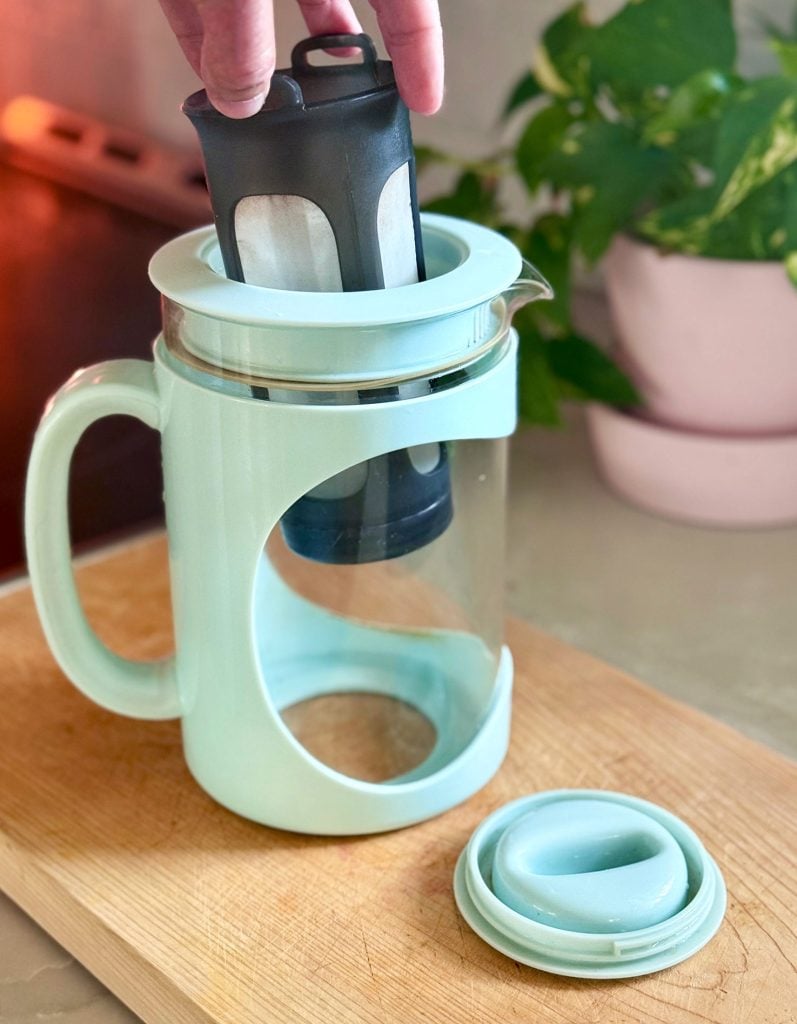
This cold brew maker has 4 pieces which easily fit together (and come apart for cleaning):
- Handled Glass Pitcher
- Reusable Mesh Filter
- Lid
- Twist-On Cap
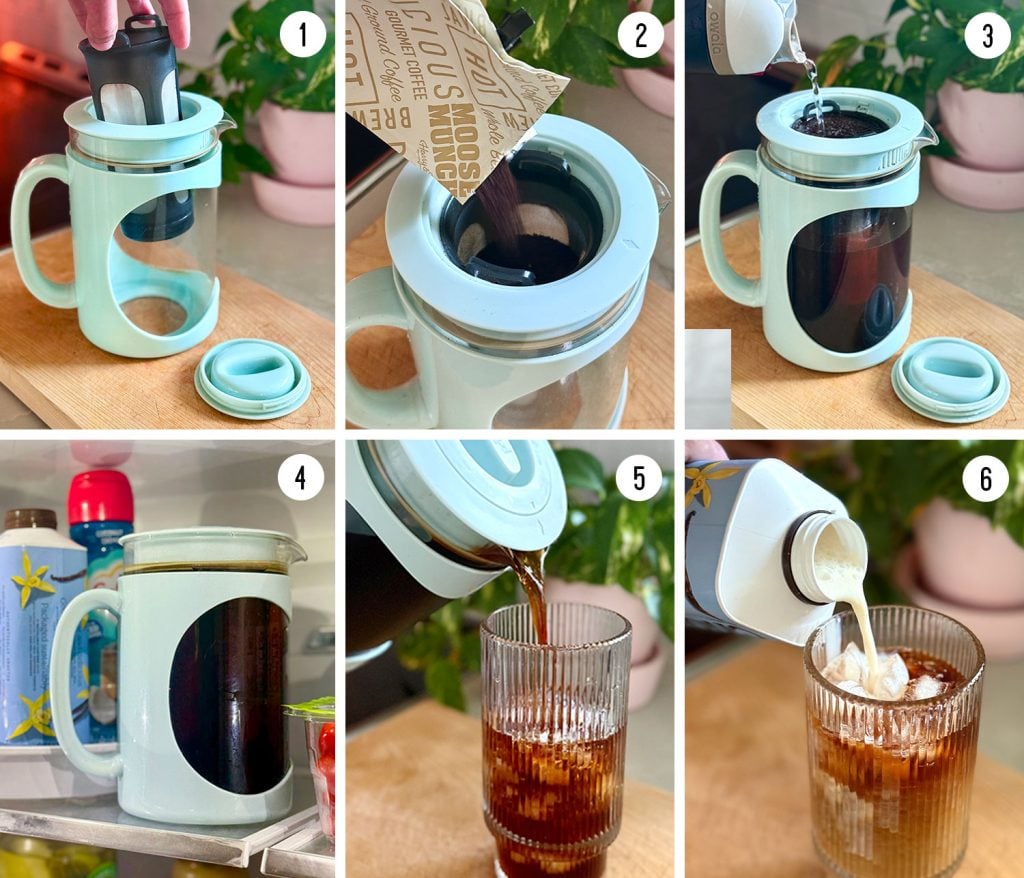
To begin, place the fine mesh filter through the opening in the lid and snap it into place.
All pieces are dishwasher safe, so it’s also easy to dissamble and clean between batches.
2. Add coffee grounds
Now, pour ground coffee beans into the filter. Course ground coffee is typically recommended for cold brewing. However, I usually use pre-ground coffee from the grocery store, which typically comes medium ground. Just avoid fine gounds, which may lead to overextraction and increase bitterness. Fine grinds may also seep through the mesh filter, ending up in your brew.
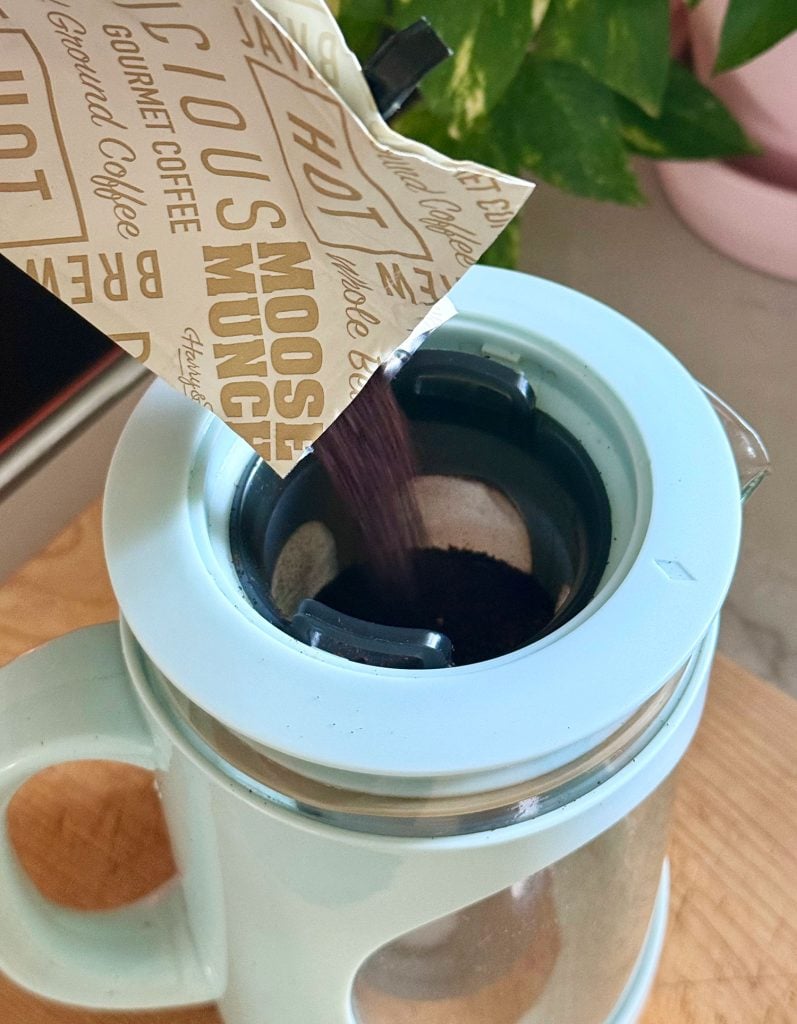
I don’t measure out my grounds. I just fill the filter about 75% full. You can add more or less, depending on how strong you like your coffee. We’ll talk about coffee-to-water ratios more below.
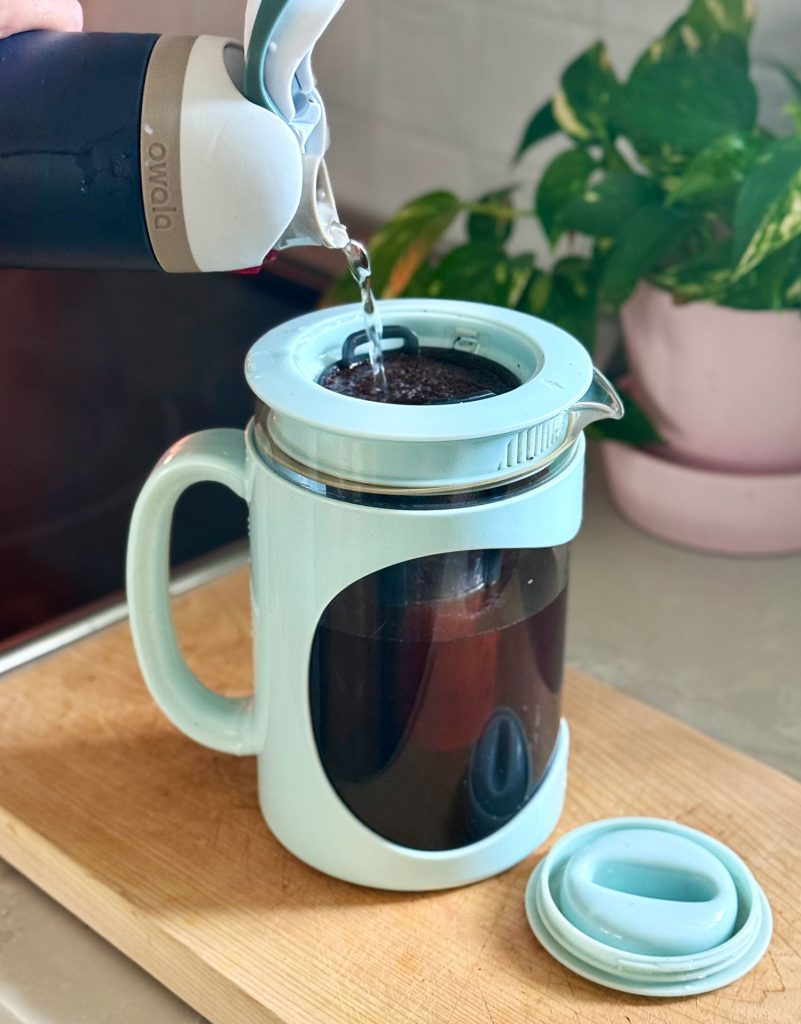
3. Pour water over the grounds
Next, carefully pour water into the filter, full saturating the grounds. I use cold filtered water from my fridge dispenser, but room temperature water from your tap is fine too. I like to pour from my water bottle for better control (slower speed, less splashing, etc). You may need to pause occassionally to let the water filter through before continuing. Fill until the carafe is full or the grounds are fully submerged.
What’s the best coffee-to-water ratio for cold brew?
Most cold brew is made at a ratio between 1:4 and 1:8. This means 1 part coffee grounds to 4 to 8 parts water. This is best measured by weight (grams) but going by volume (cups, tbsps, etc) works well enough too. The lower the second number, the stronger your brew will be.
But again, I don’t measure anything. Partly because I’m not that picky and partly because this cold brew maker does the work for you. The filter holds 1 cup of grounds. The carafe holds 6 cups of liquid. So filling both creates a roughly 1:6 ratio, right in the middle of the recommended ratio range.
I suggest starting with this 1:6 ratio (everything full) and adjusting as desired with future batches. I’ve learned I’m happy only filling the filter 75% full. The cold brew is still plenty strong and I don’t have to buy coffee as often.
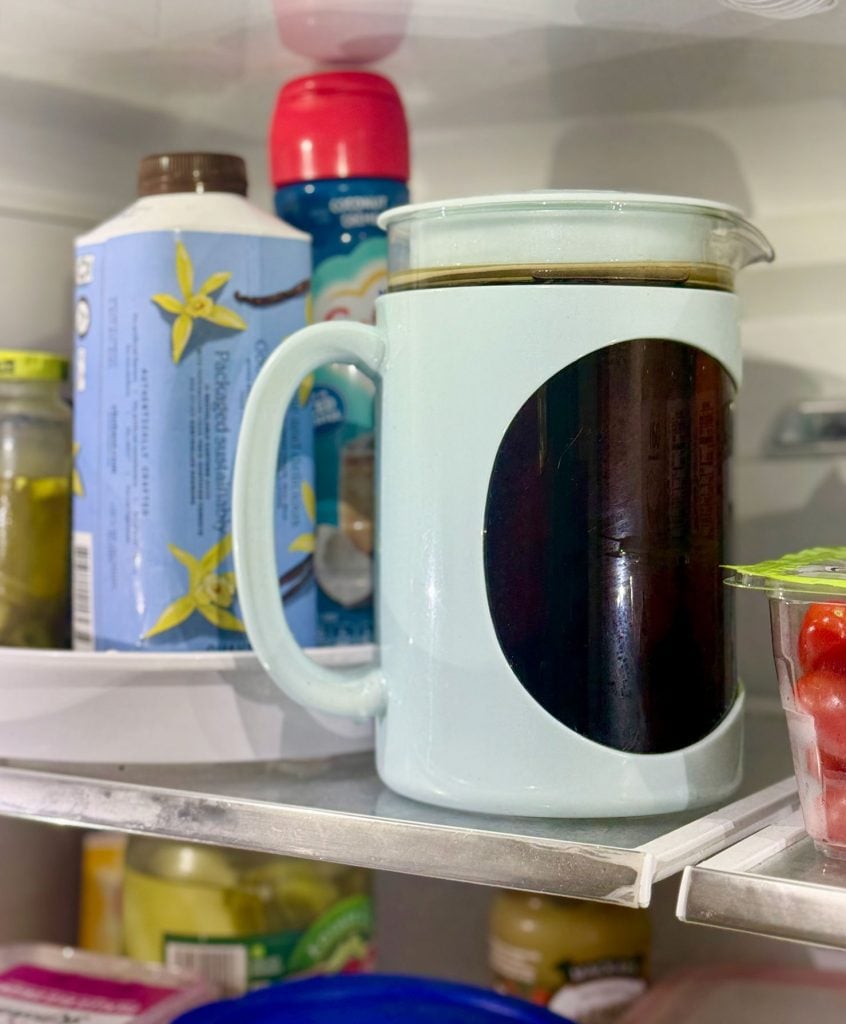
4. Steep for 12 – 24 Hours
Now, steep your brew for 12 to 24 hours, either at room temperature or in your refrigerator. I like to put mine in the fridge for convenience (it’s out of the way & ready to drink cold). Leaving it out at room temperature will speed up extraction, making it ready closer to that 12 hour mark.
Steeping too long can increase bitterness, so remember – it’s best to remove the grounds after 24 hours. To do this, just lift out the mesh filter and dispose of the grounds. When I finish drinking a batch, I usually start a new one right away so it will be ready the next morning at my usual time. Each batch I make, lasts about five days and then I make another batch (just remember to take the grounds out at the 12-24 hour mark so you’re not brewing it for 5 days – that would not taste good).
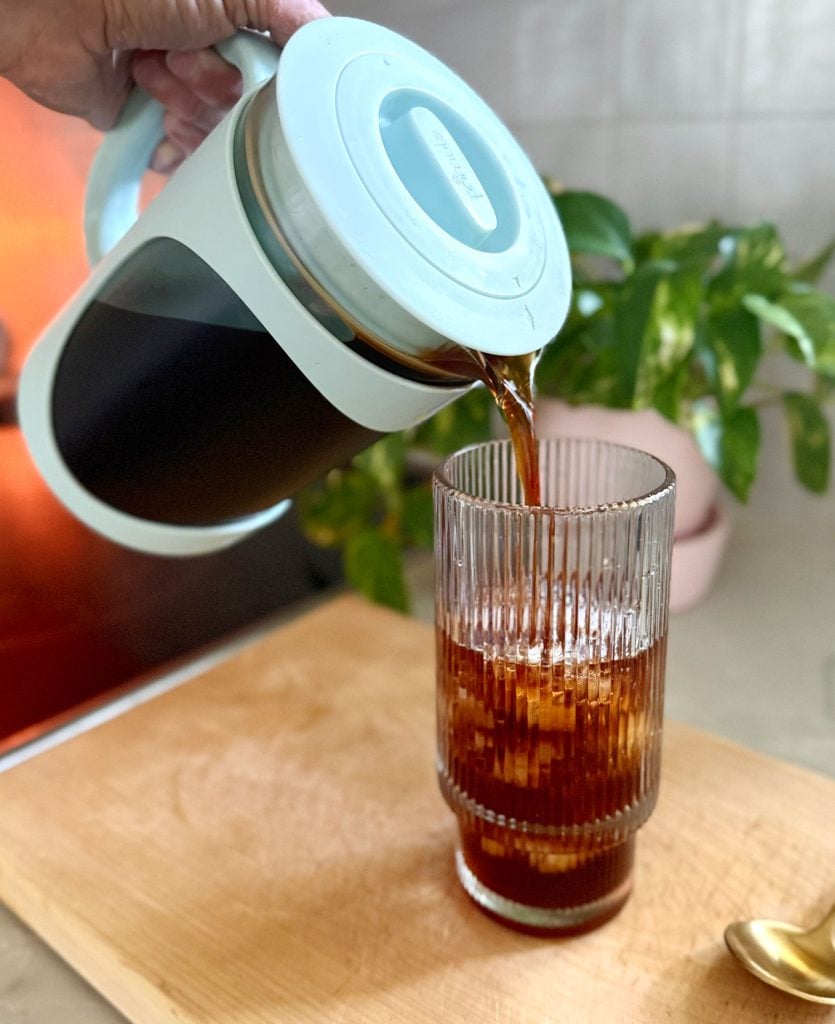
5. Serve Over Ice
Cold brew is considered a concentrate, so many people choose to dilute it before drinking. This can be done with water, ice, milk, cream, or a combination of those. Some even dilute it as much as 1:1 (one part cold brew, one part water). This is really just personal preference. I personally choose to just pour it over a glass filled halfway with ice, leaving room for cream.
You may want to give the cold brew a quick mix with a spoon before pouring, since the more concentrated liquid tends to sink the bottom.
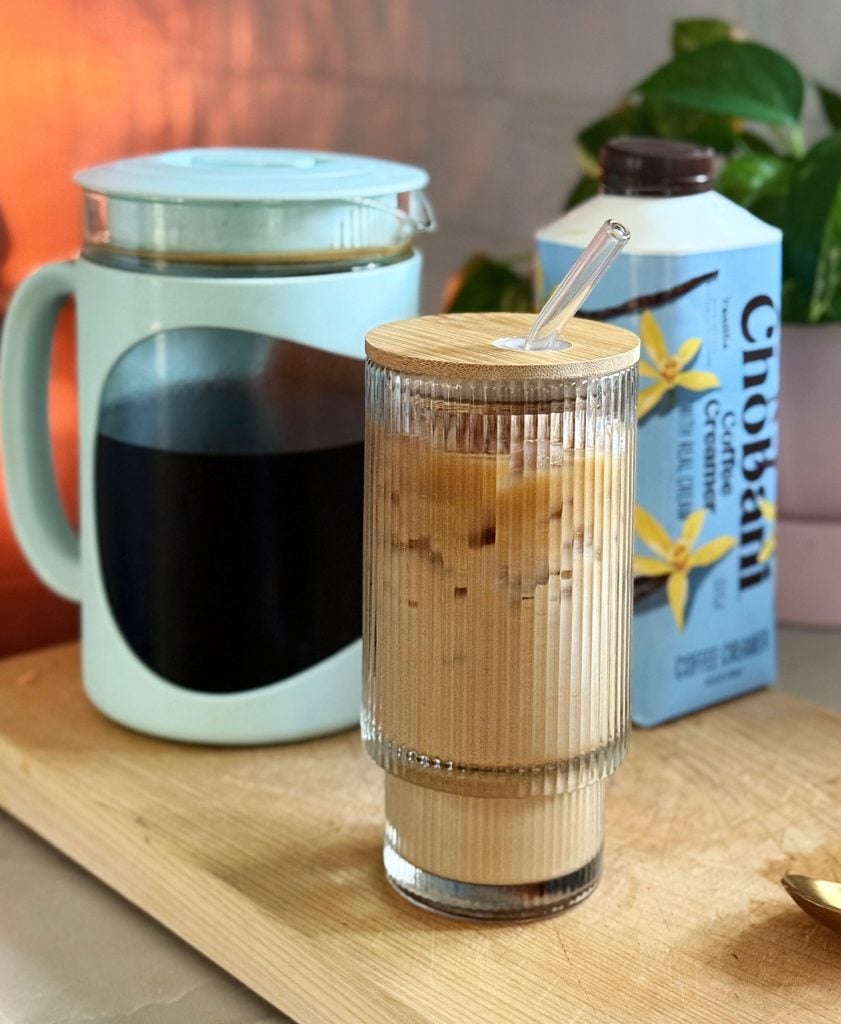
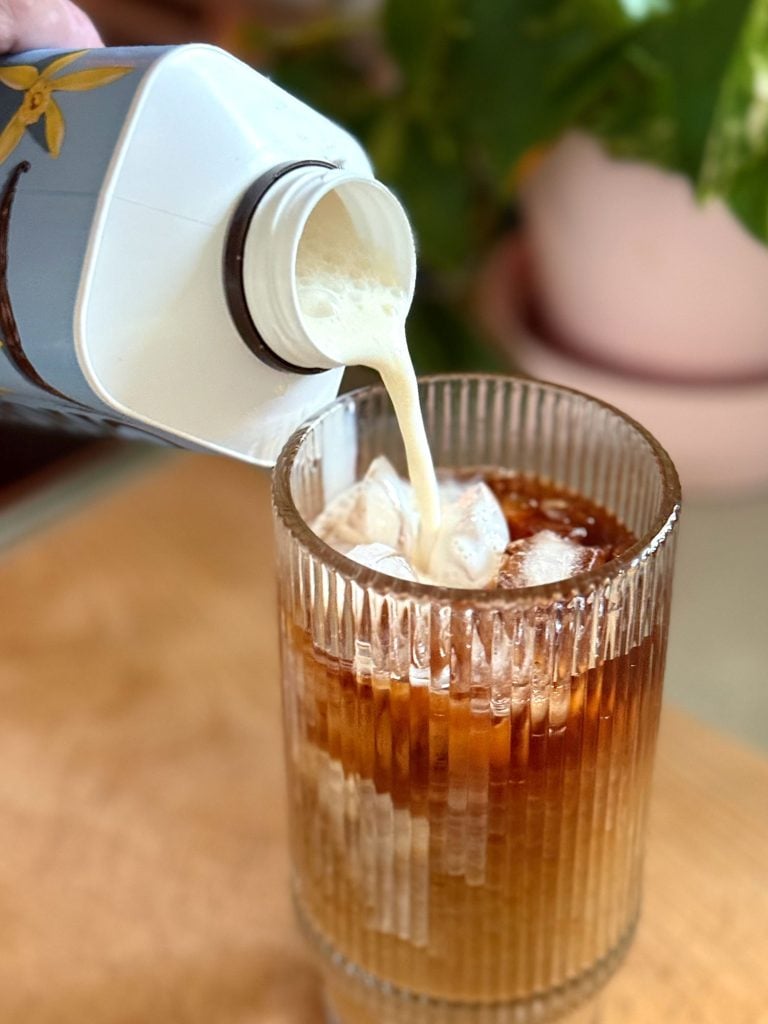
6. Add creamer to taste
I like to add a couple of splashes of flavored creamer to my cold brew. Since syrups and sugars don’t dissolve well in cold liquids, I find this is the best way to add flavor & sweetness to cold brew. I usually buy Chobani Creamer, and this is my favorite flavor.
More Cold Brew FAQs
How many glasses of cold brew does it make?
I typically get about 5 servings out of one batch. You may get more or less depending on your drinking glass & how much you dilute the concentrate. The pitcher holds about 52 fluid ounces of cold brew. Remember: you don’t BREW it for 5 days, you just leave the coffee filter in for the first 12-24 hours, at which point the cold brew is ready to drink. So you’ll want to remove the coffee filter from the cold brew maker, and you’ll then have about 5 days of cold brew that’s ready to drink in the fridge.
How do you clean the cold brew maker?
All of the pieces are dishwasher safe, including the mesh filter. However, I typically hand wash everything as soon as I finish a batch. That way I can start a new brew right away without waiting to run the dishwasher.
What is nitro cold brew?
The term “nitro” refers to an extra step where cold brew is infused with nitrogen gas. The same cold brewing method is used, but the addition of tiny bubbles give nitro cold brew a smoother and creamier finish. Many compare it to the feel of a draft beer like Guinness (it even has a foamy top layer). That’s why you typically see it dispensed from a tap at a coffee shop. Nitro cold brew can be made at home, but it requires a special dispenser and nitrogren canisters – which can be costly and complicated.
What is cold foam?
Cold foam is a fluffy aerated milk layer added to the top of cold beverages like cold brew. It’s an alternate way of adding flavor, sweetness, and creamy texture to your drink. I heard someone joke that cold foam is just “rebranded” whipped cream and there’s some truth there – it tastes like a sweet marshamallow topping to me.
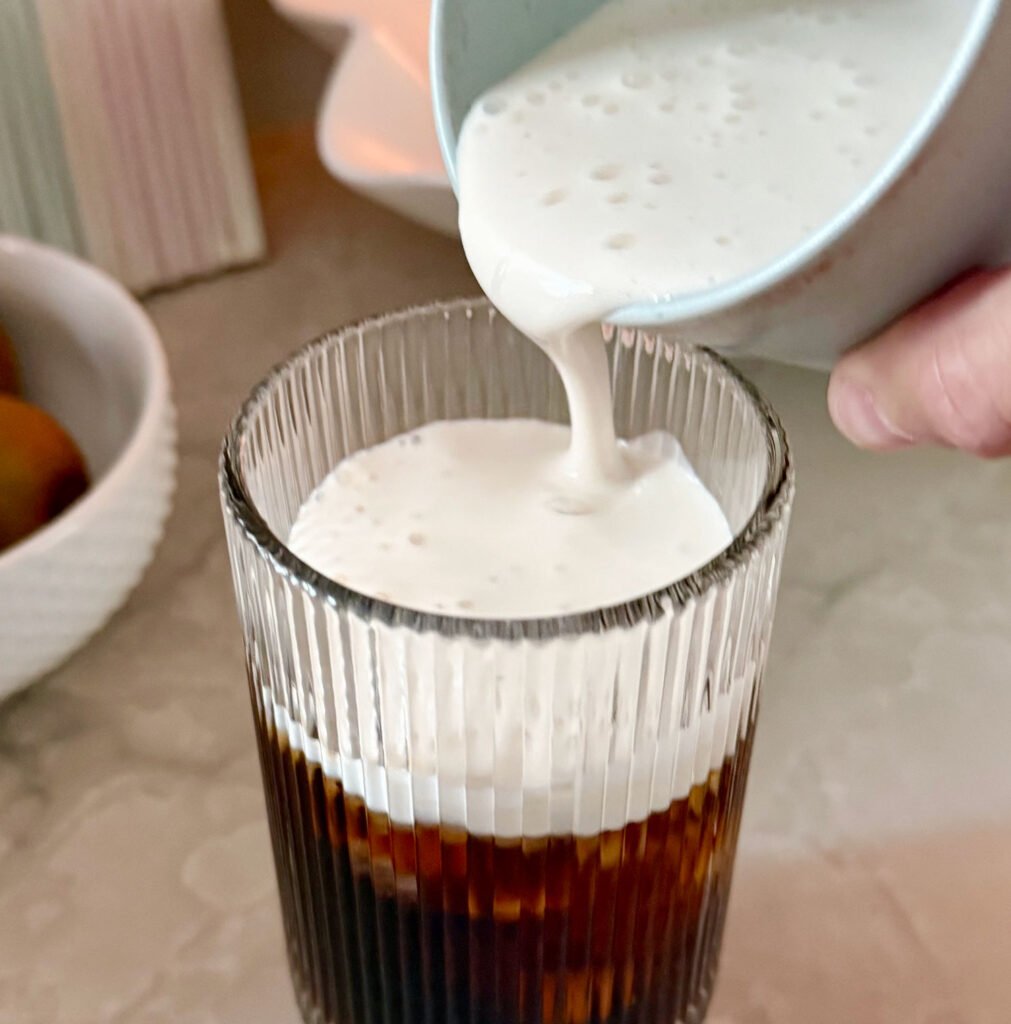
I make cold foam at home with this $9 milk frother. I just use my Chobani creamer, but you can also mix 3 tbsps of heavy cream, 2 tbsps of milk, and 1 tbsp of flavored syrup. Then froth it in a separate cup and pour atop your cold foam. We have also frothed vanilla oat milk and both Sherry and I think it’s delicious.
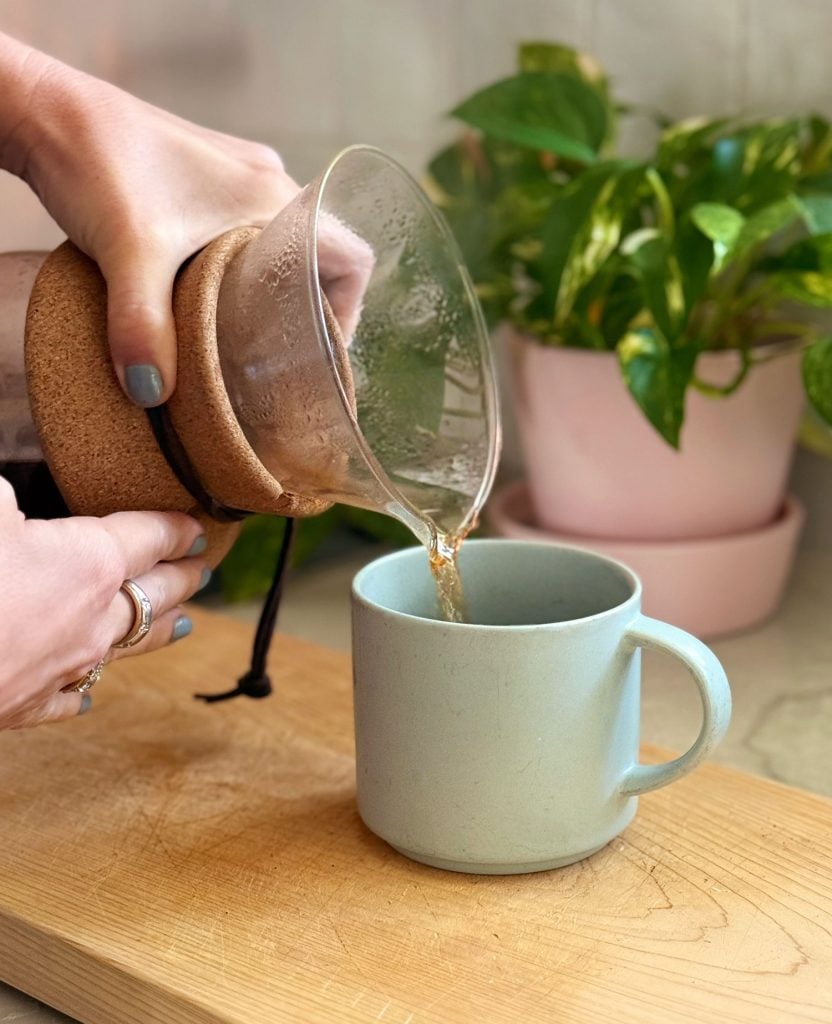
Want Hot Coffee Instead?
If you’re more of a hot coffee person, you can check out our guide to making pour over coffee at home. Pour over can sound intimidating, but it’s super easy and experts agree that it produces a better tasting cup. We certainly love that it’s less bitter and more fresh tasting than any other homemade hot coffee we have tried.
*This post contains affiliate links, so we may earn a small commission when you make a purchase through links on our site at no additional cost to you.
